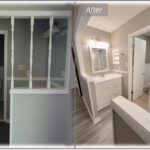
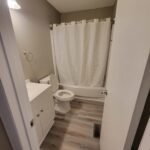
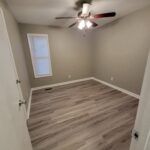
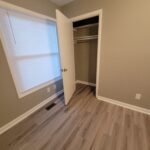
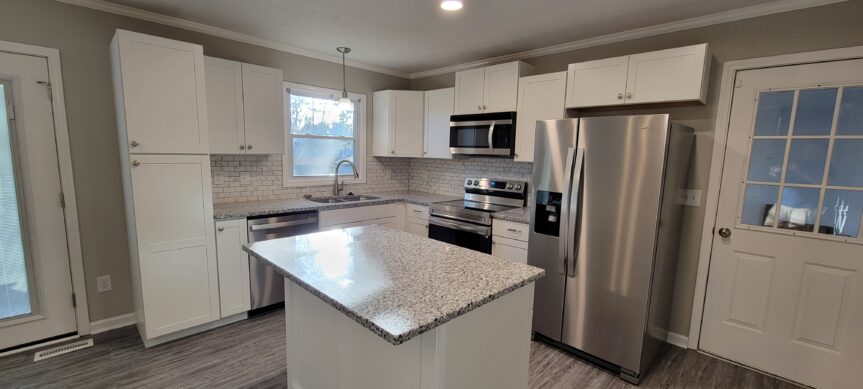
The Addingham Project

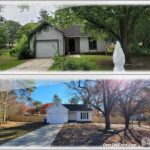
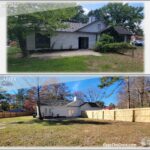
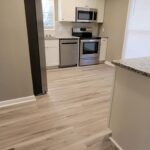
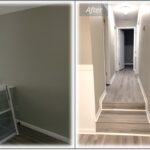
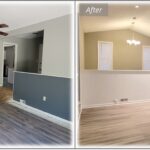
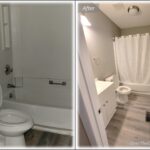
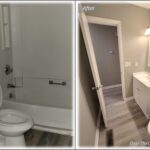
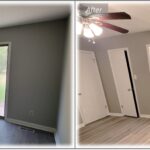
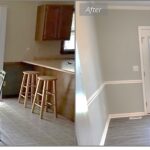
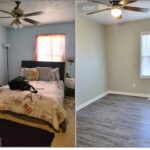
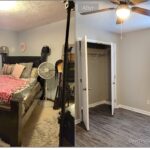
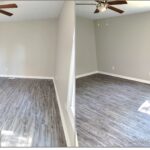
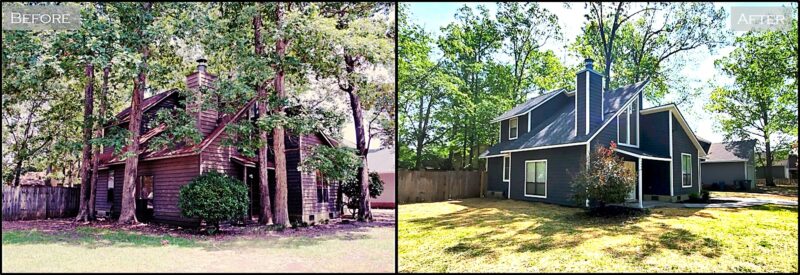
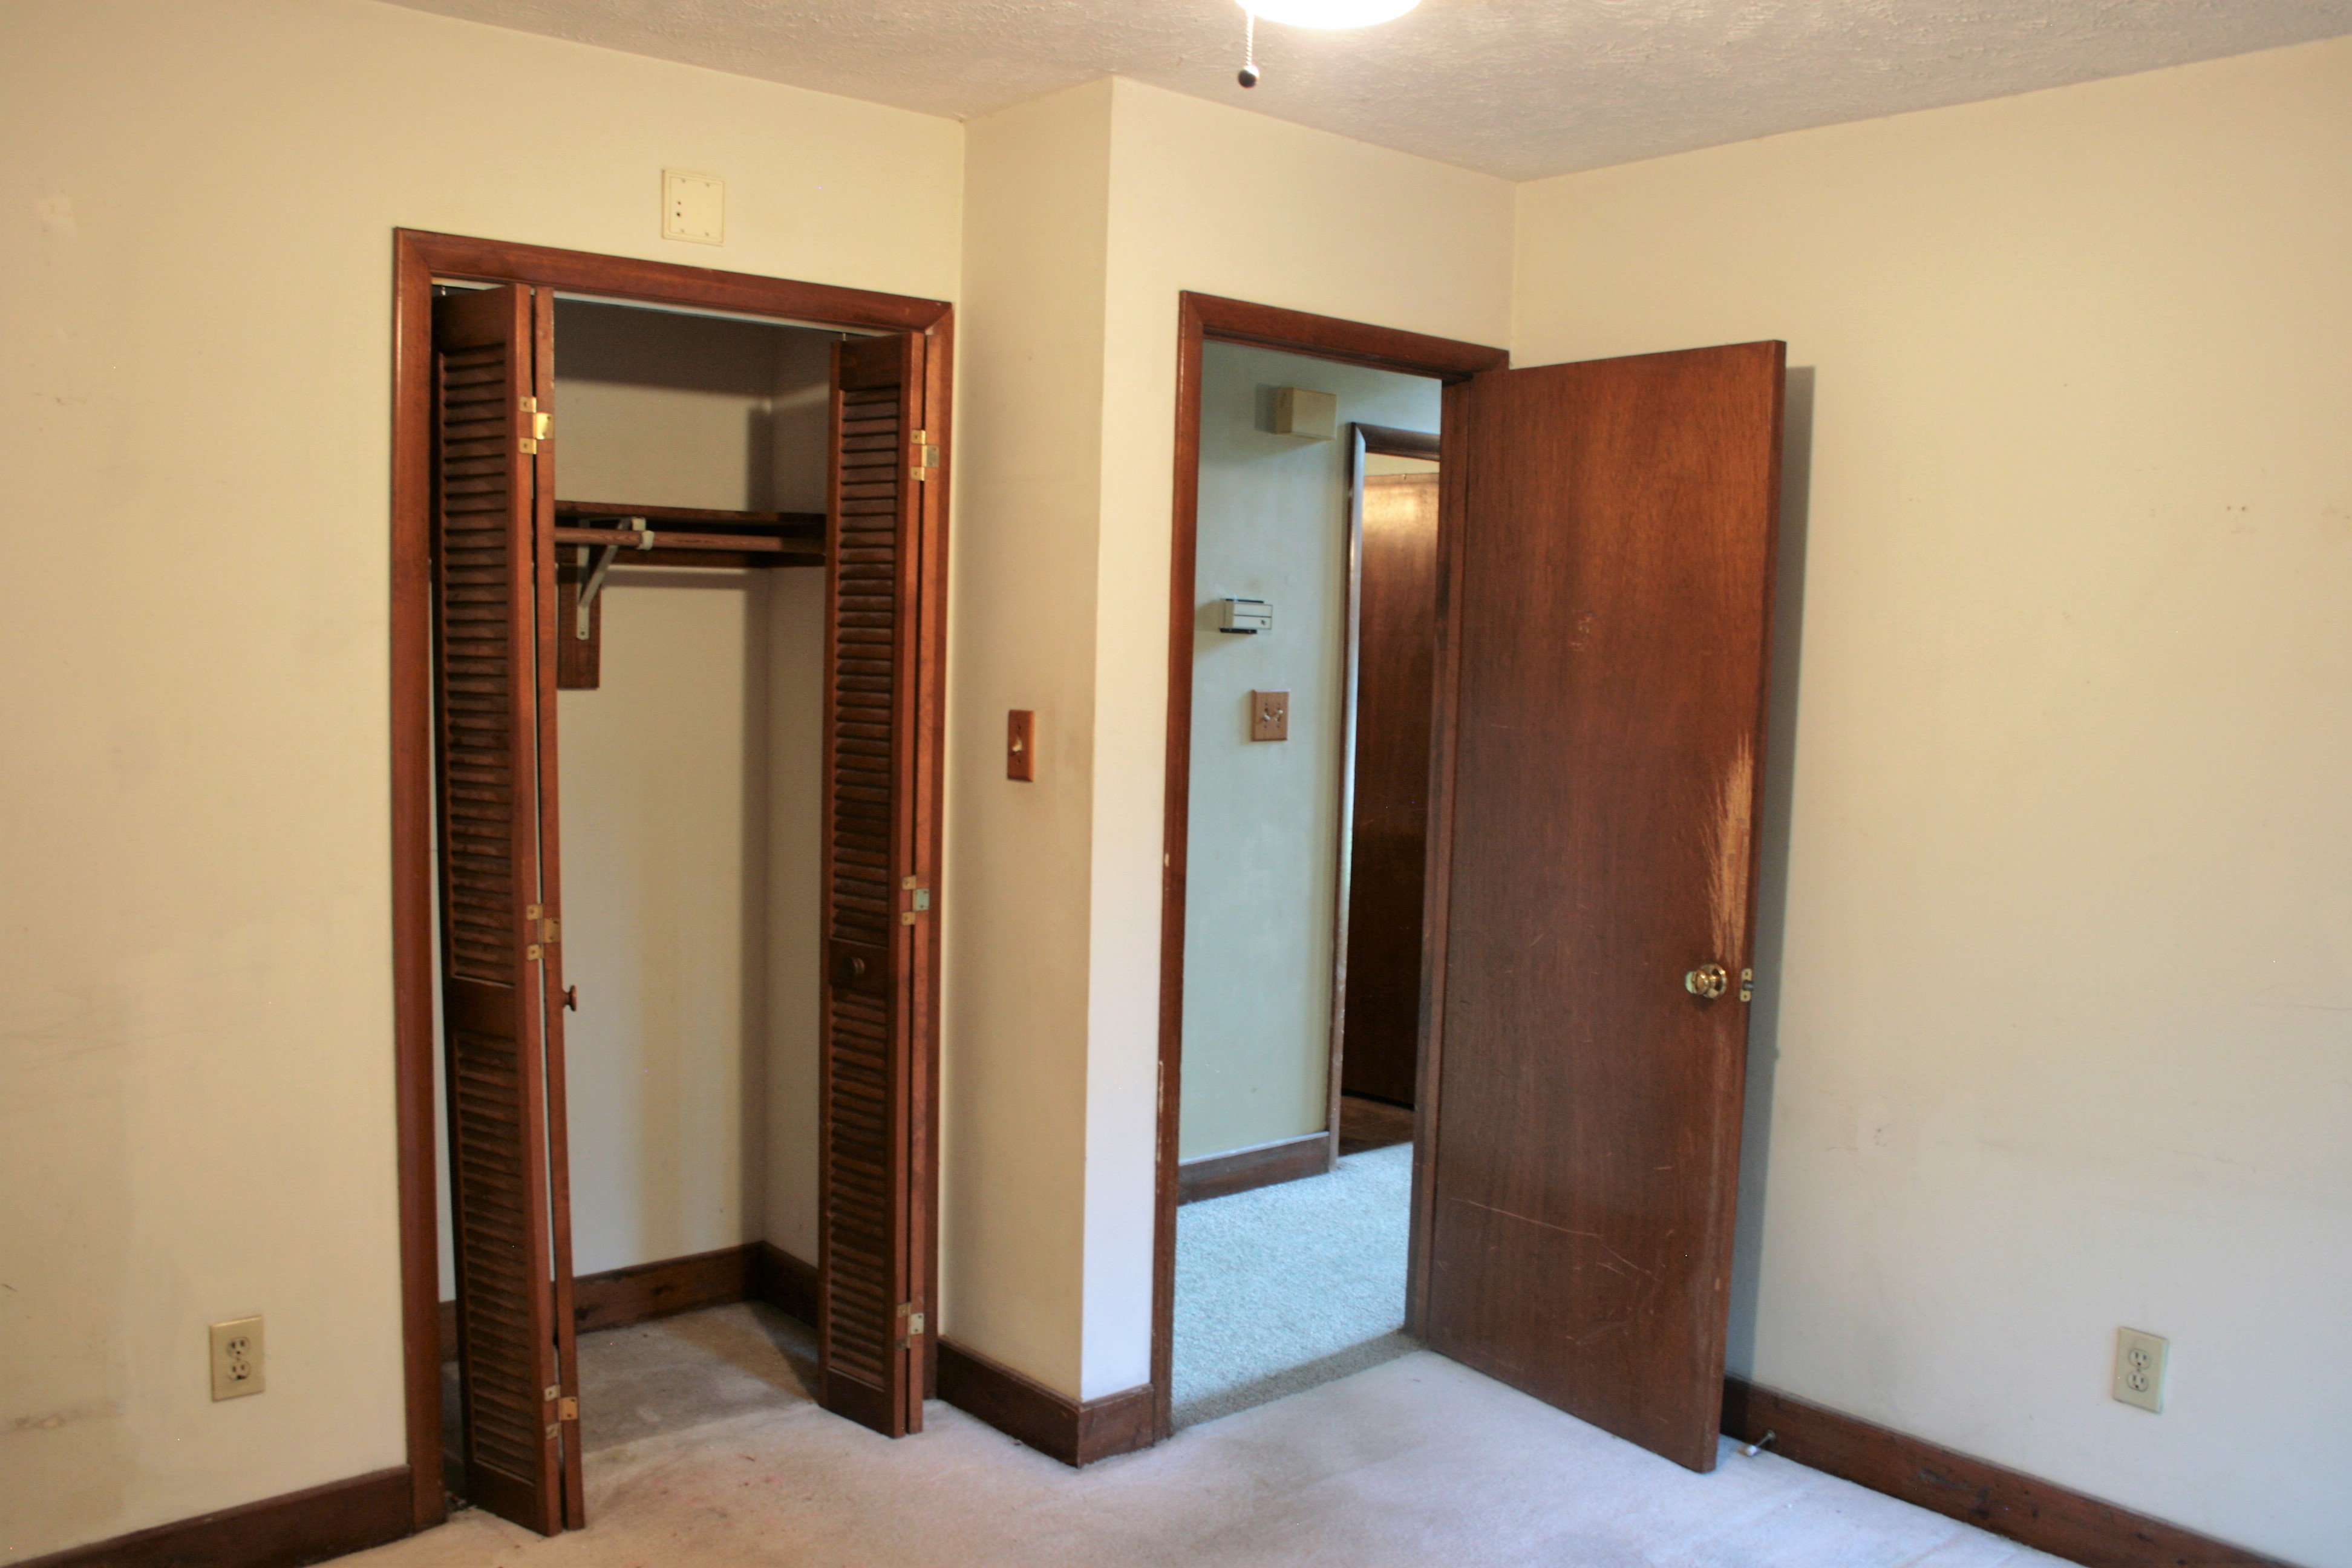
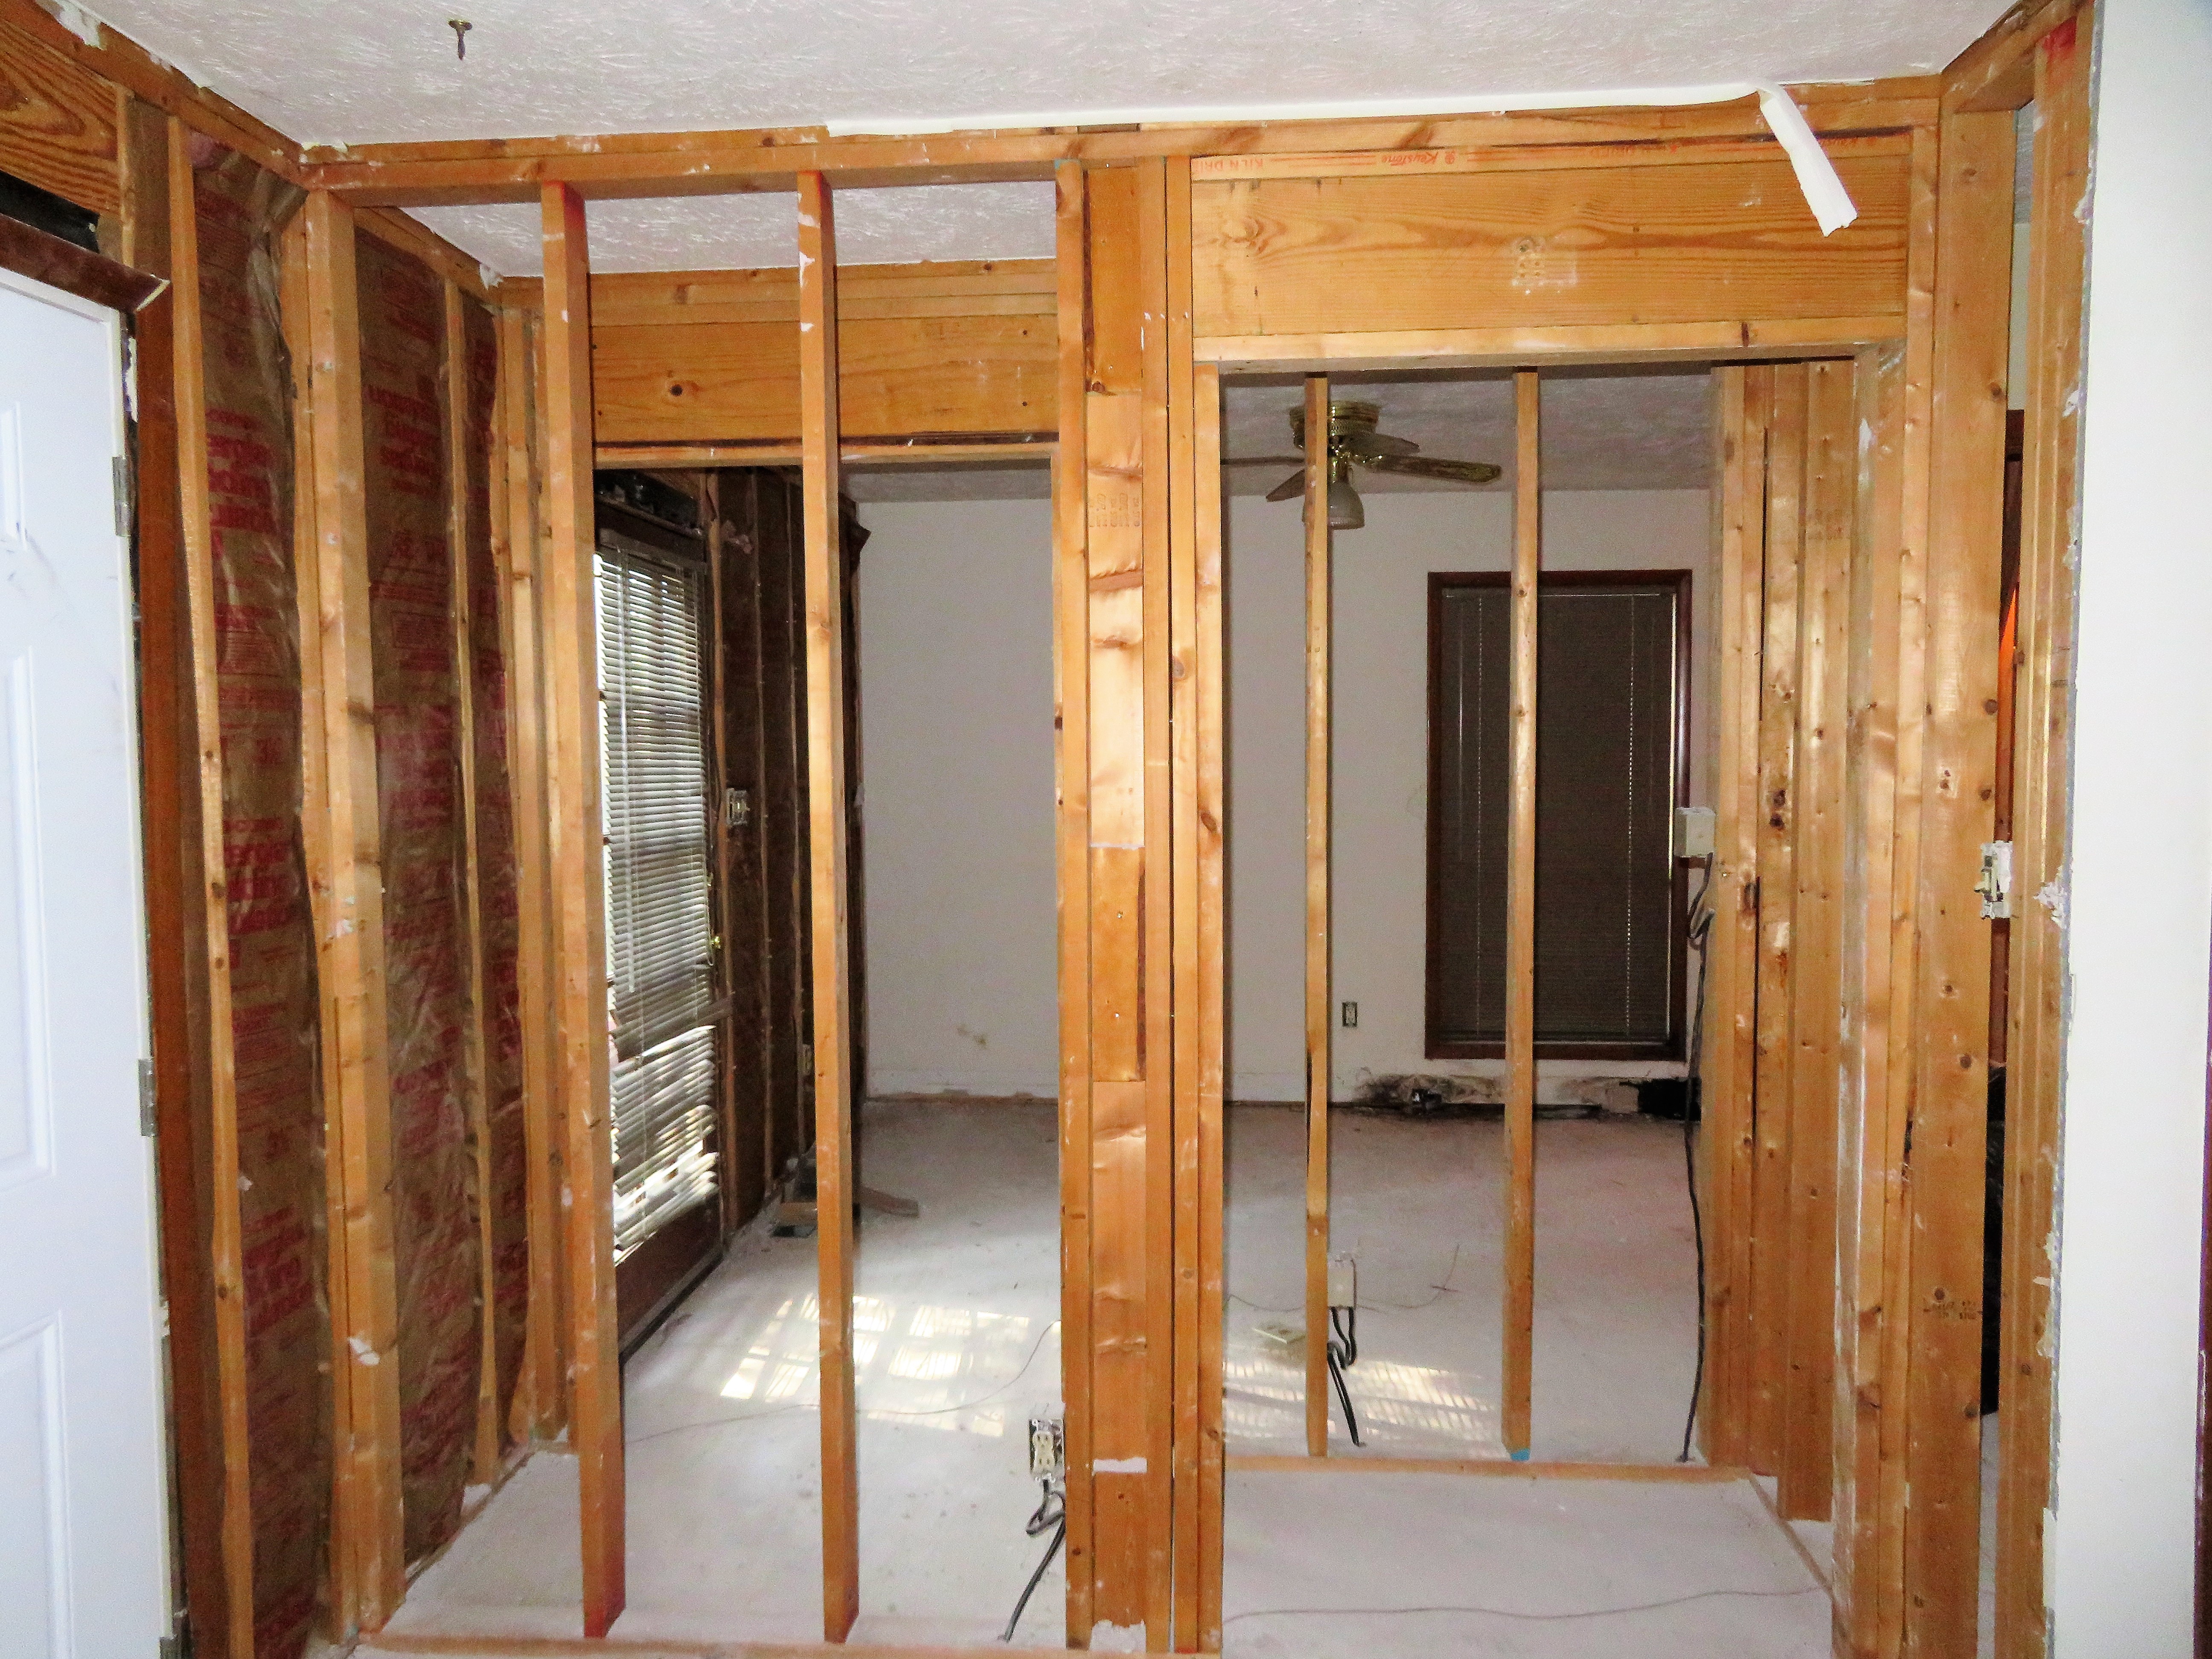
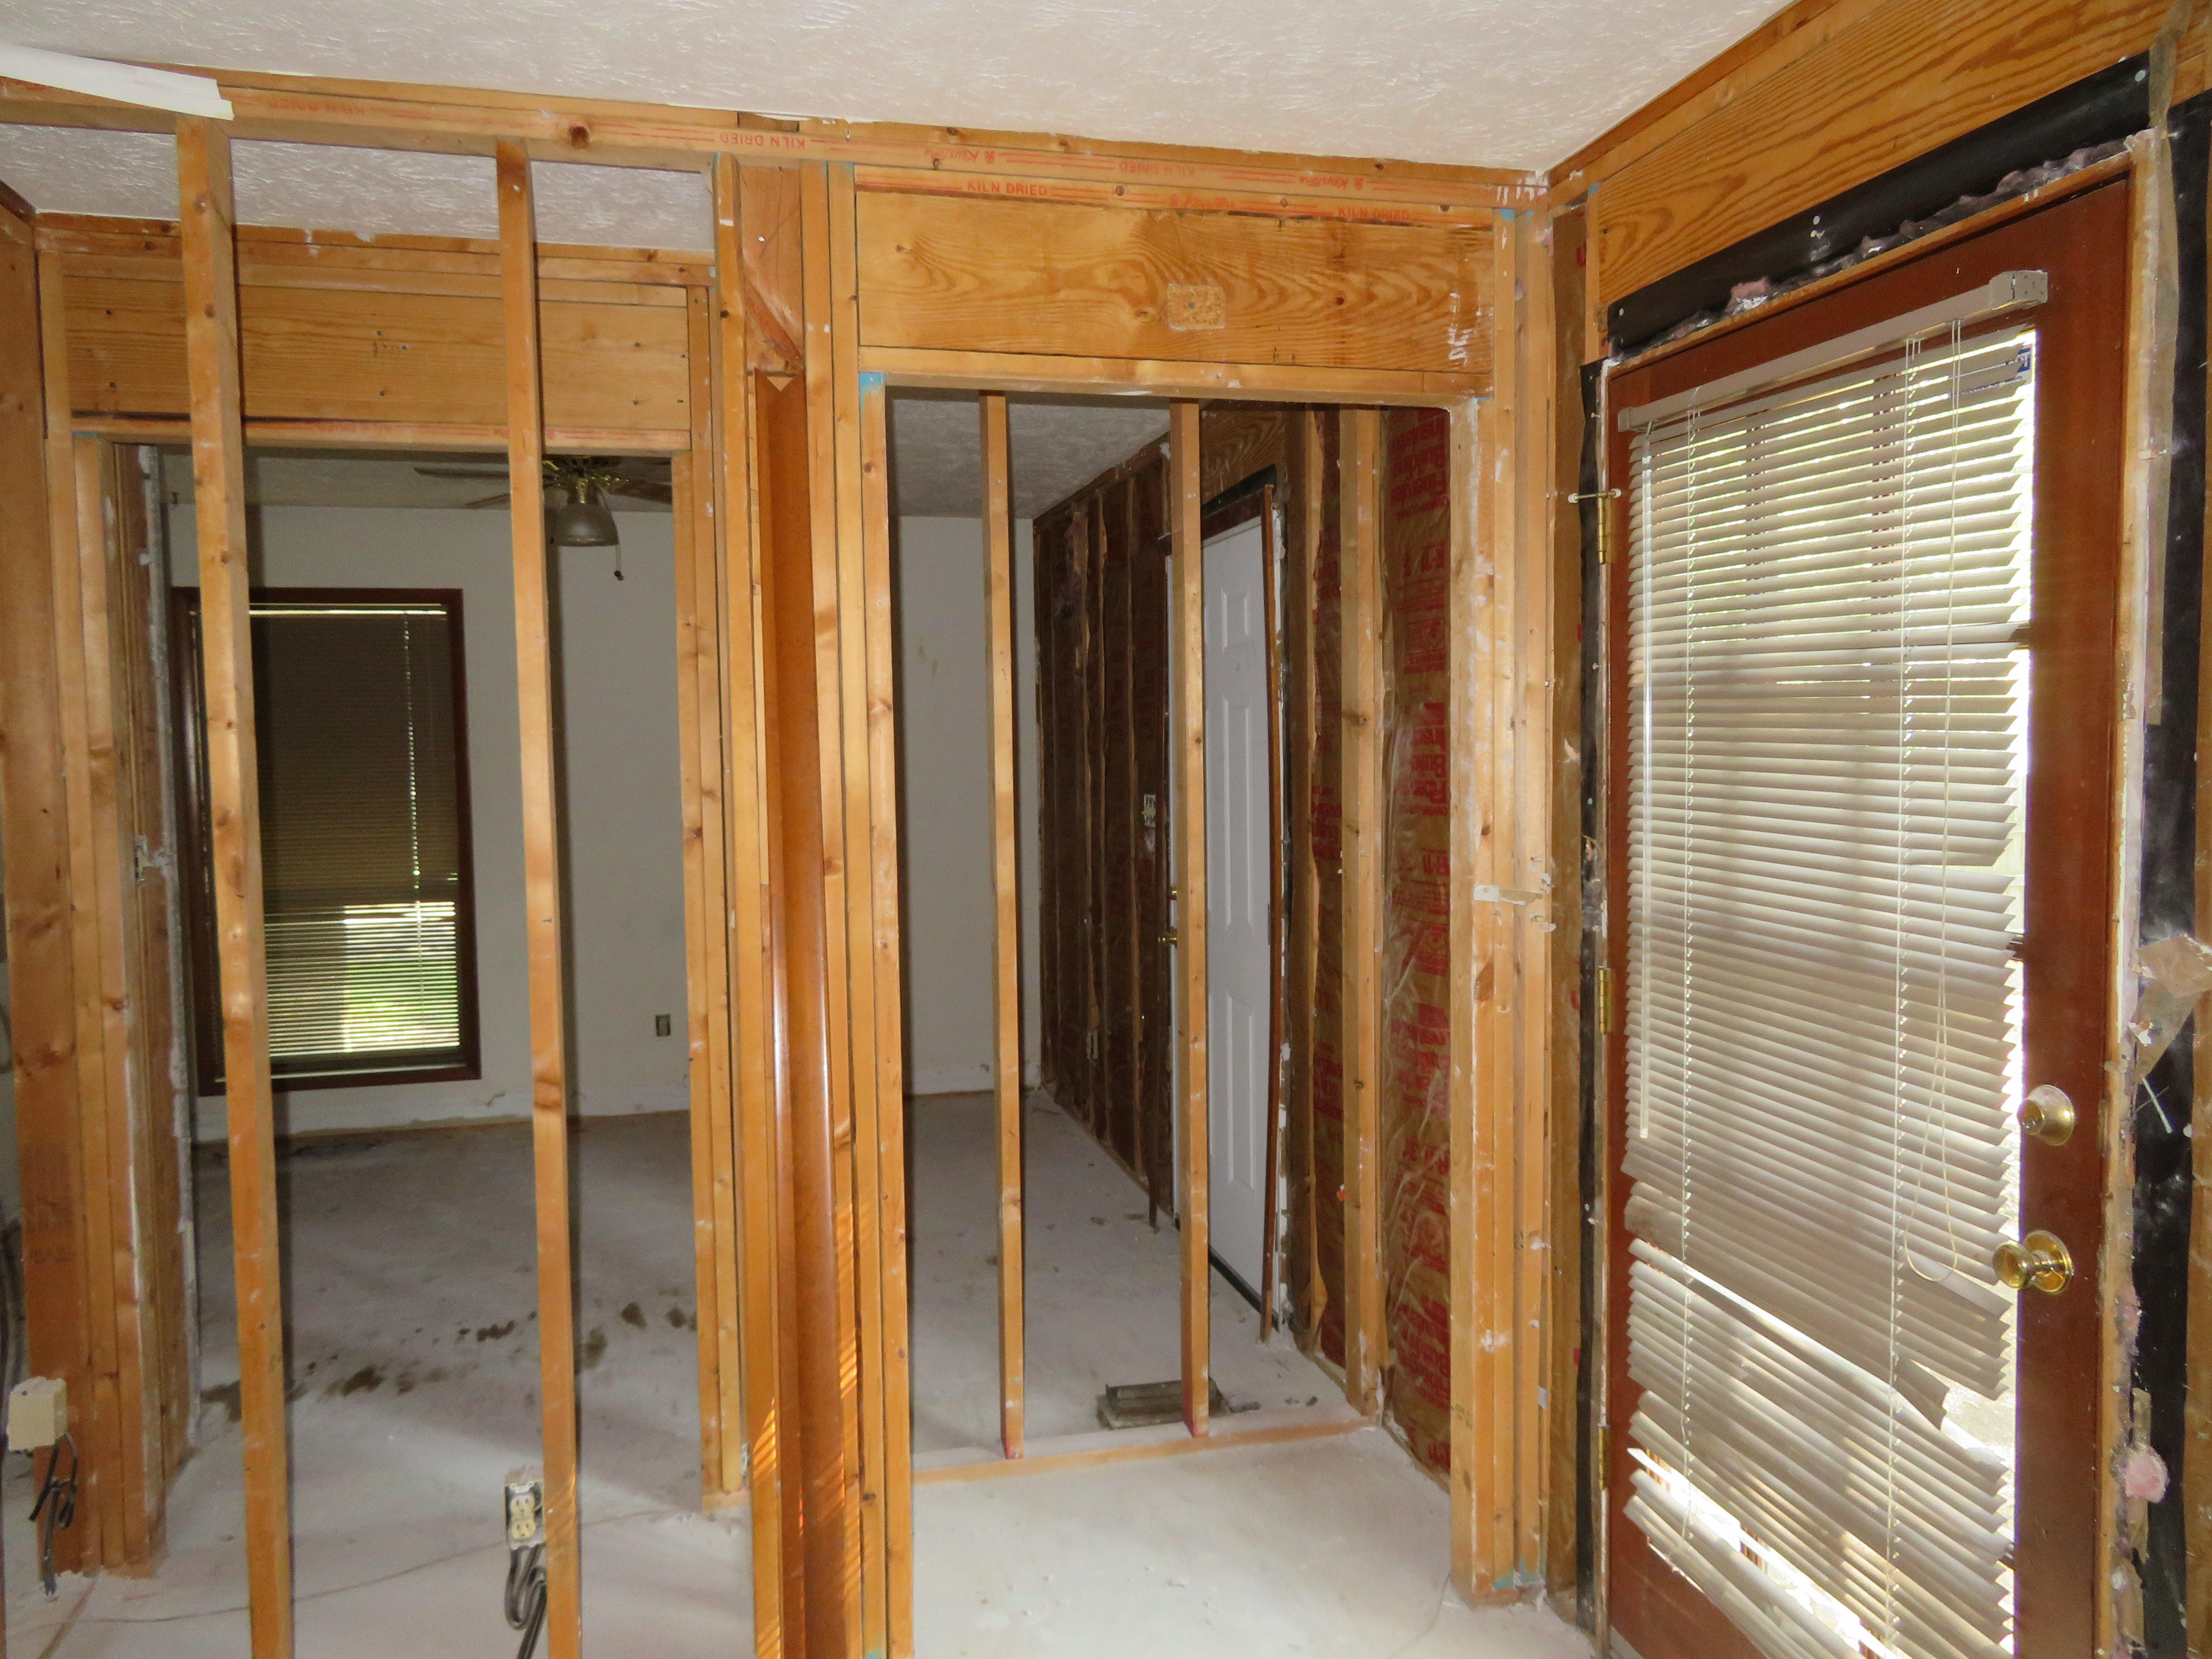
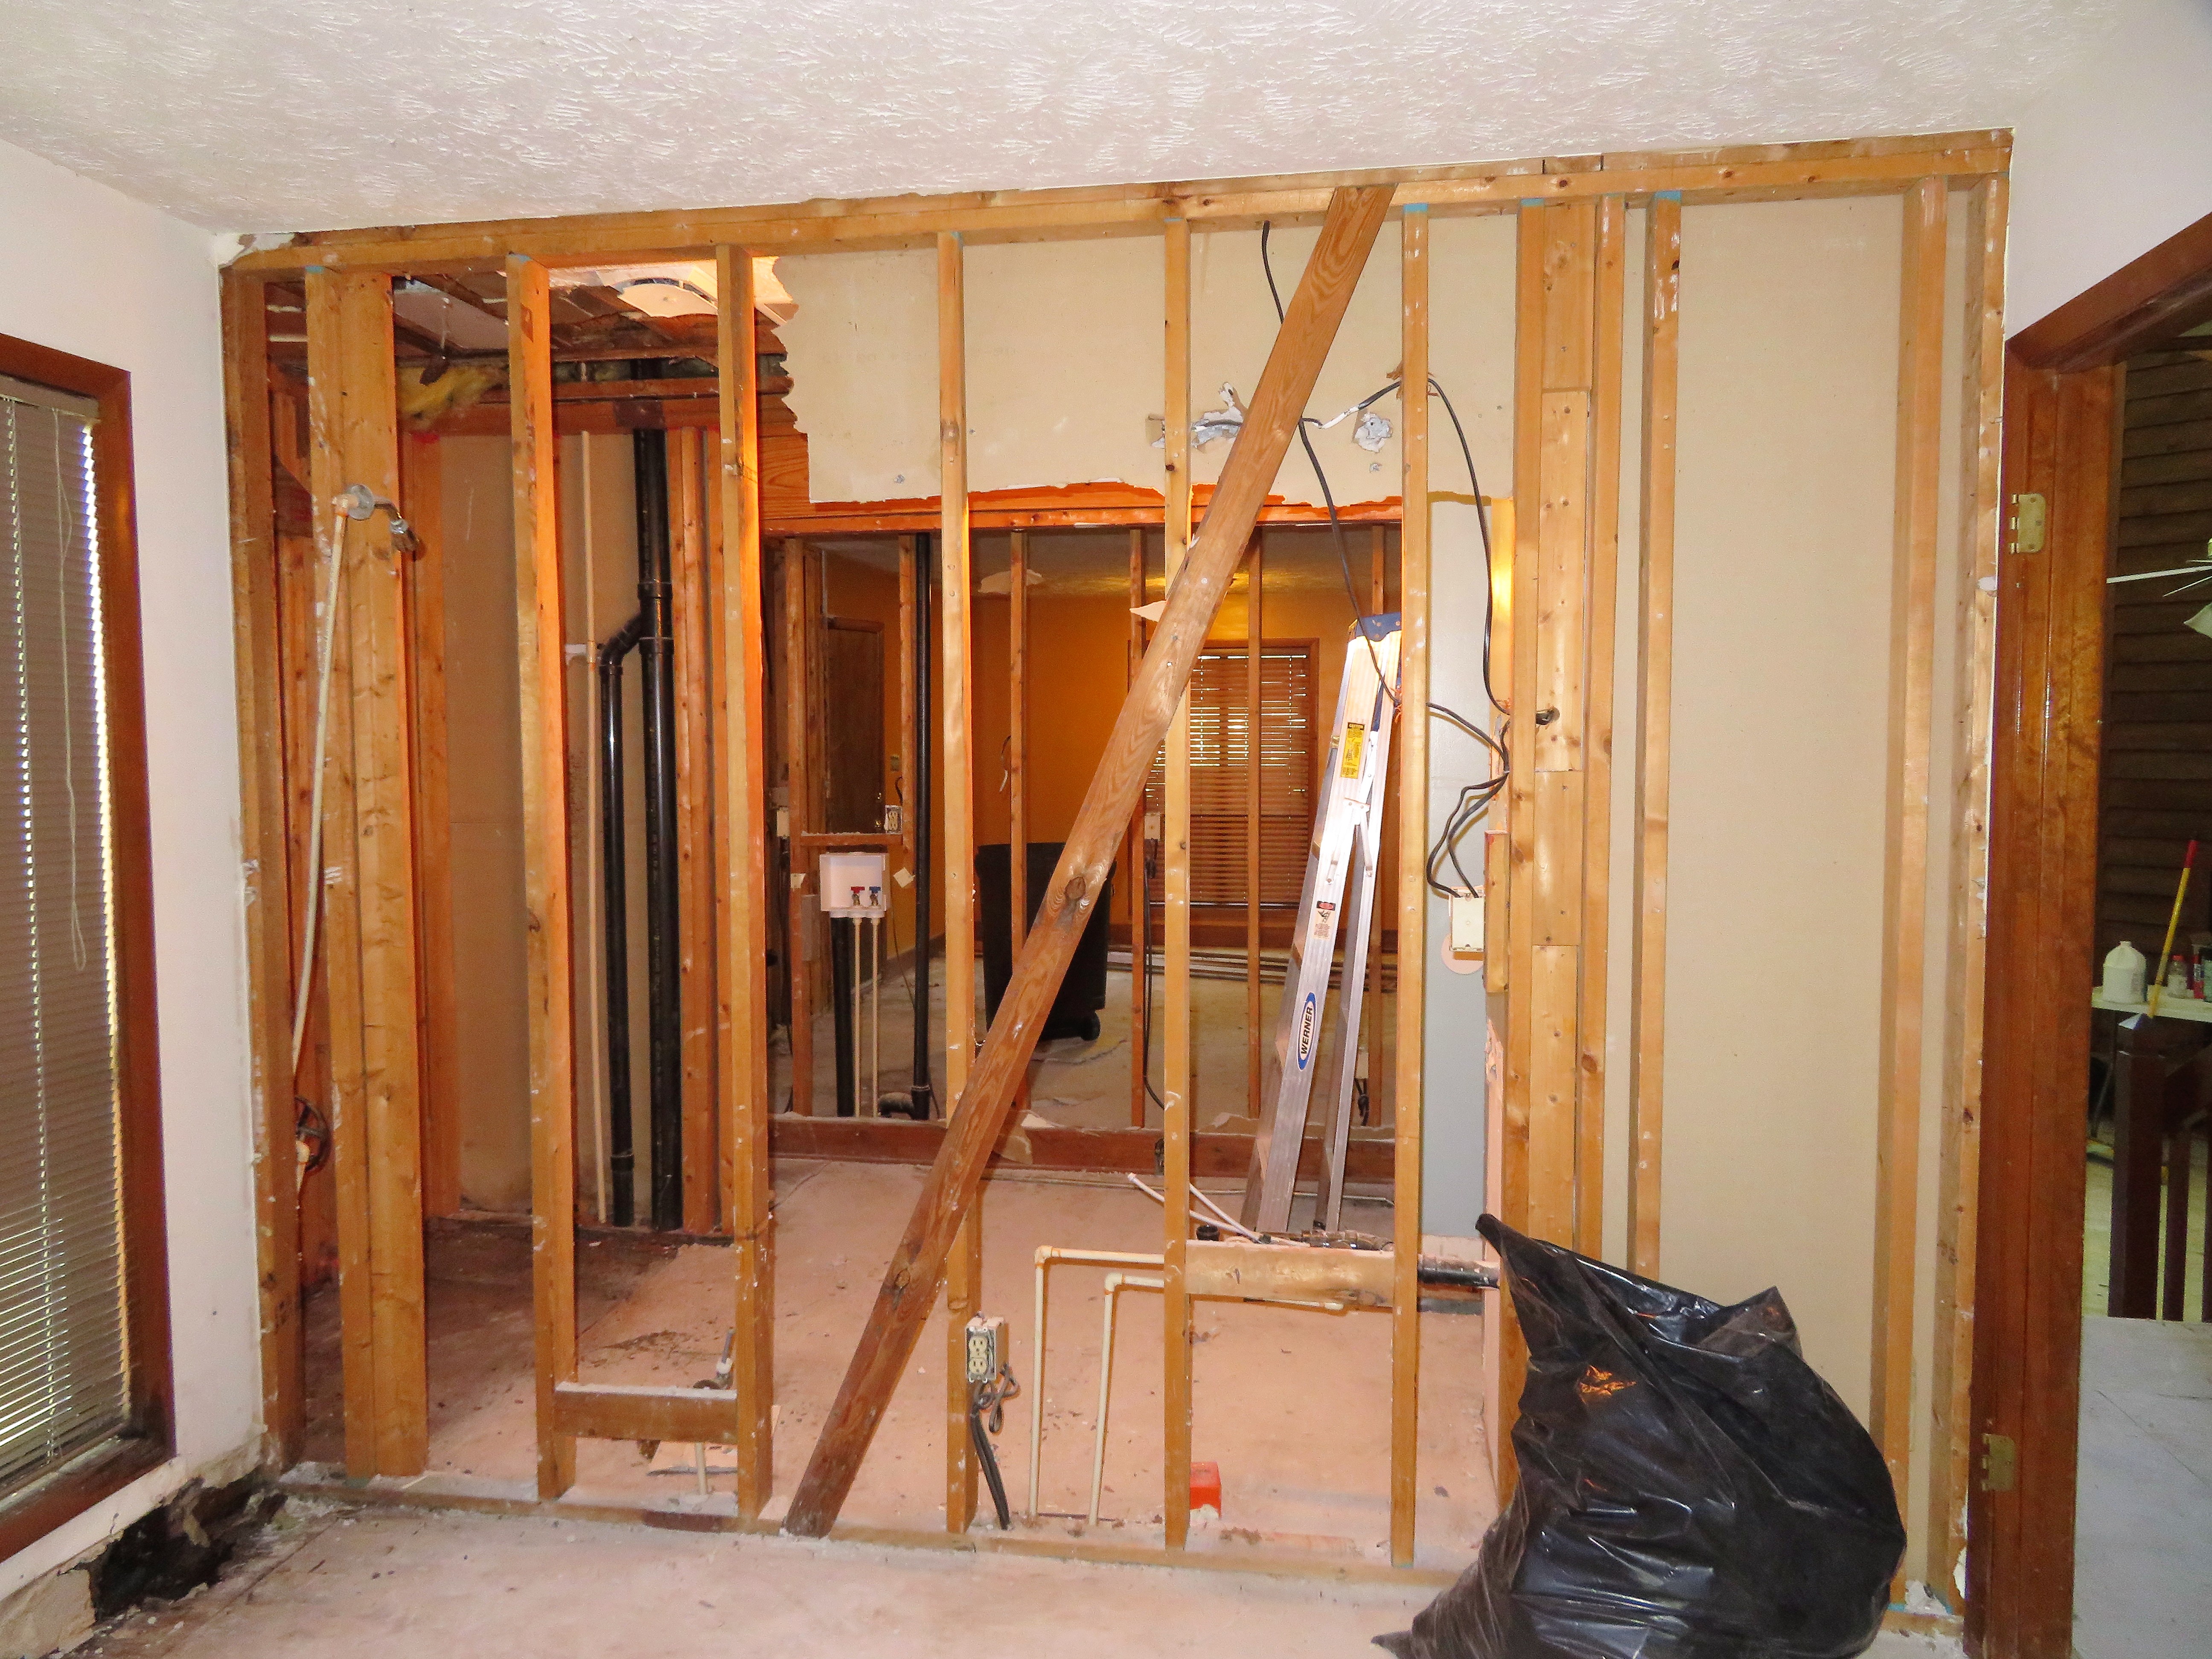
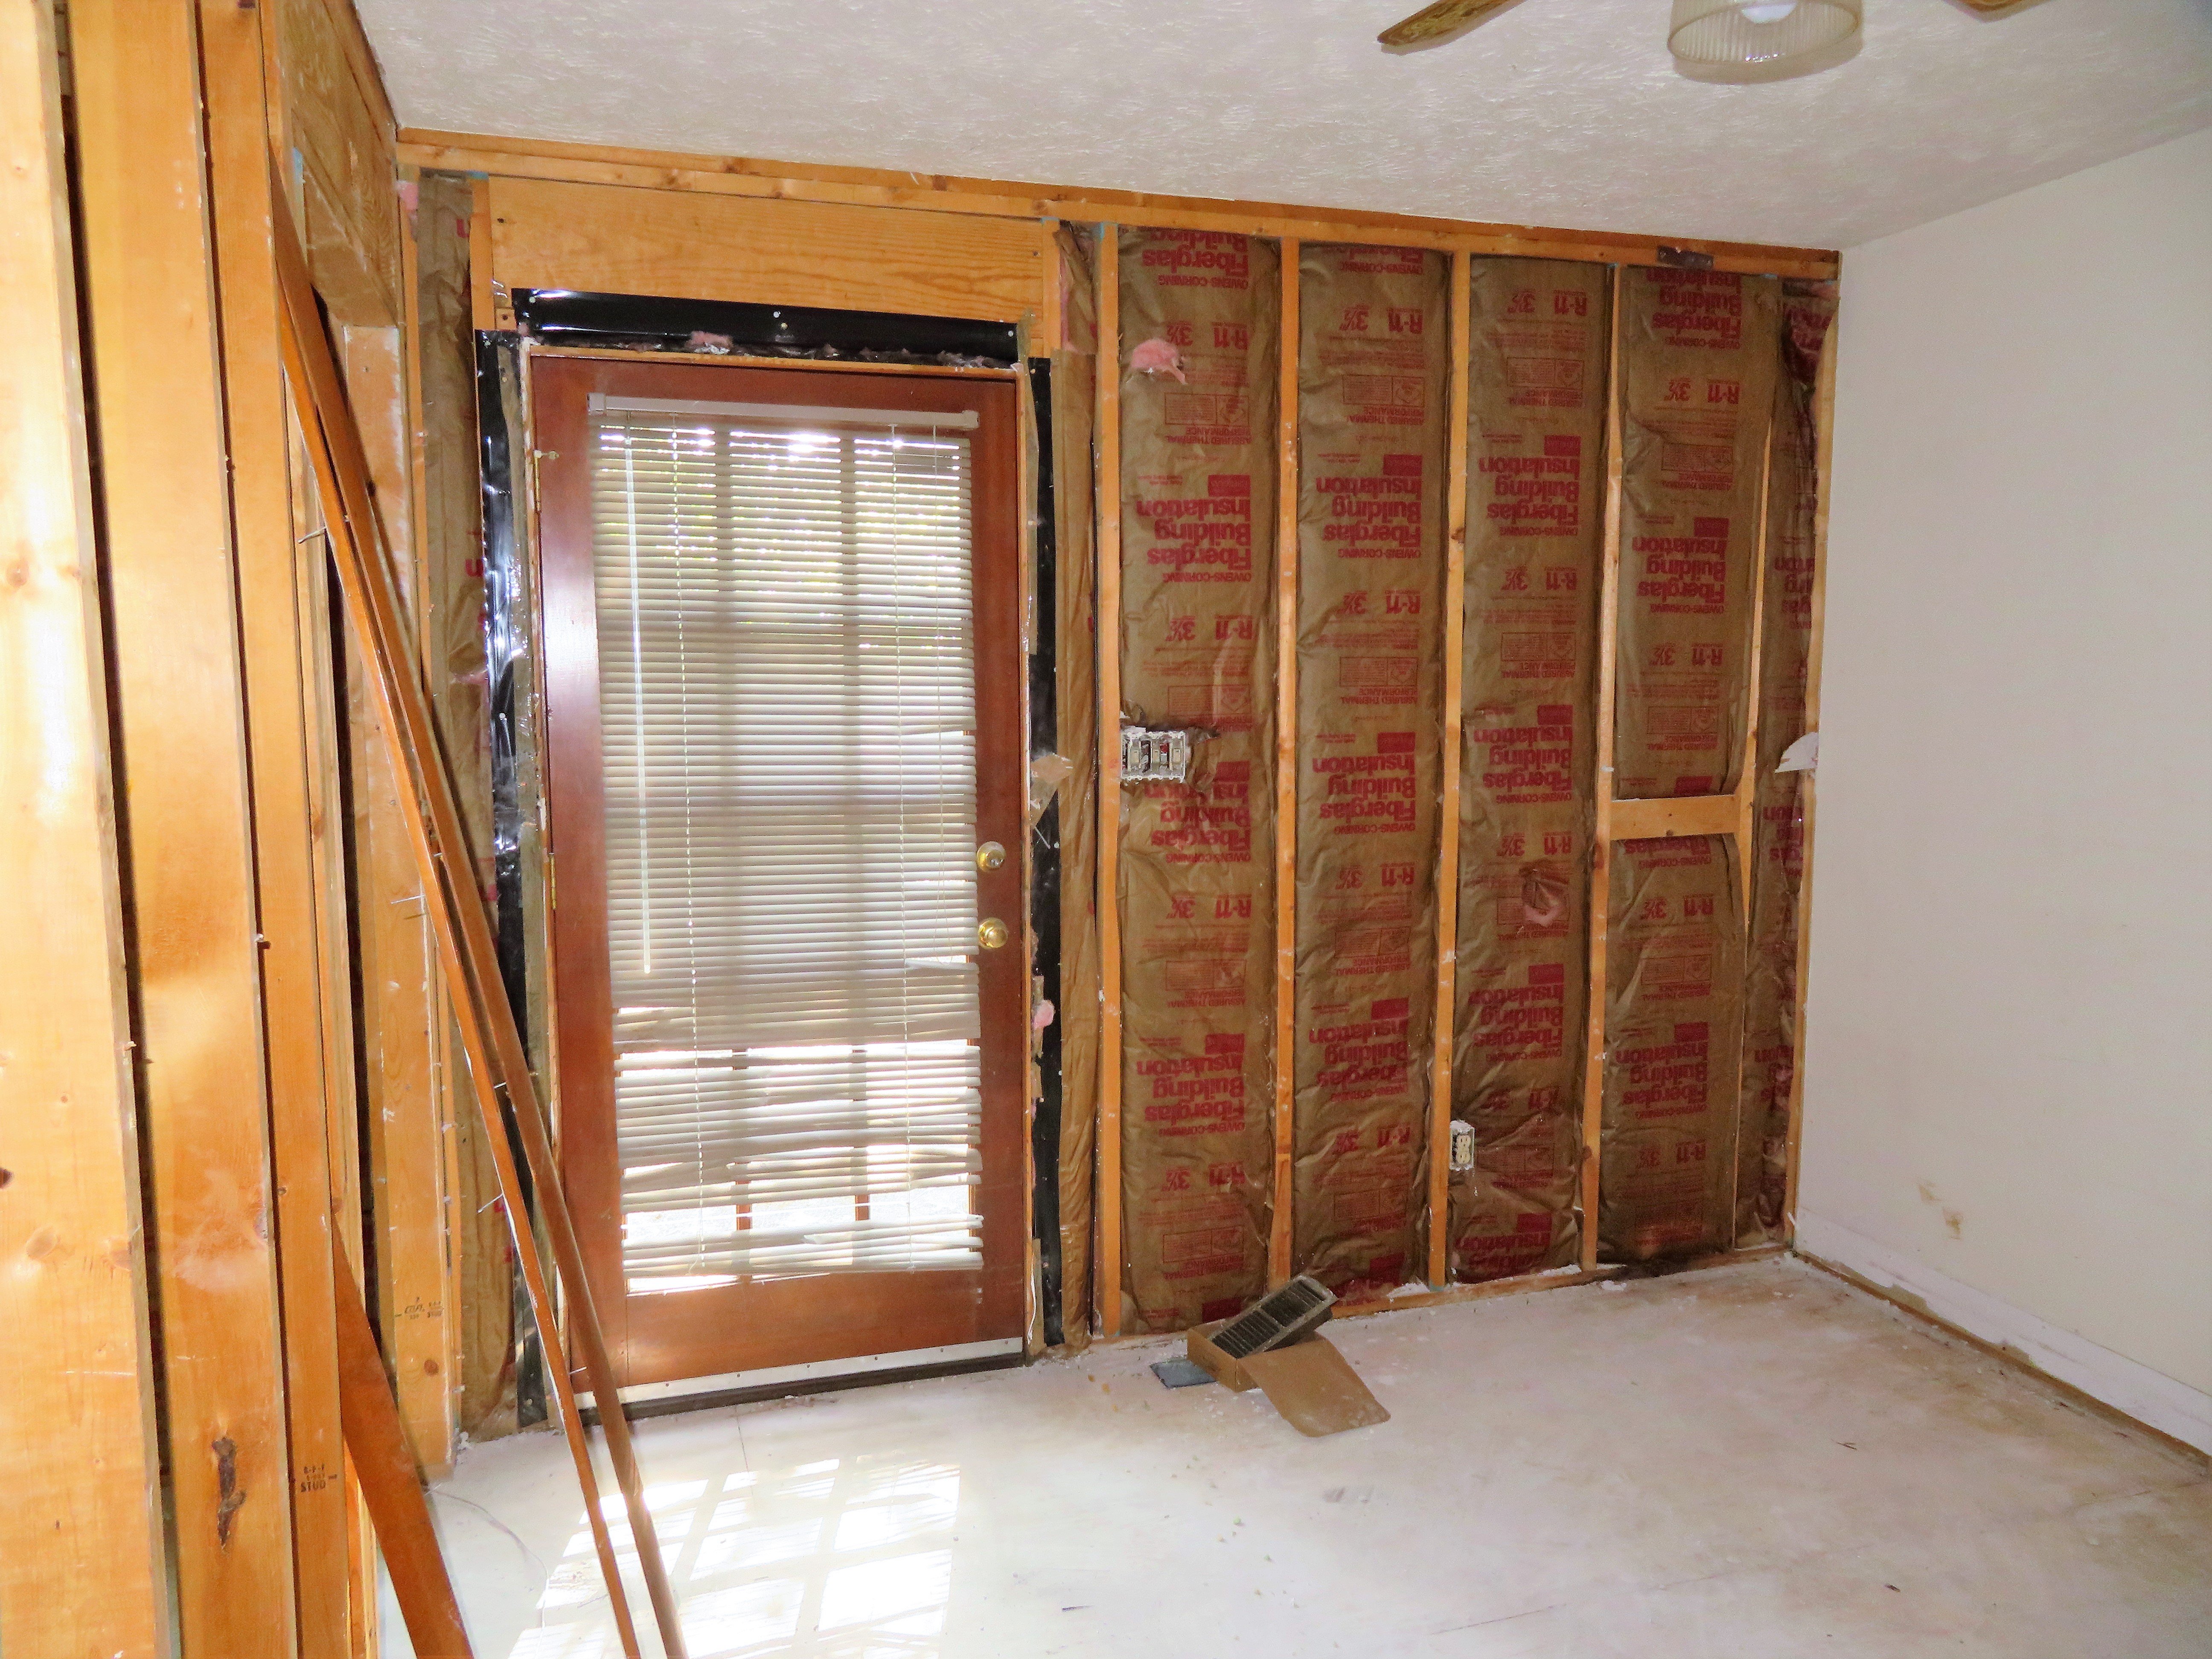
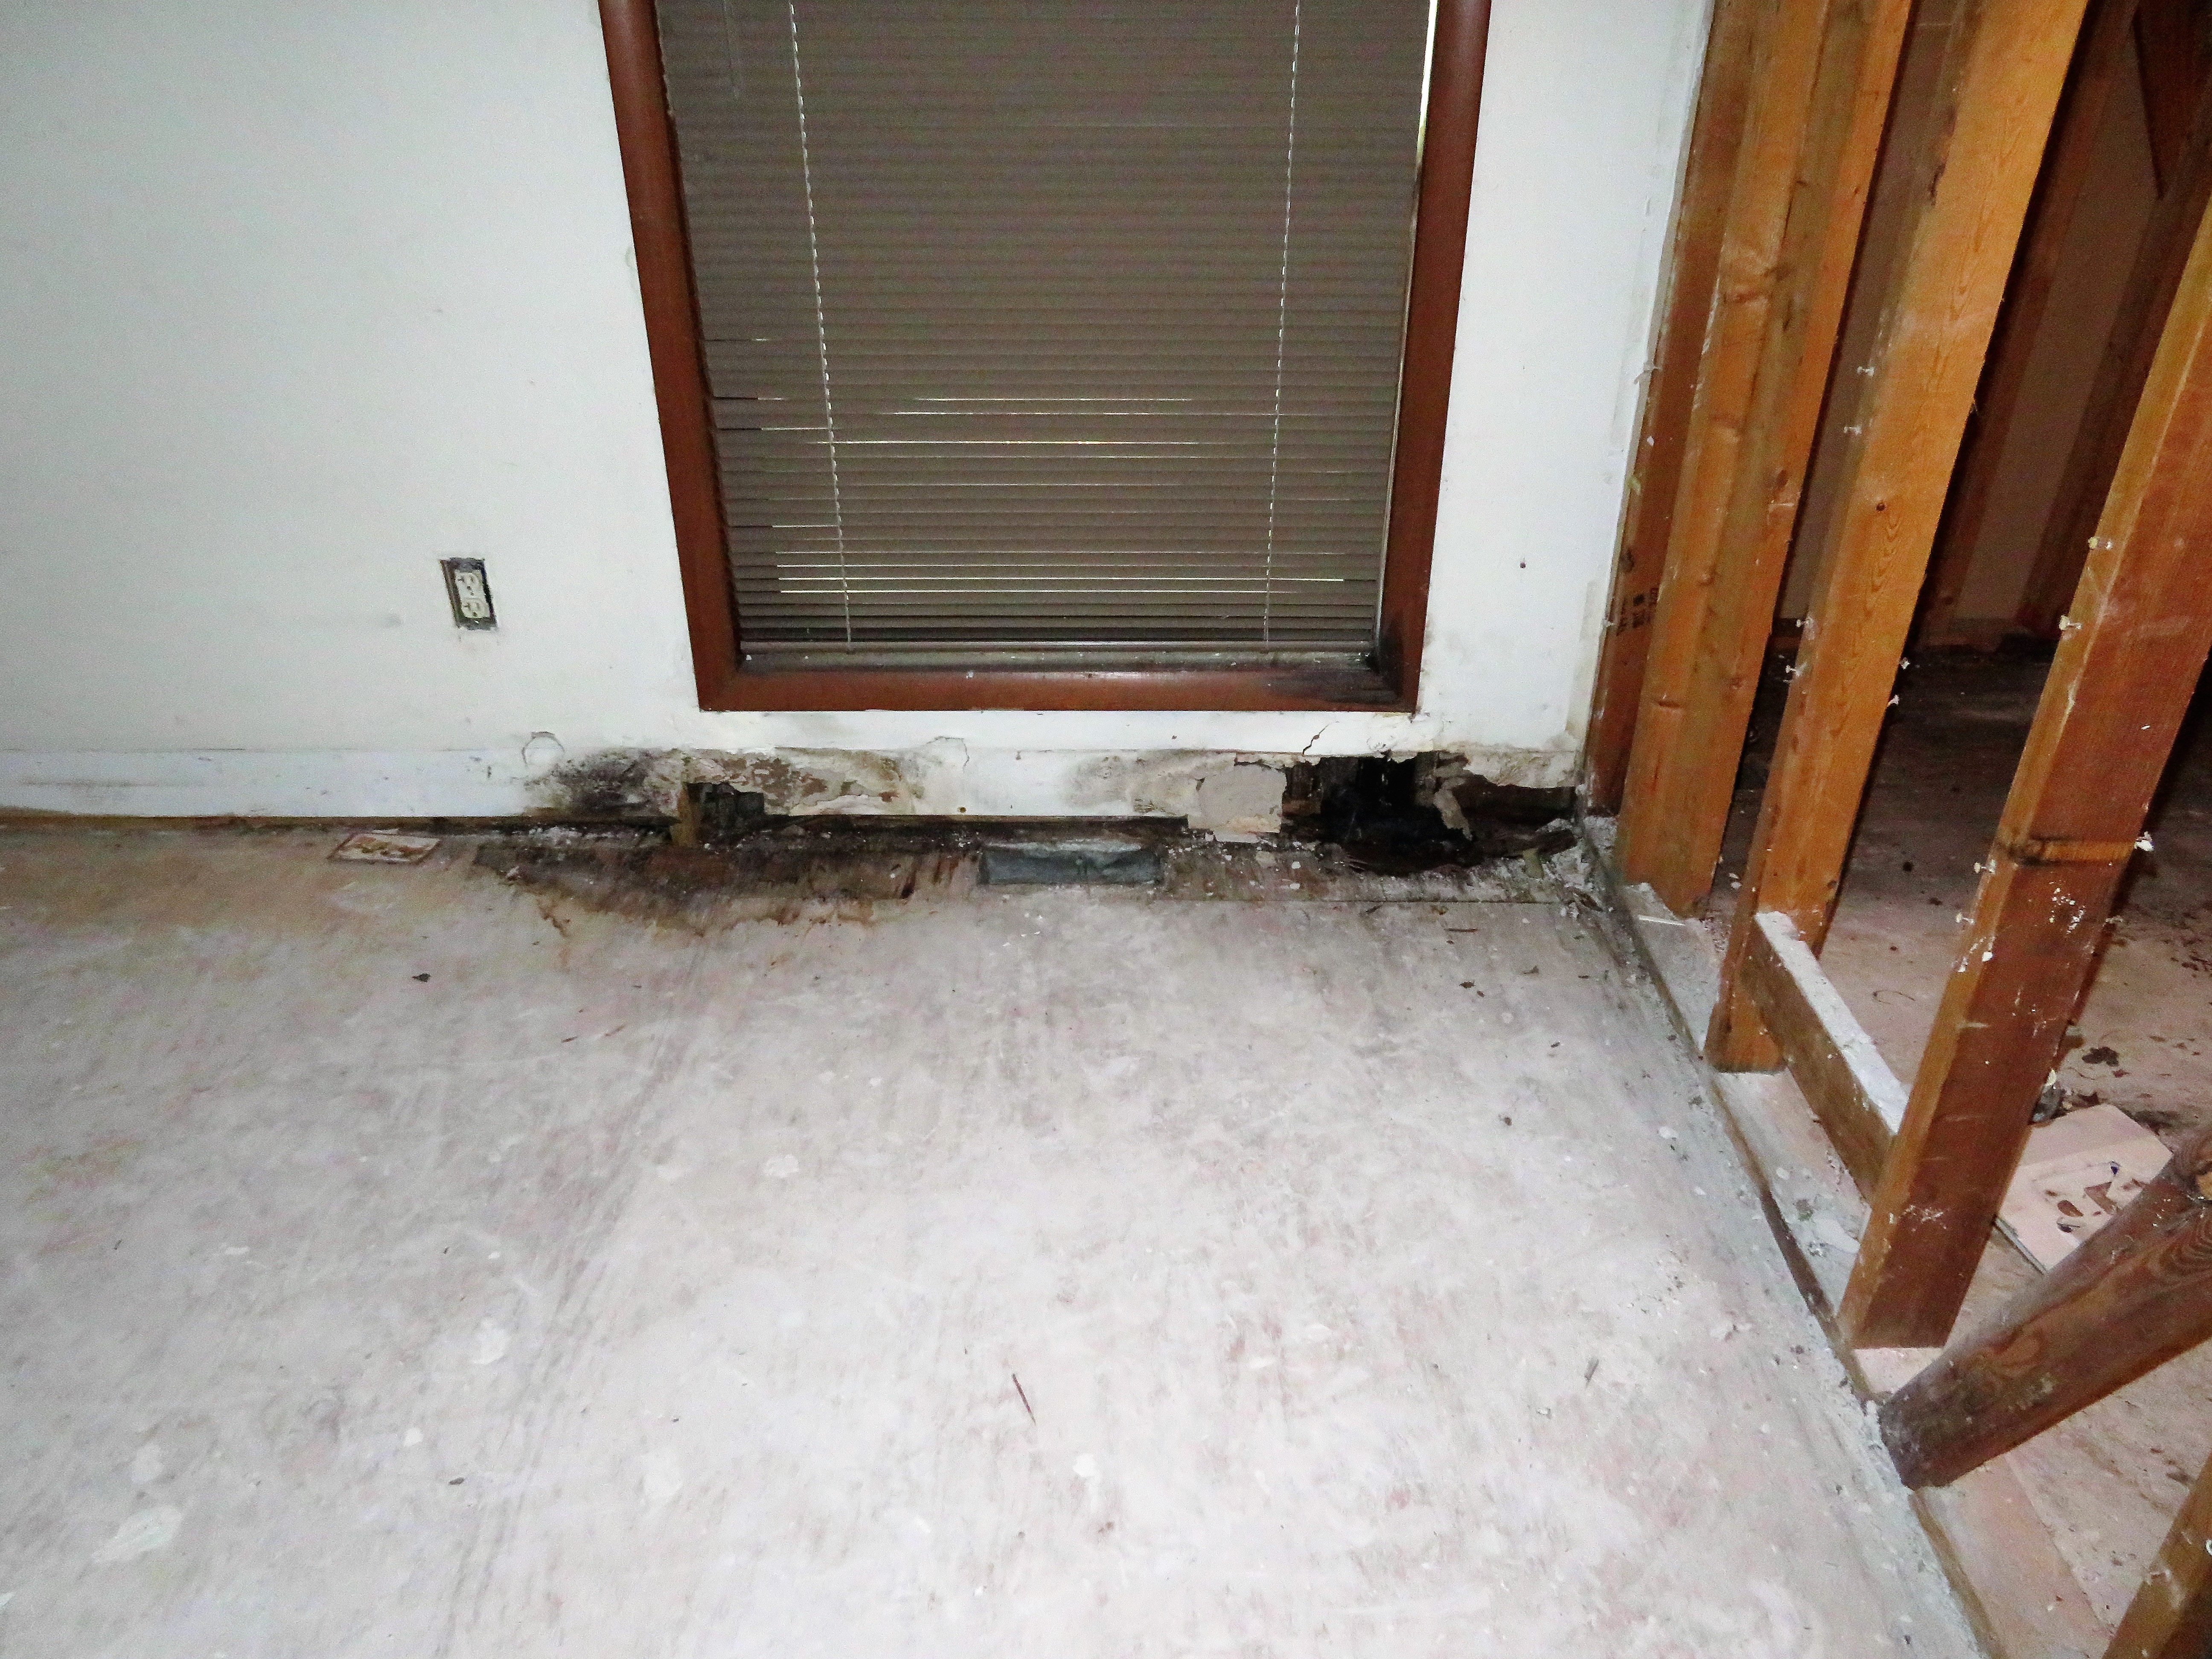
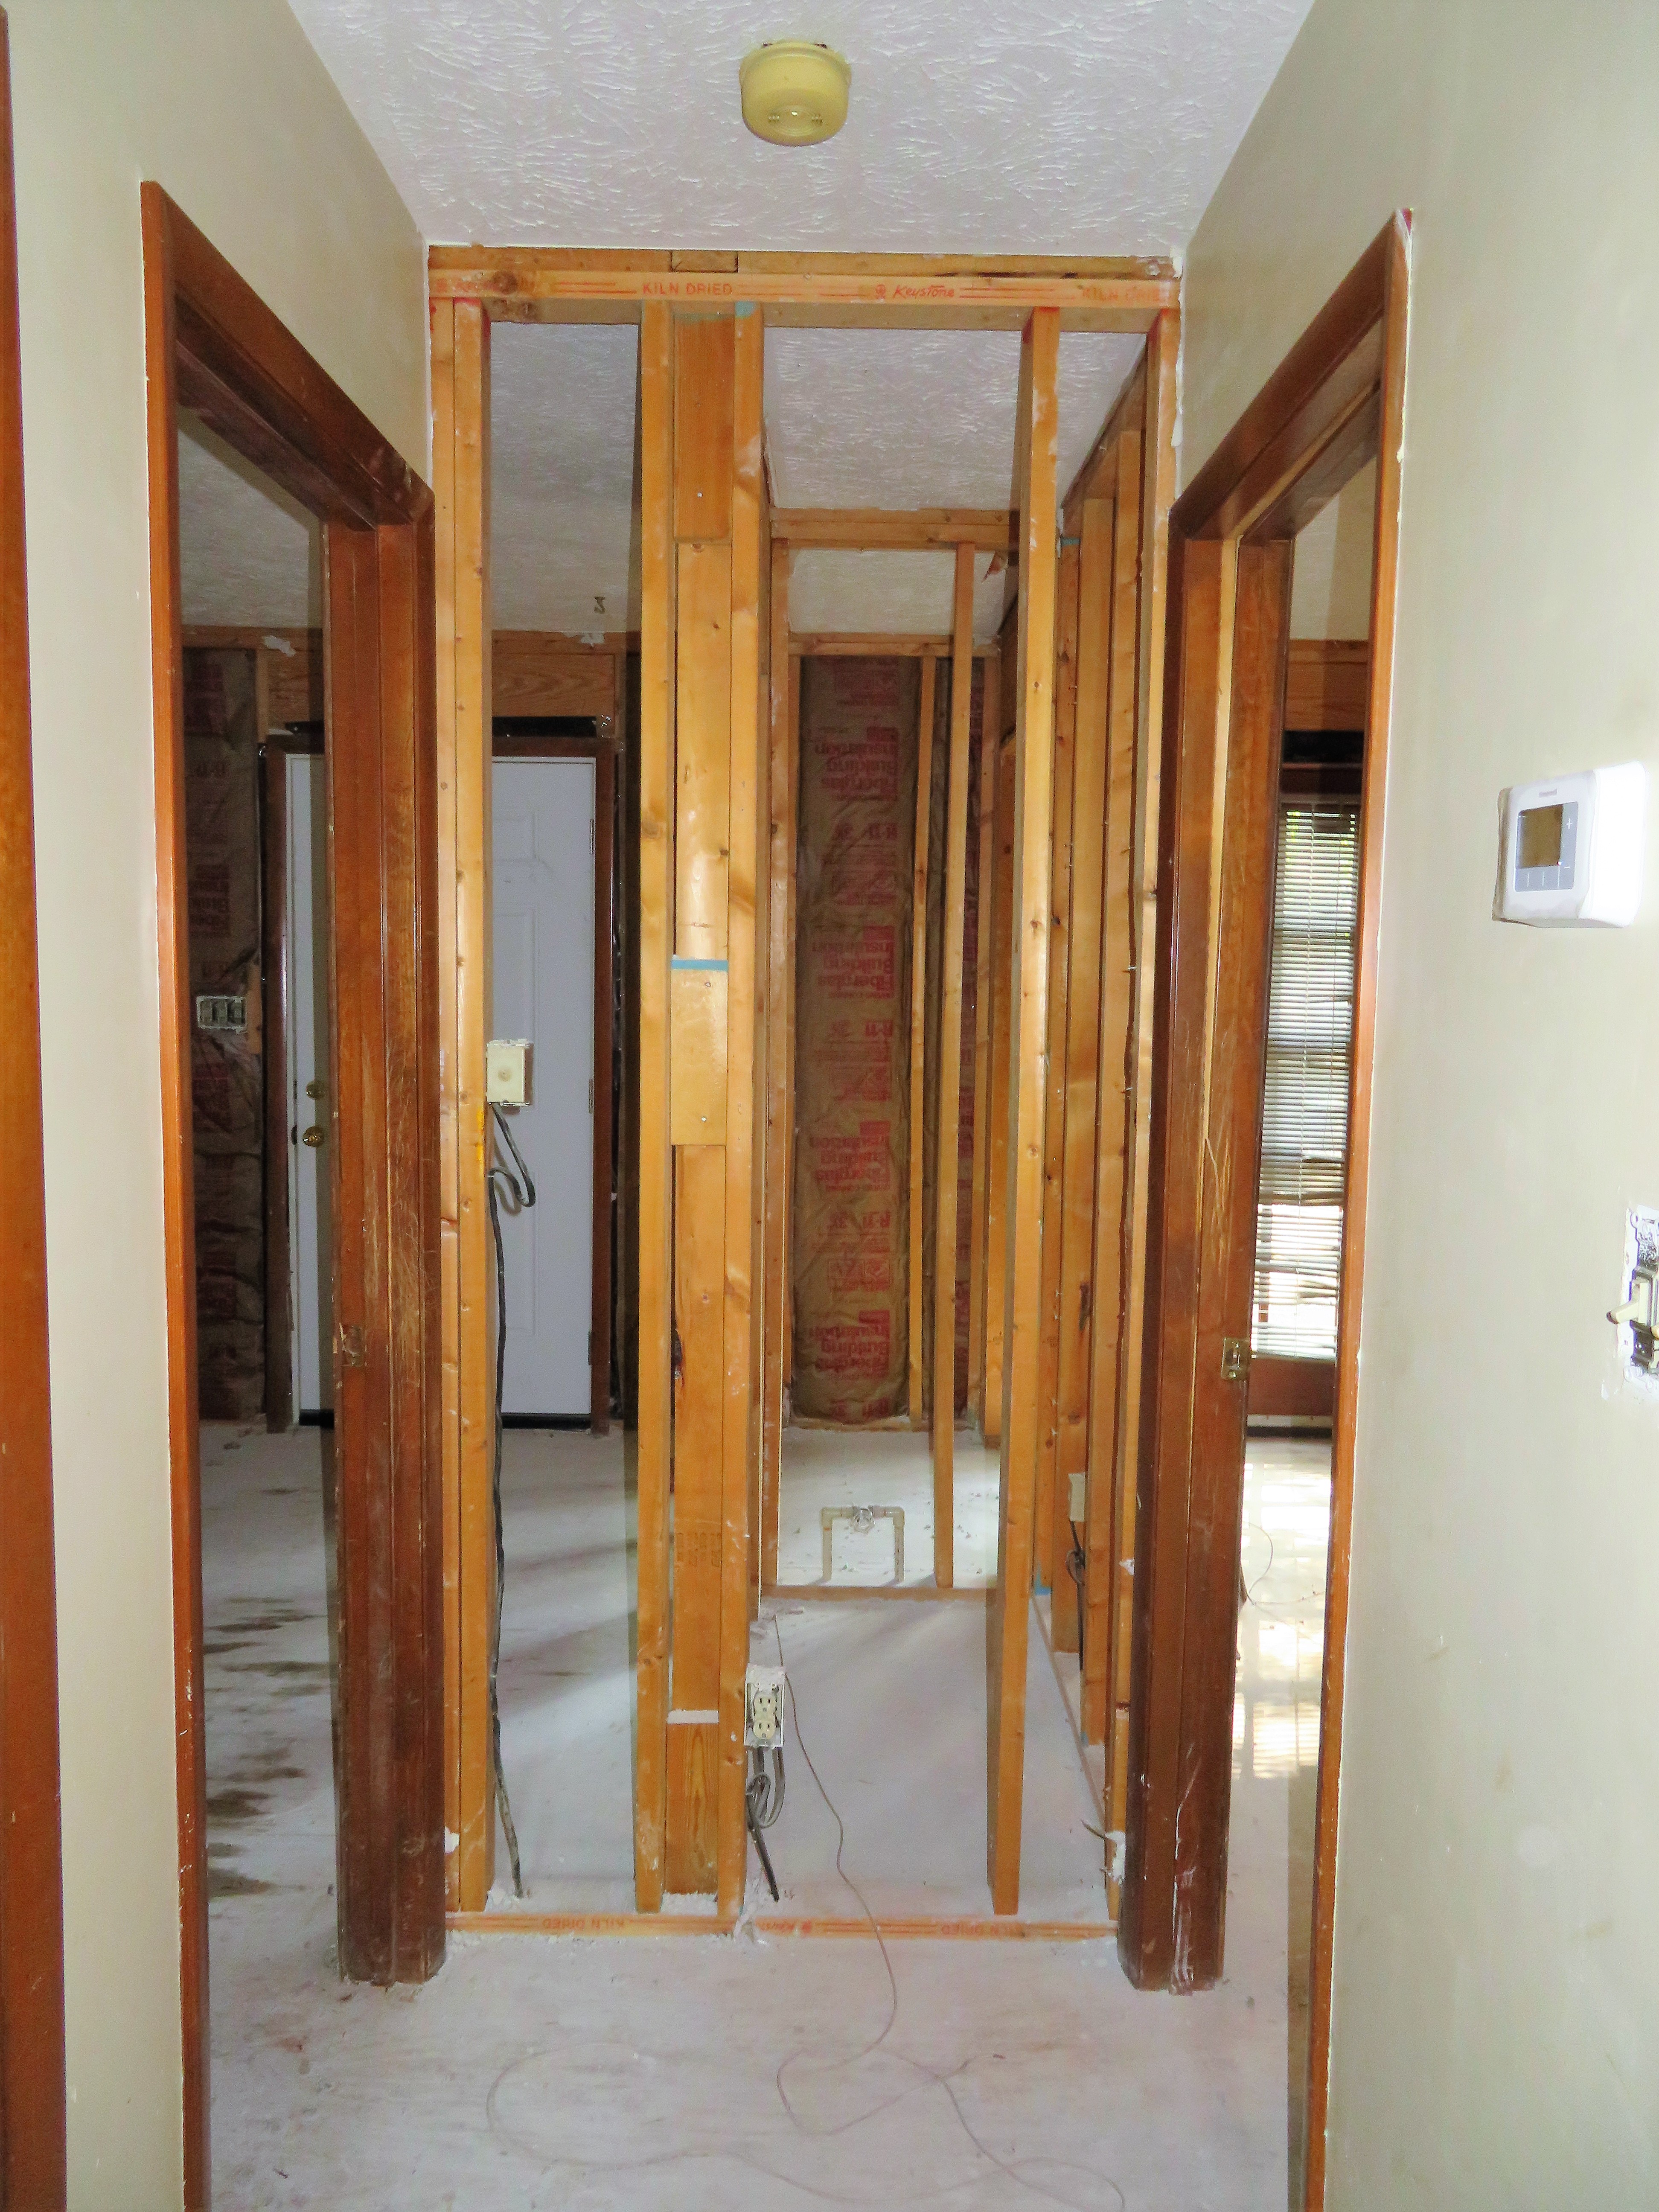
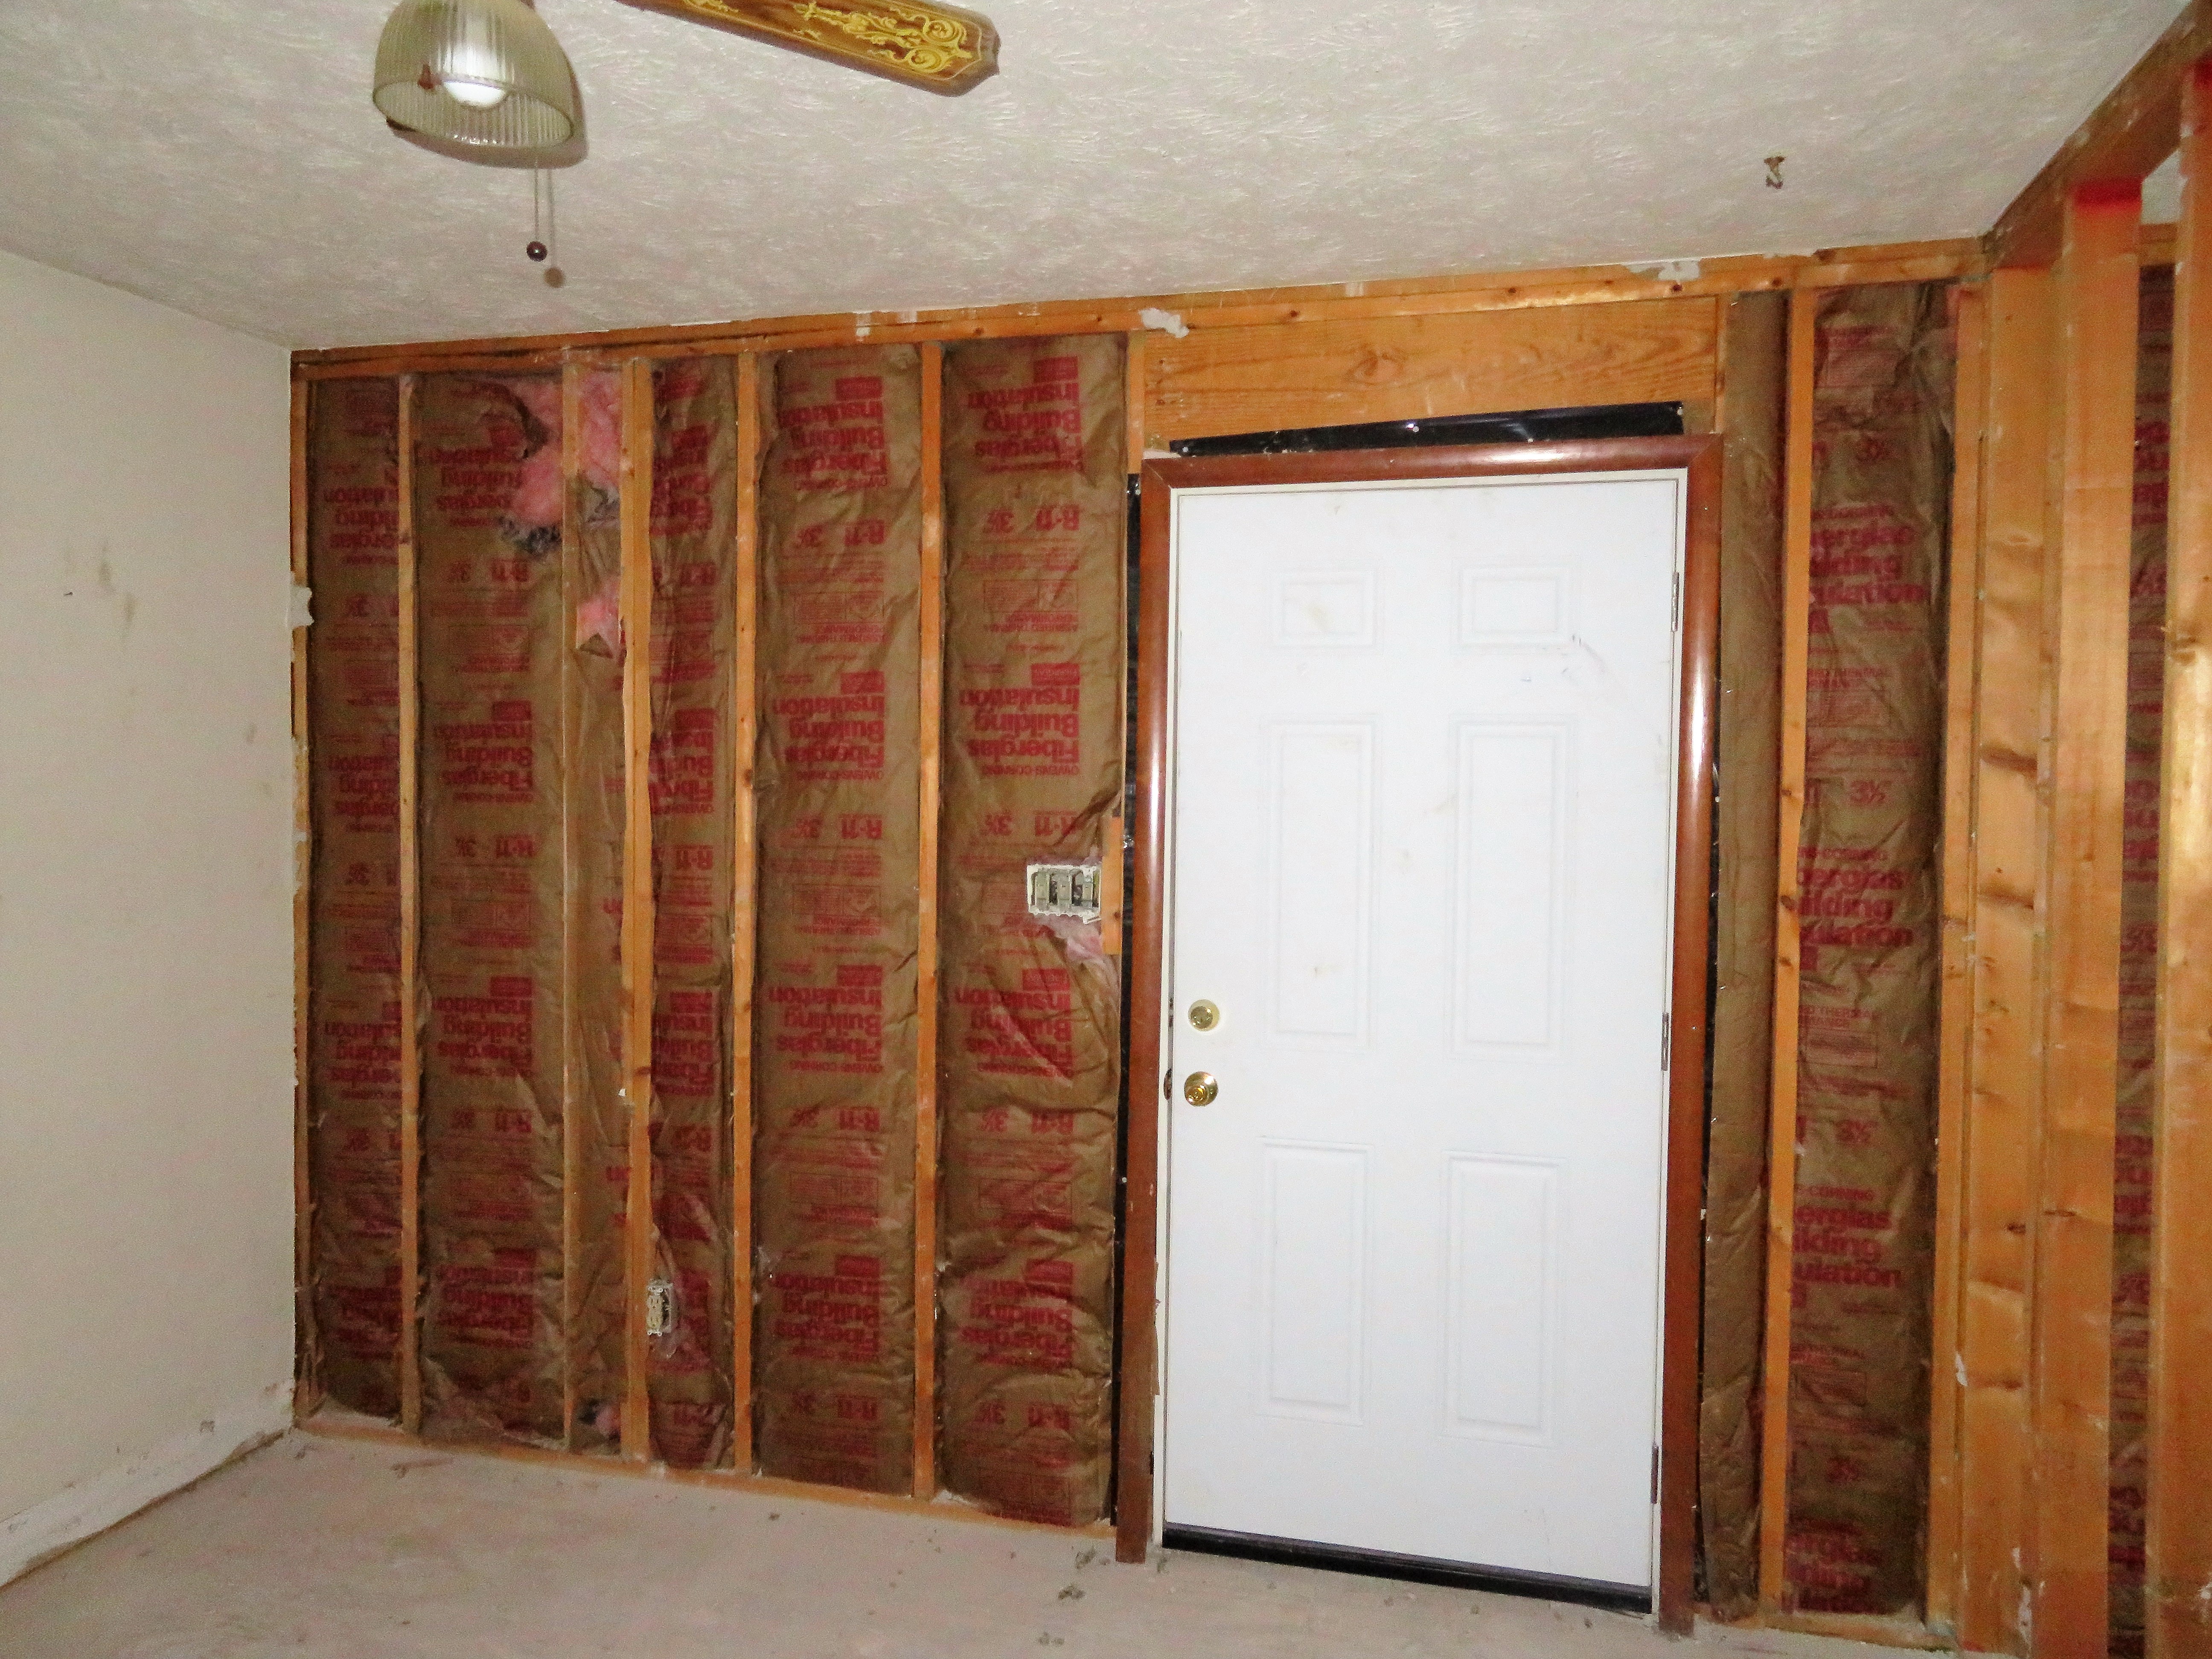
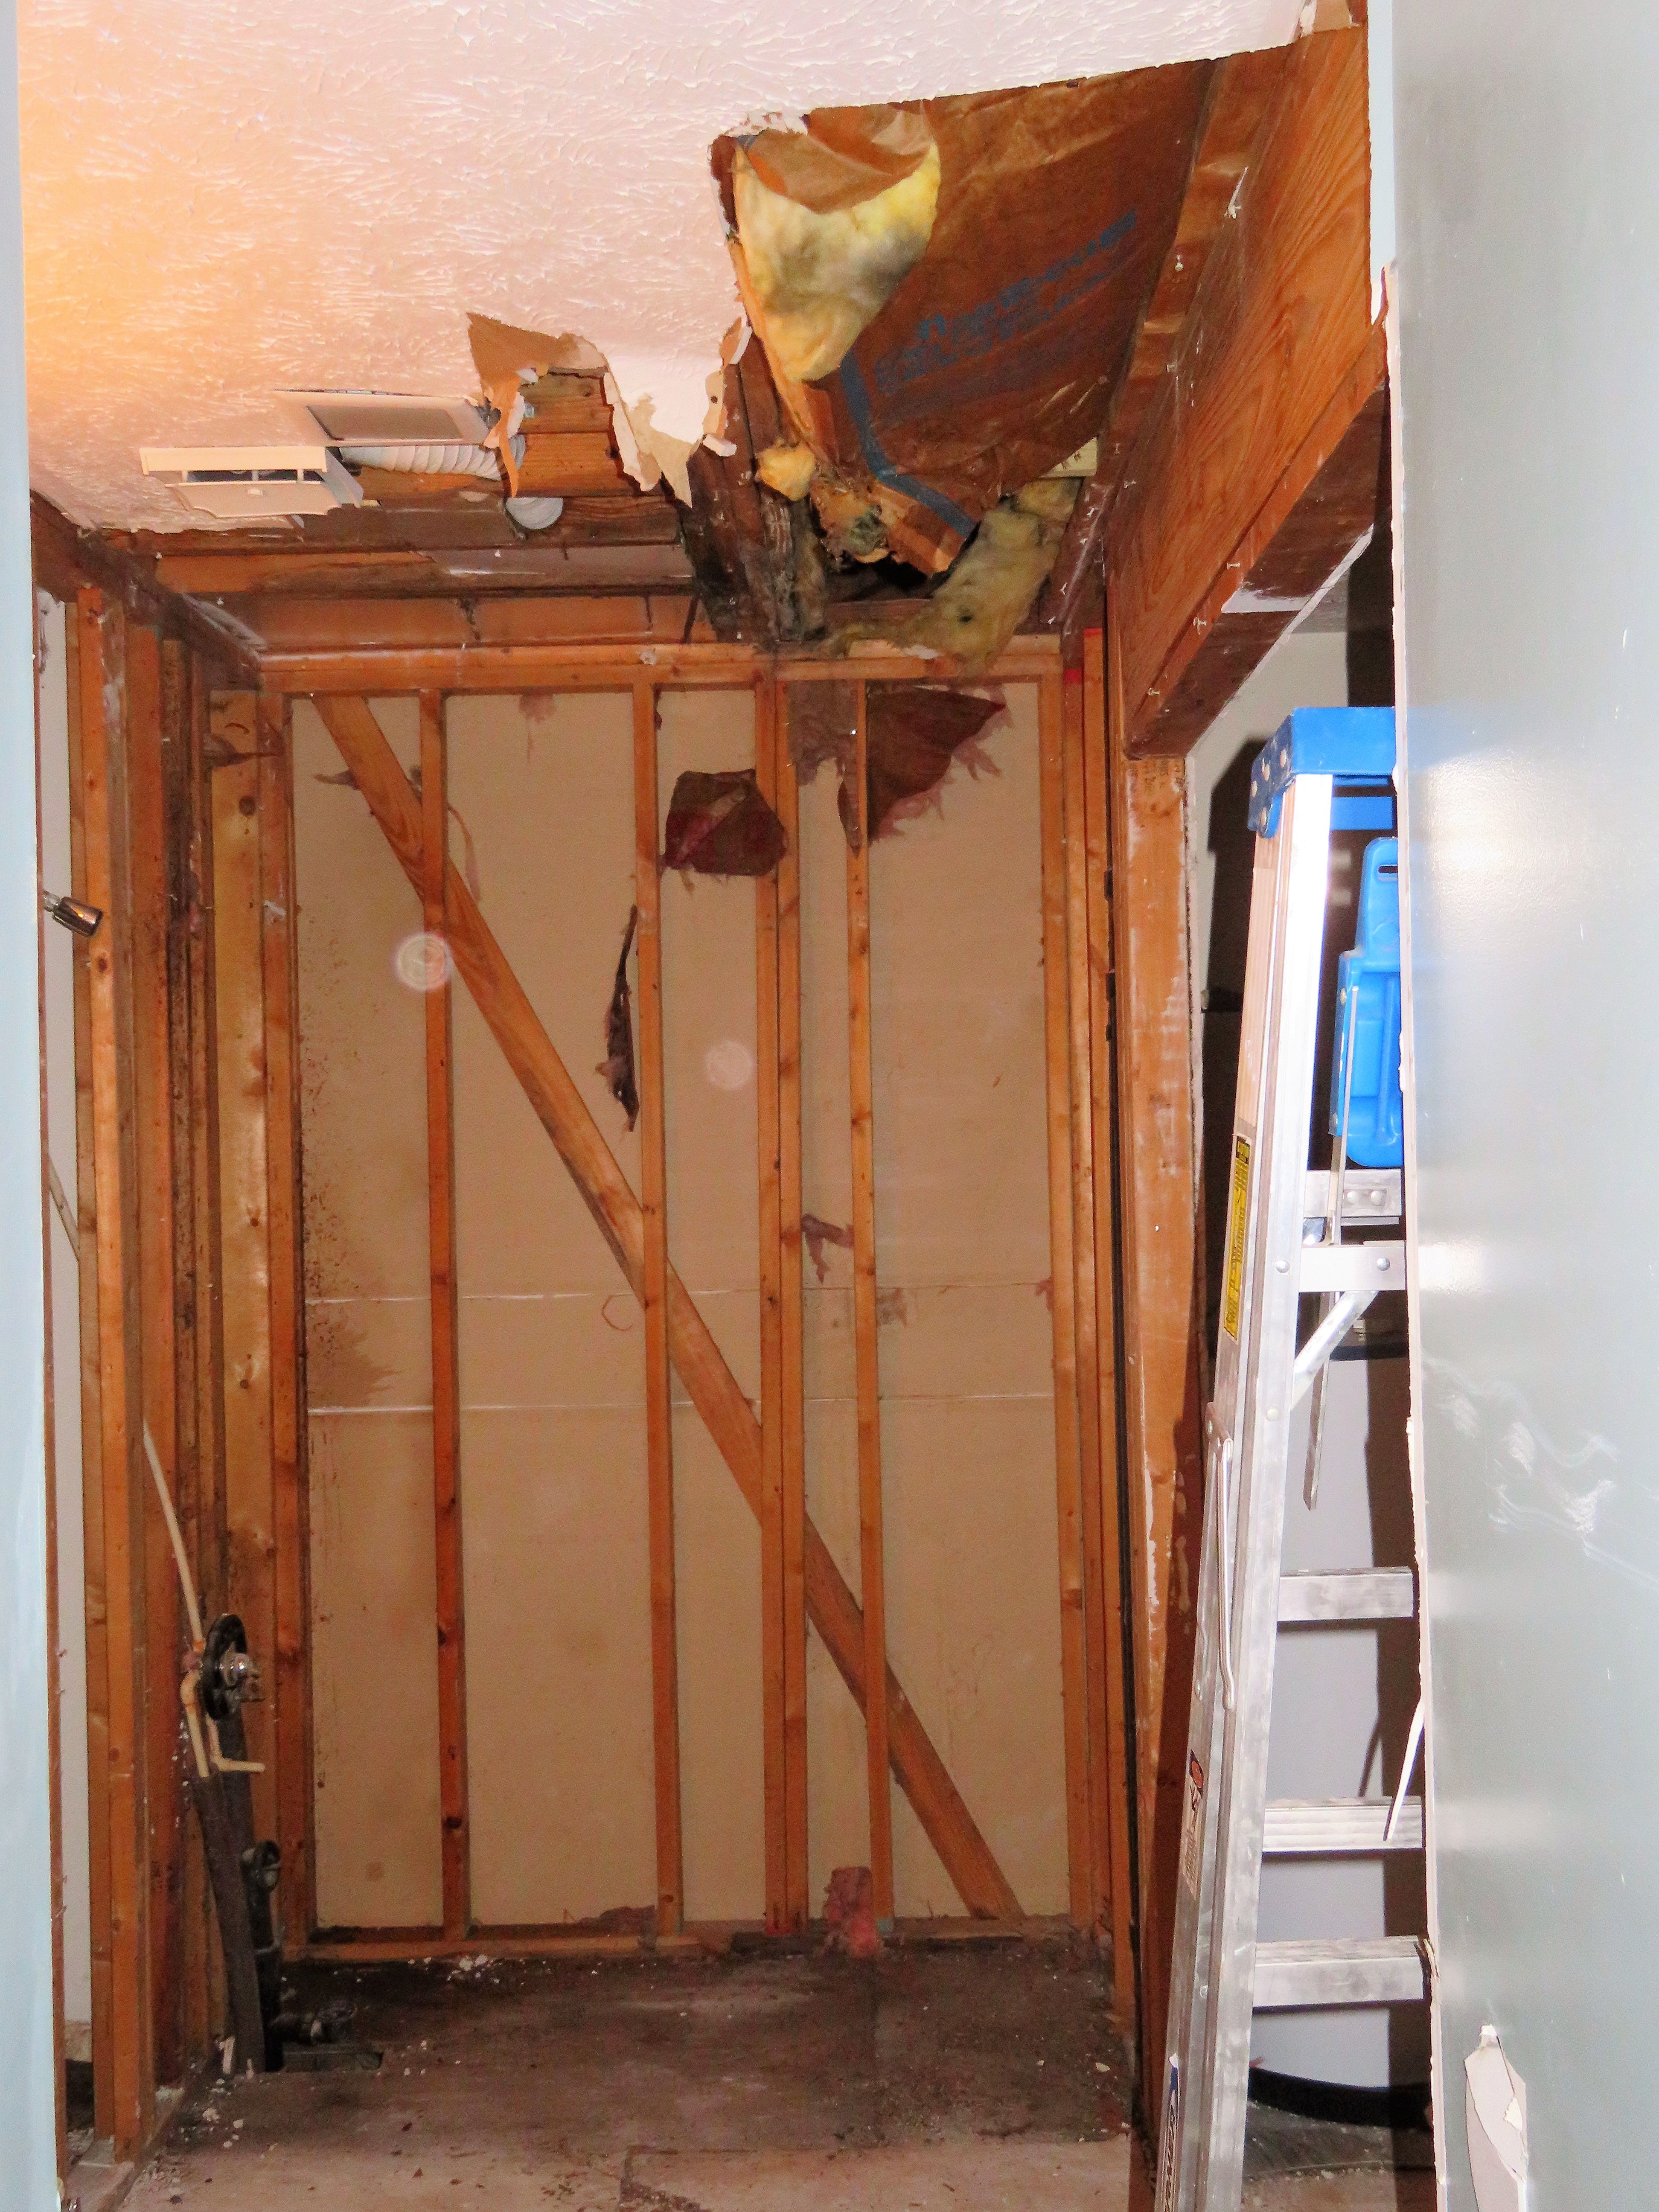
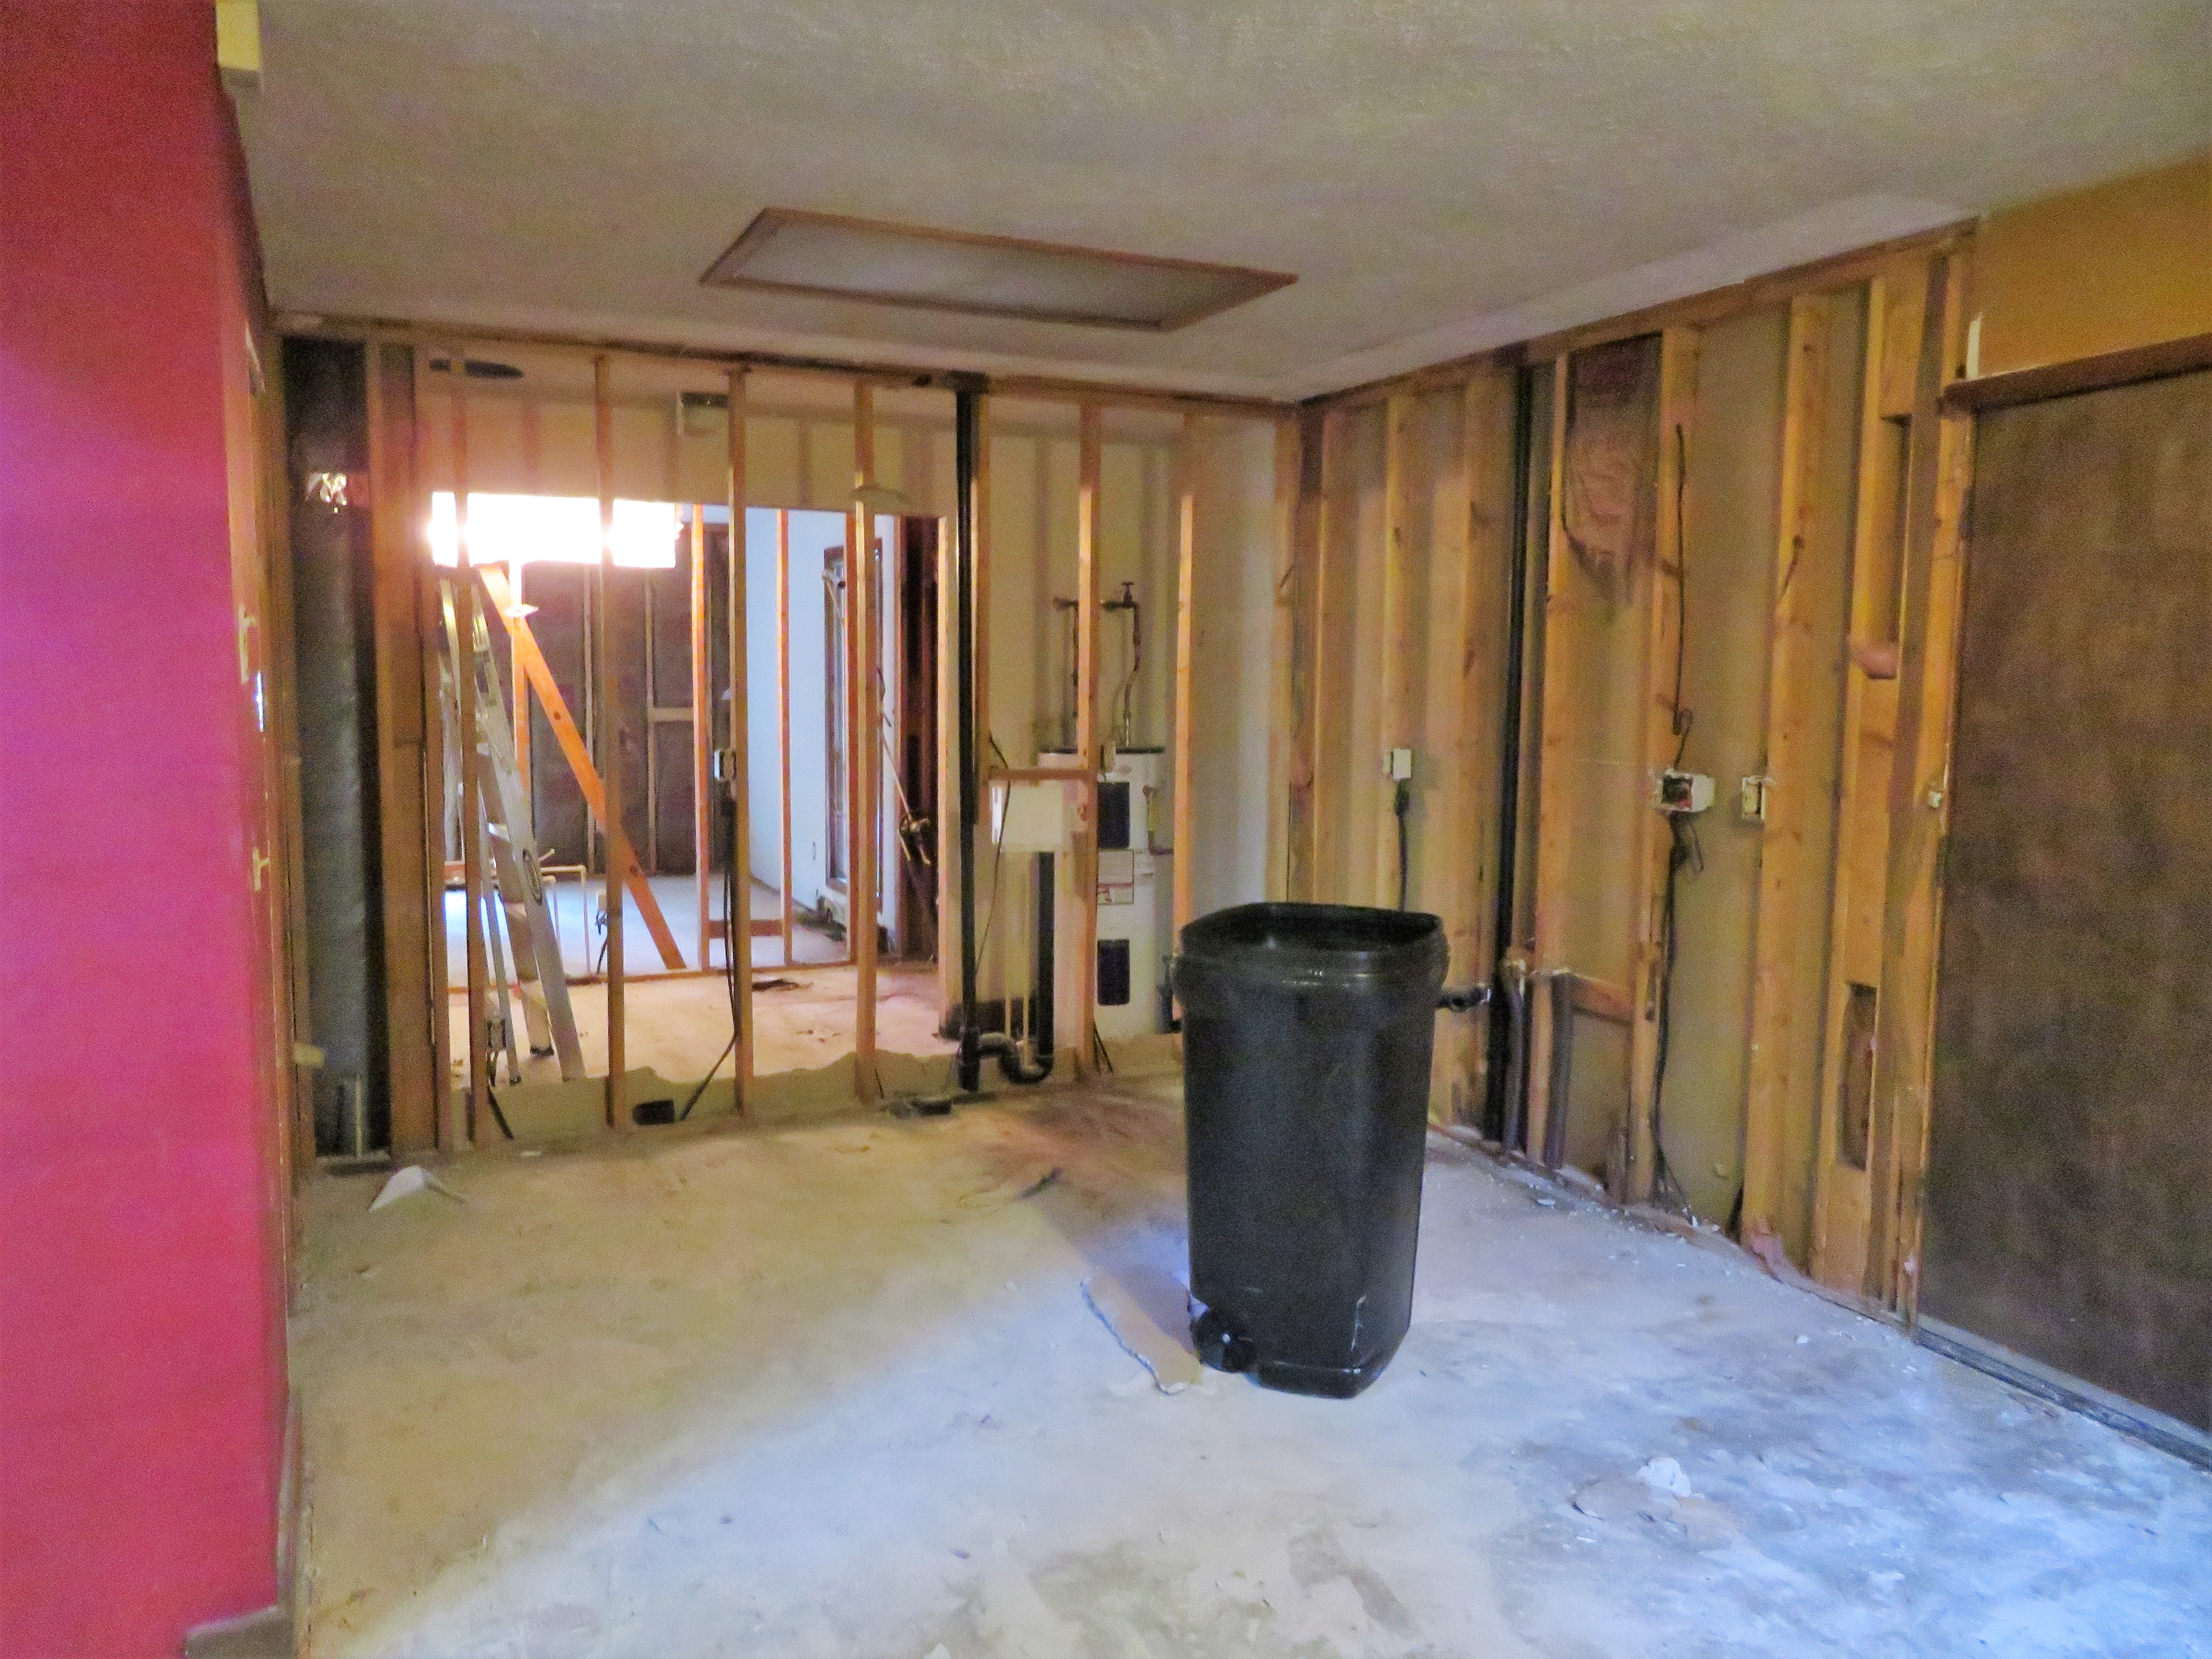
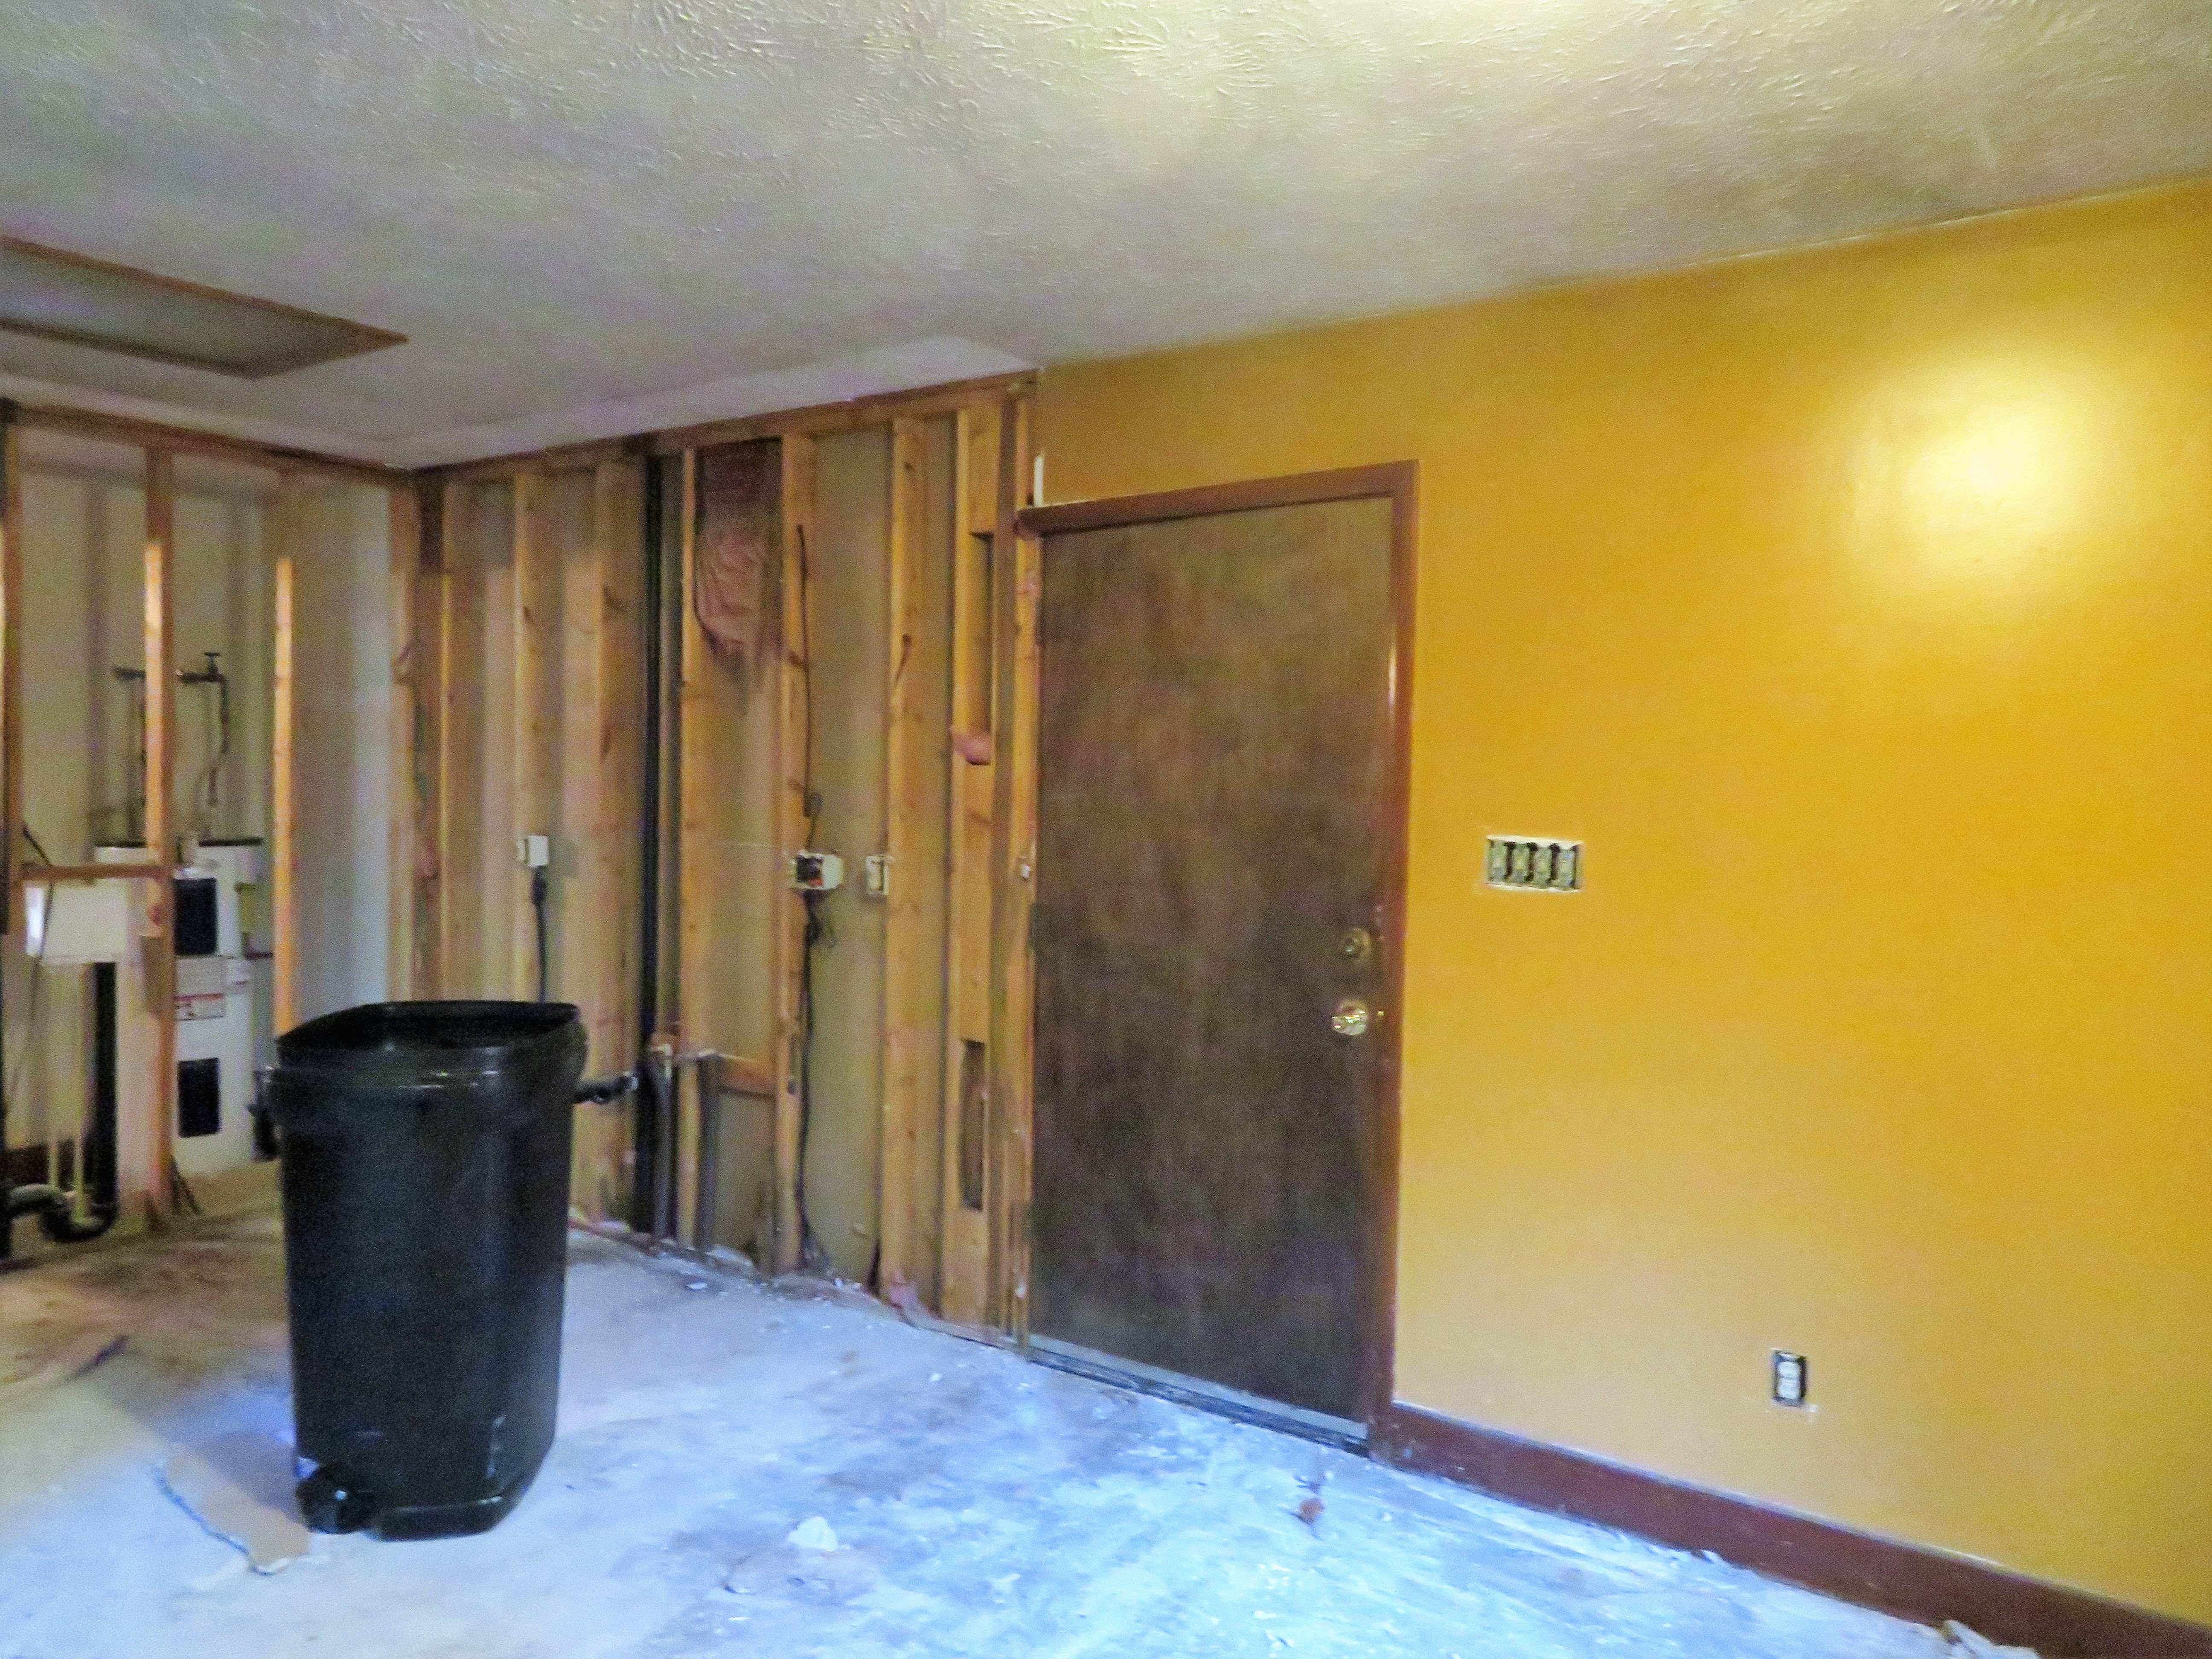
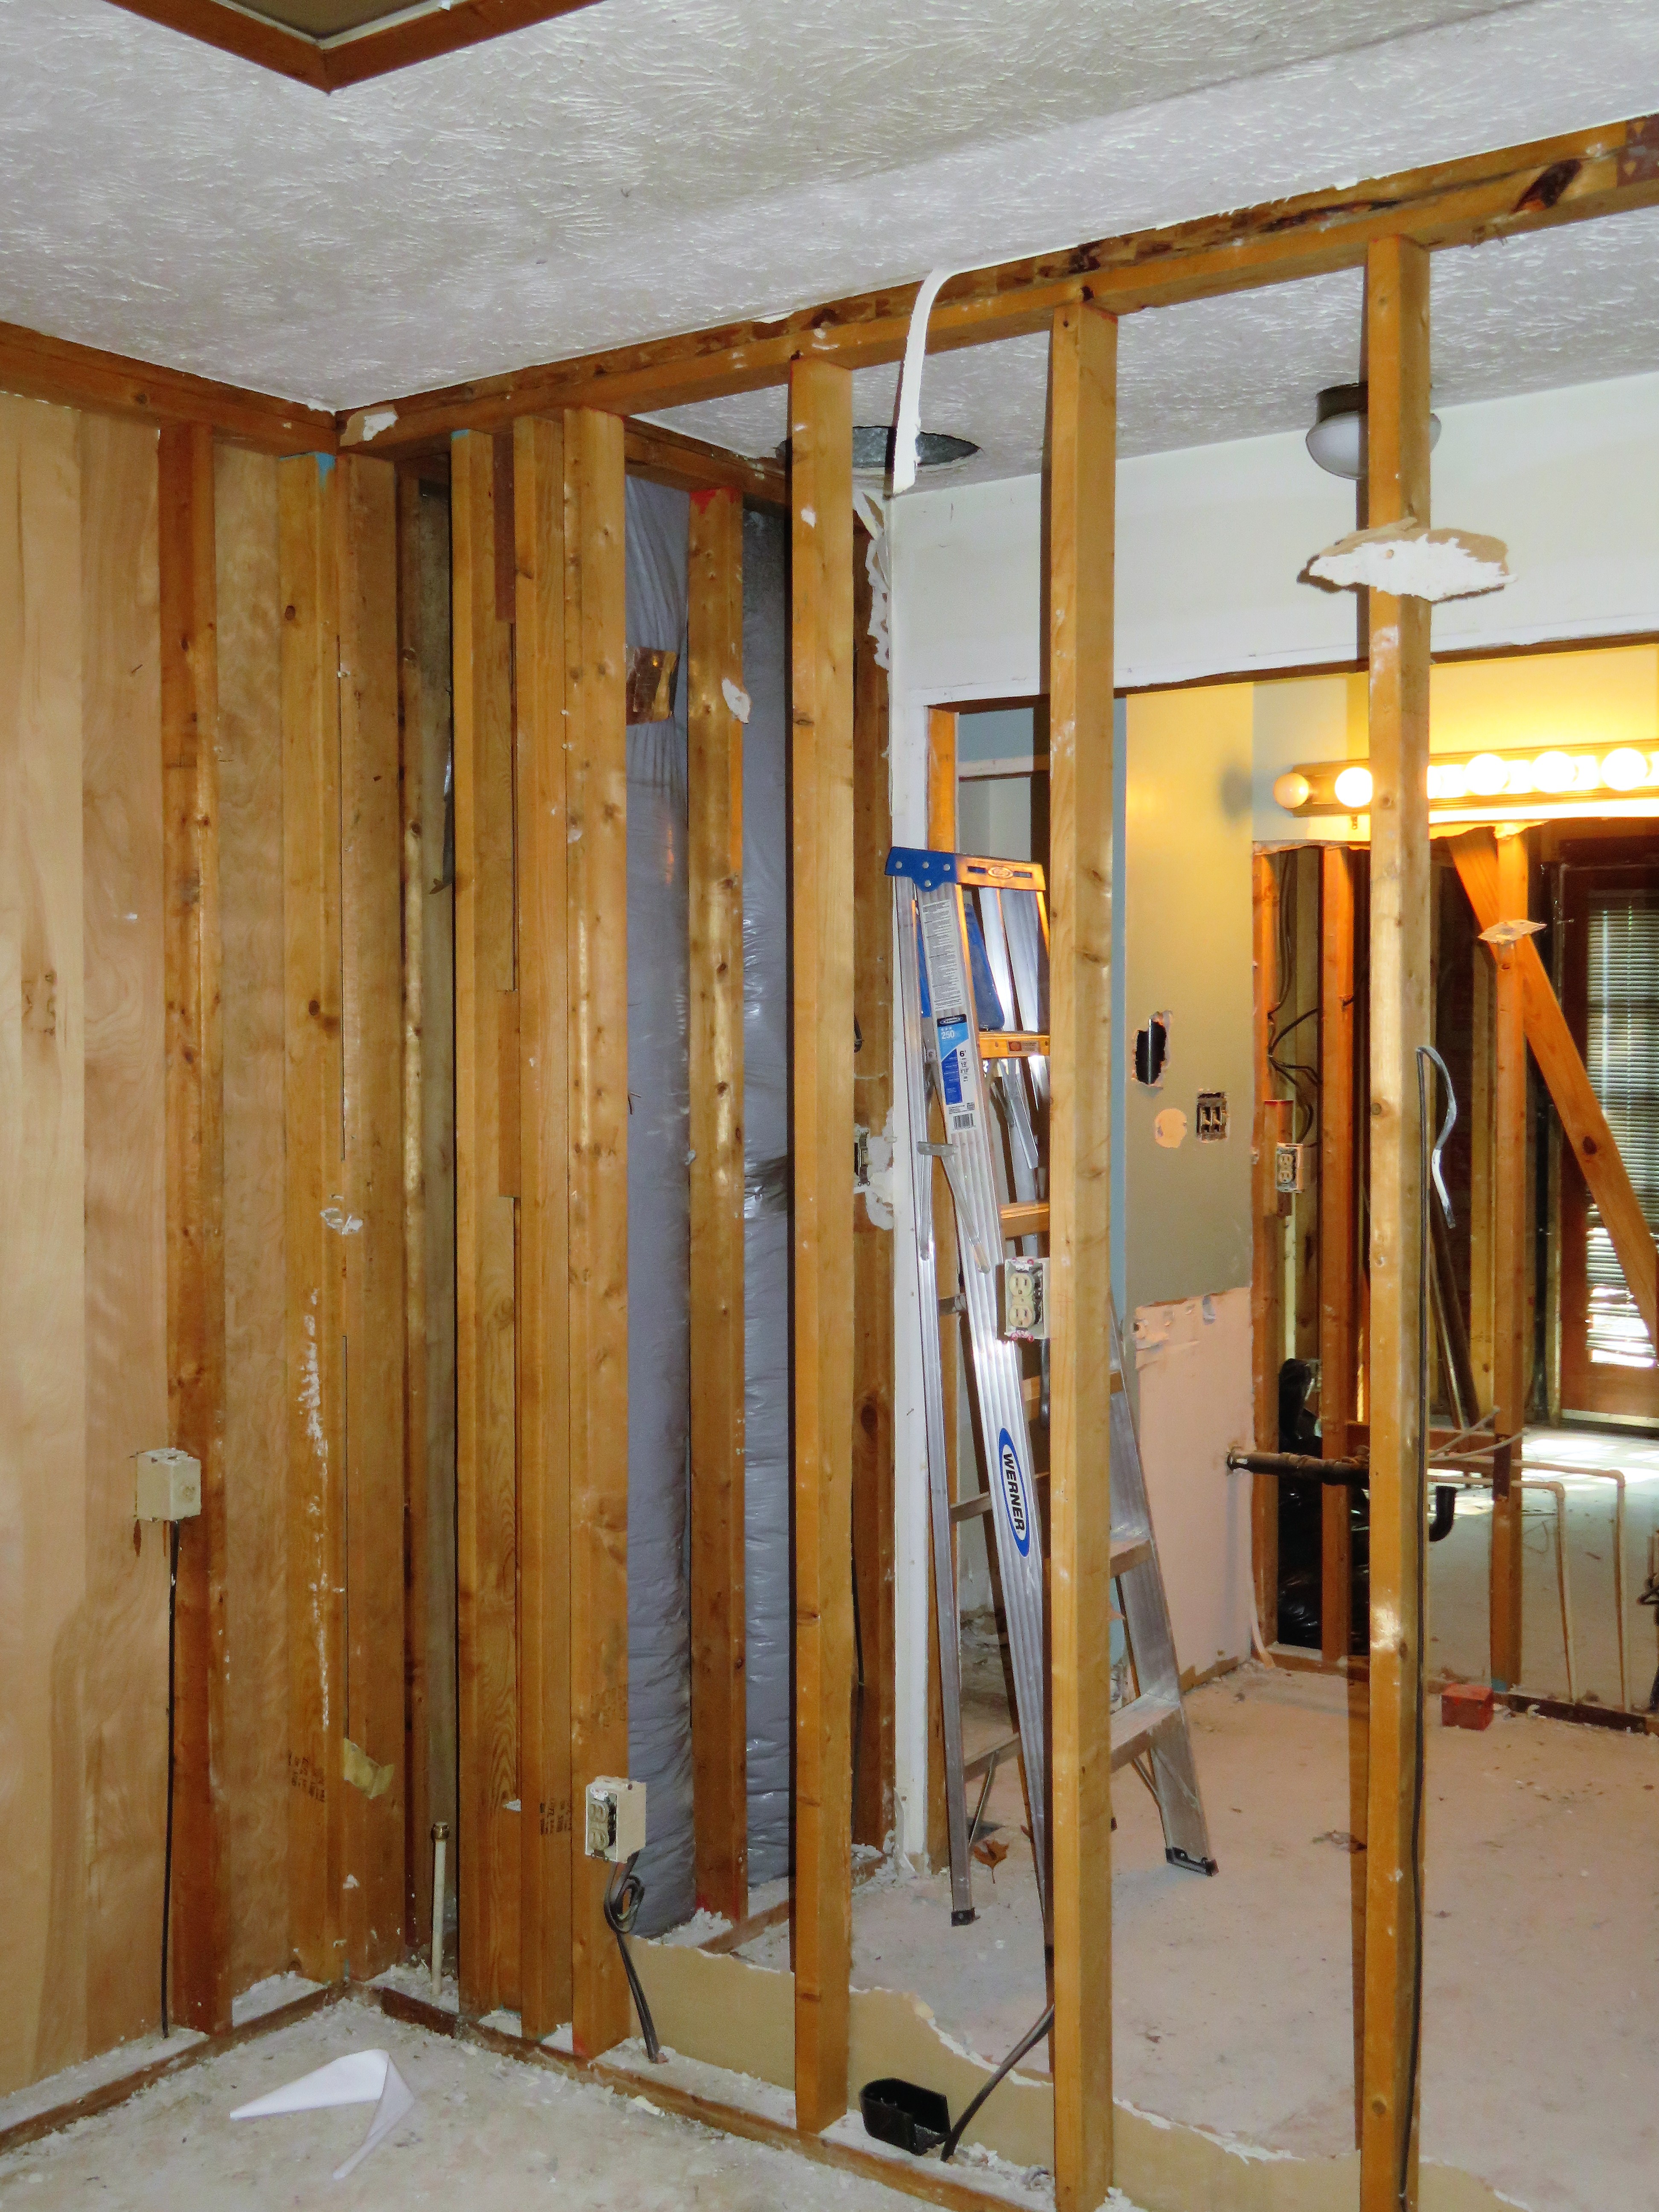
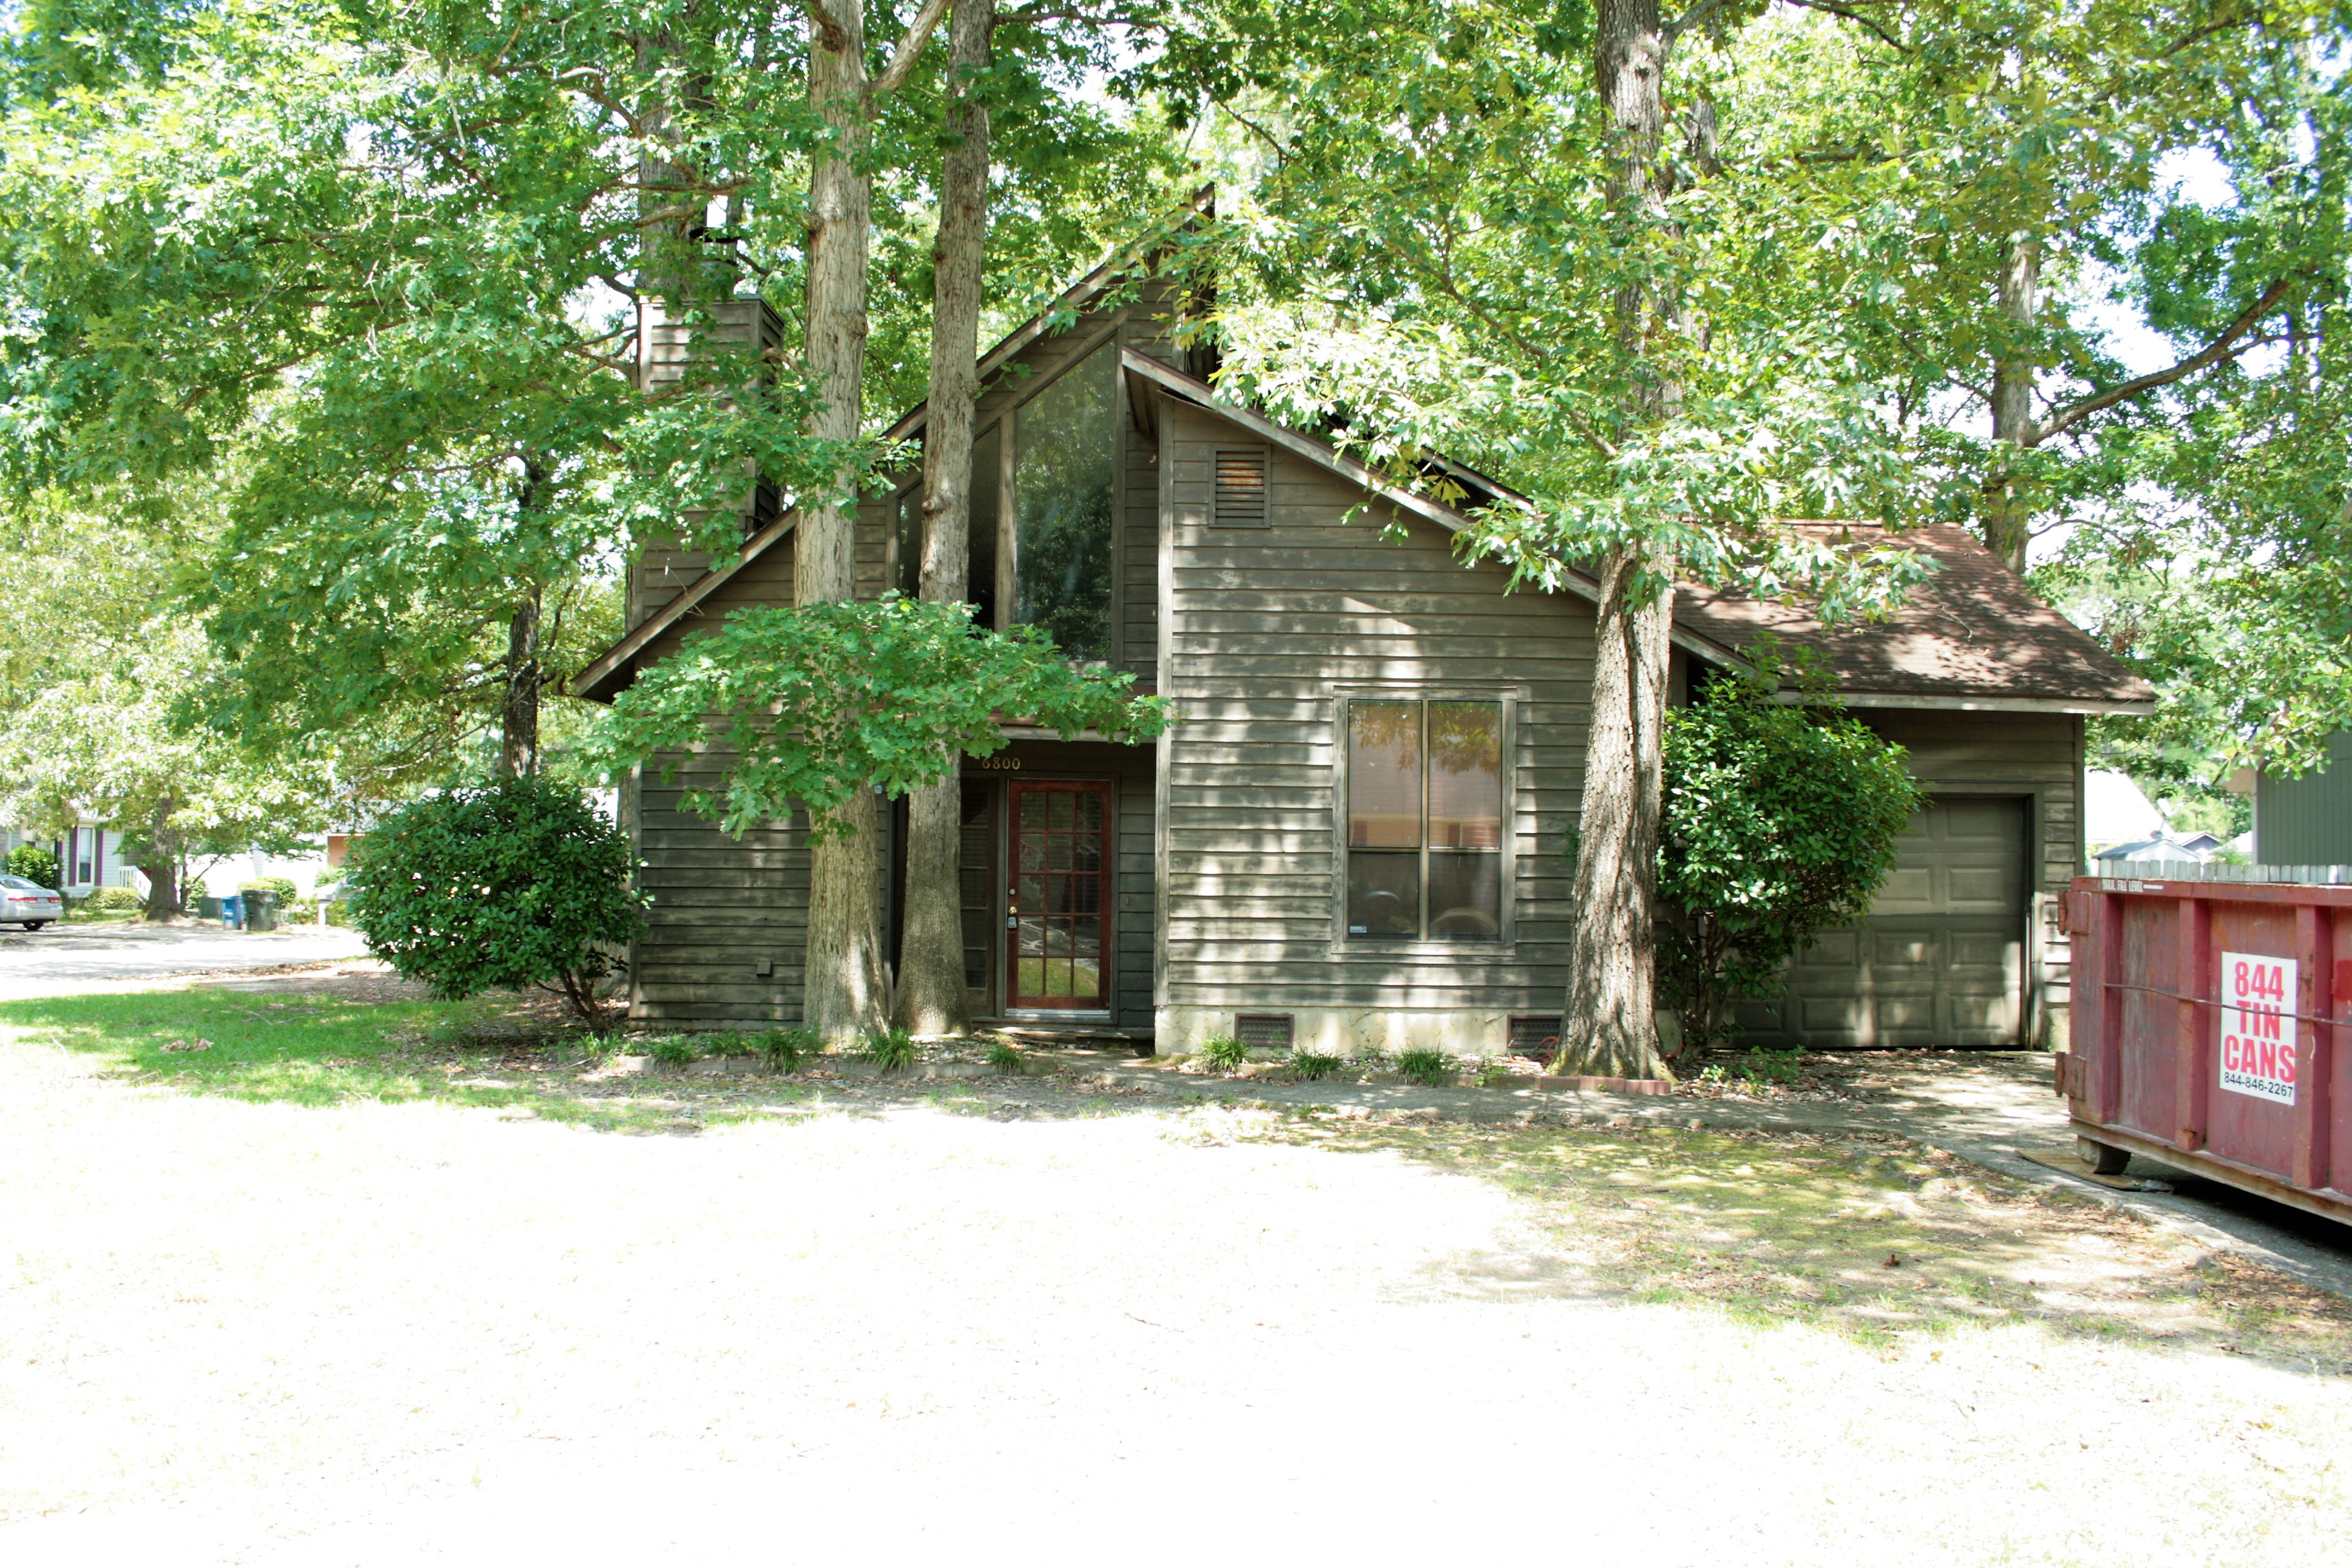
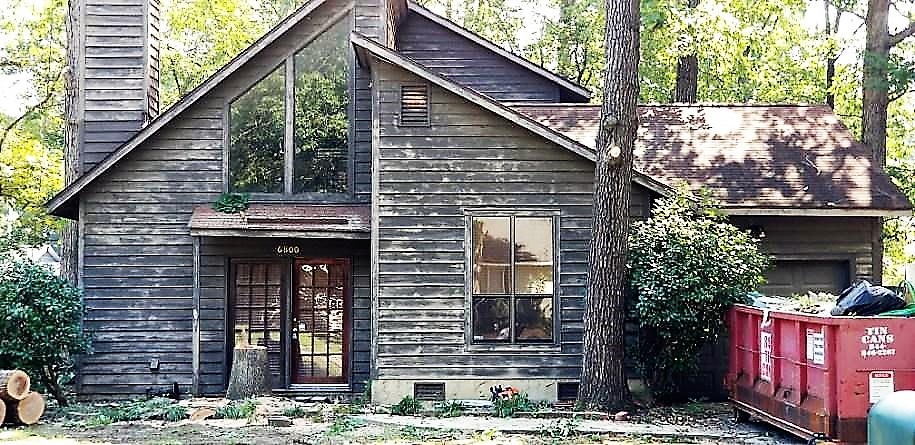
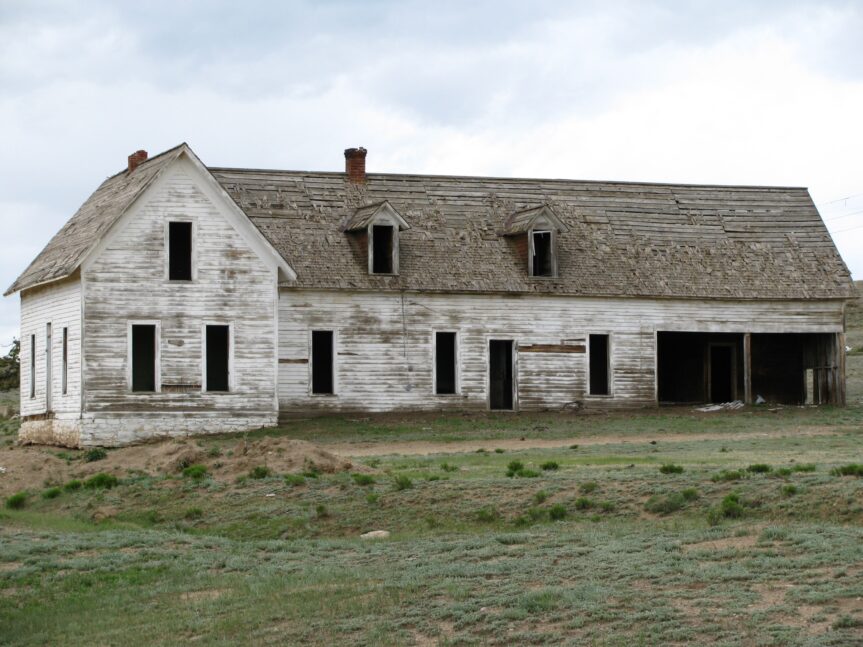
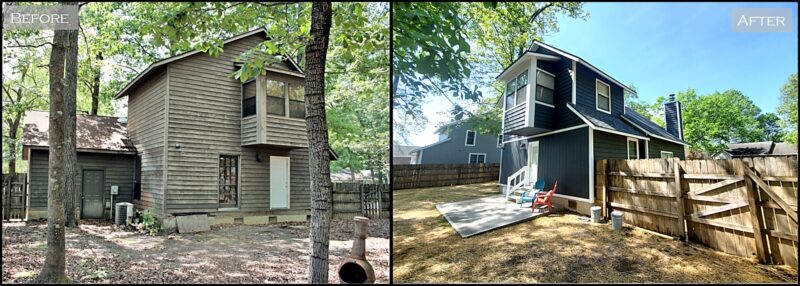
Even in a hot market, we came across a clearly distressed single family home in dire need of some TLC after a failed attempt by DIYer/flipper.

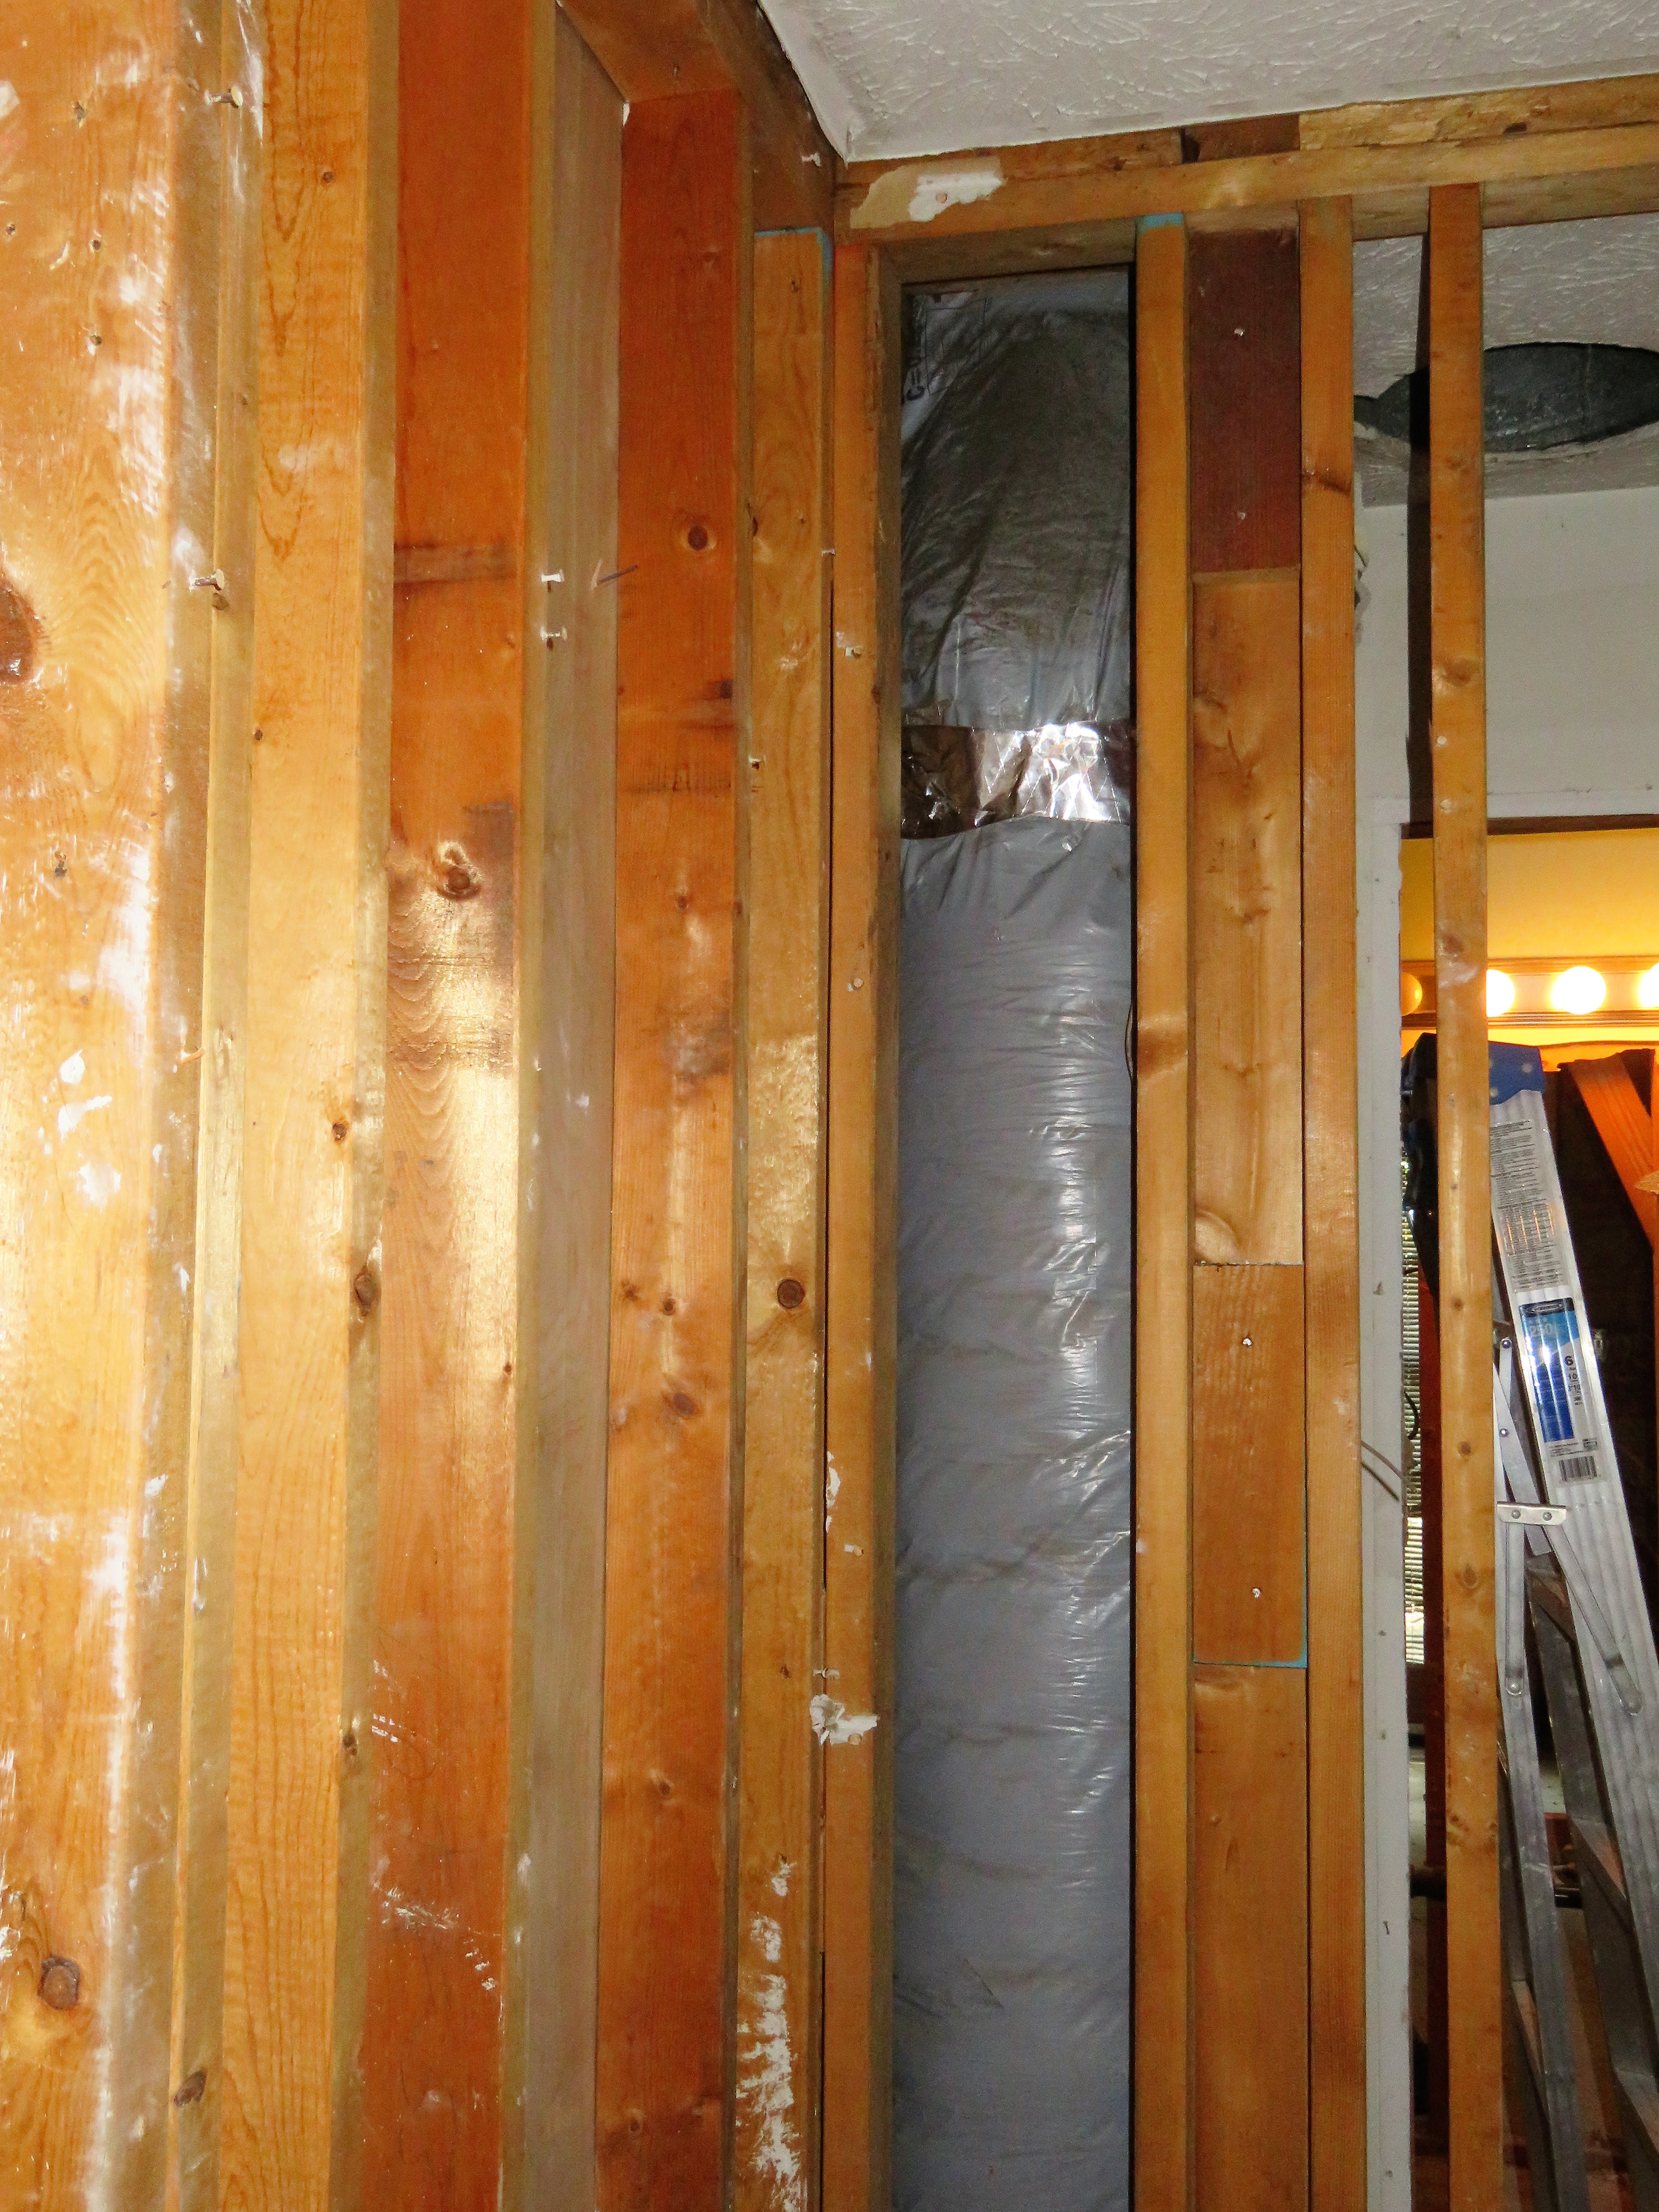
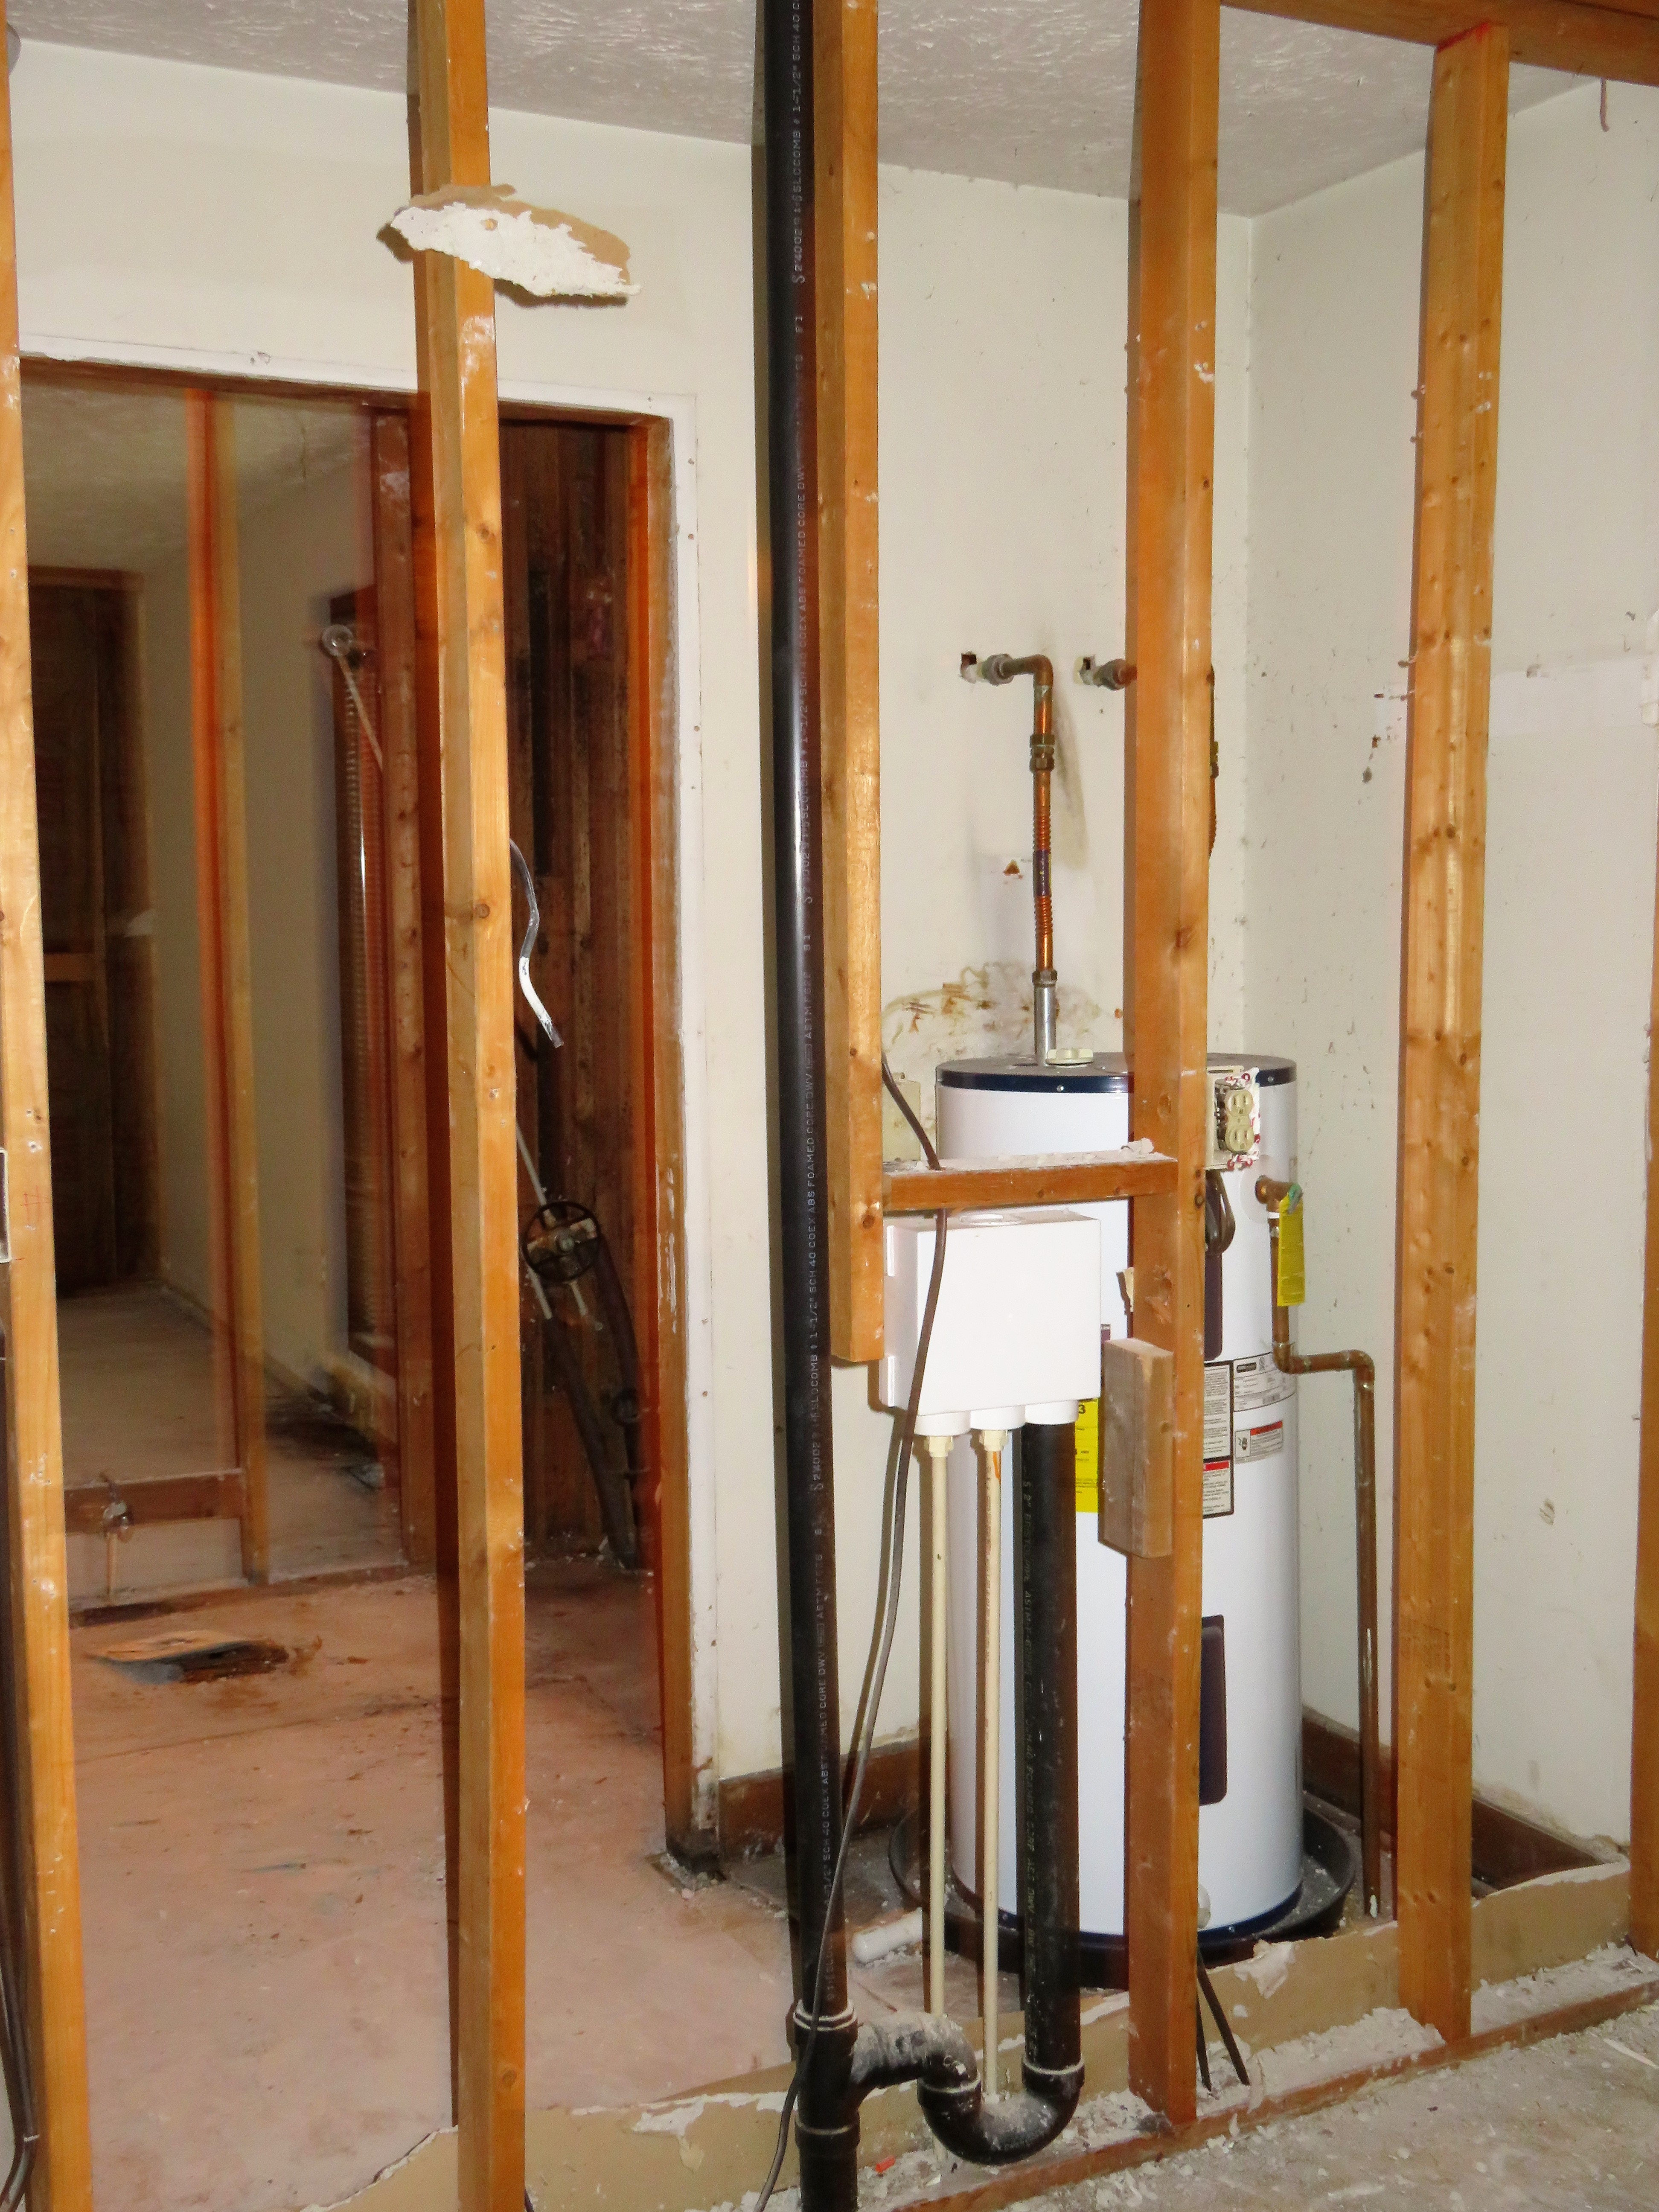
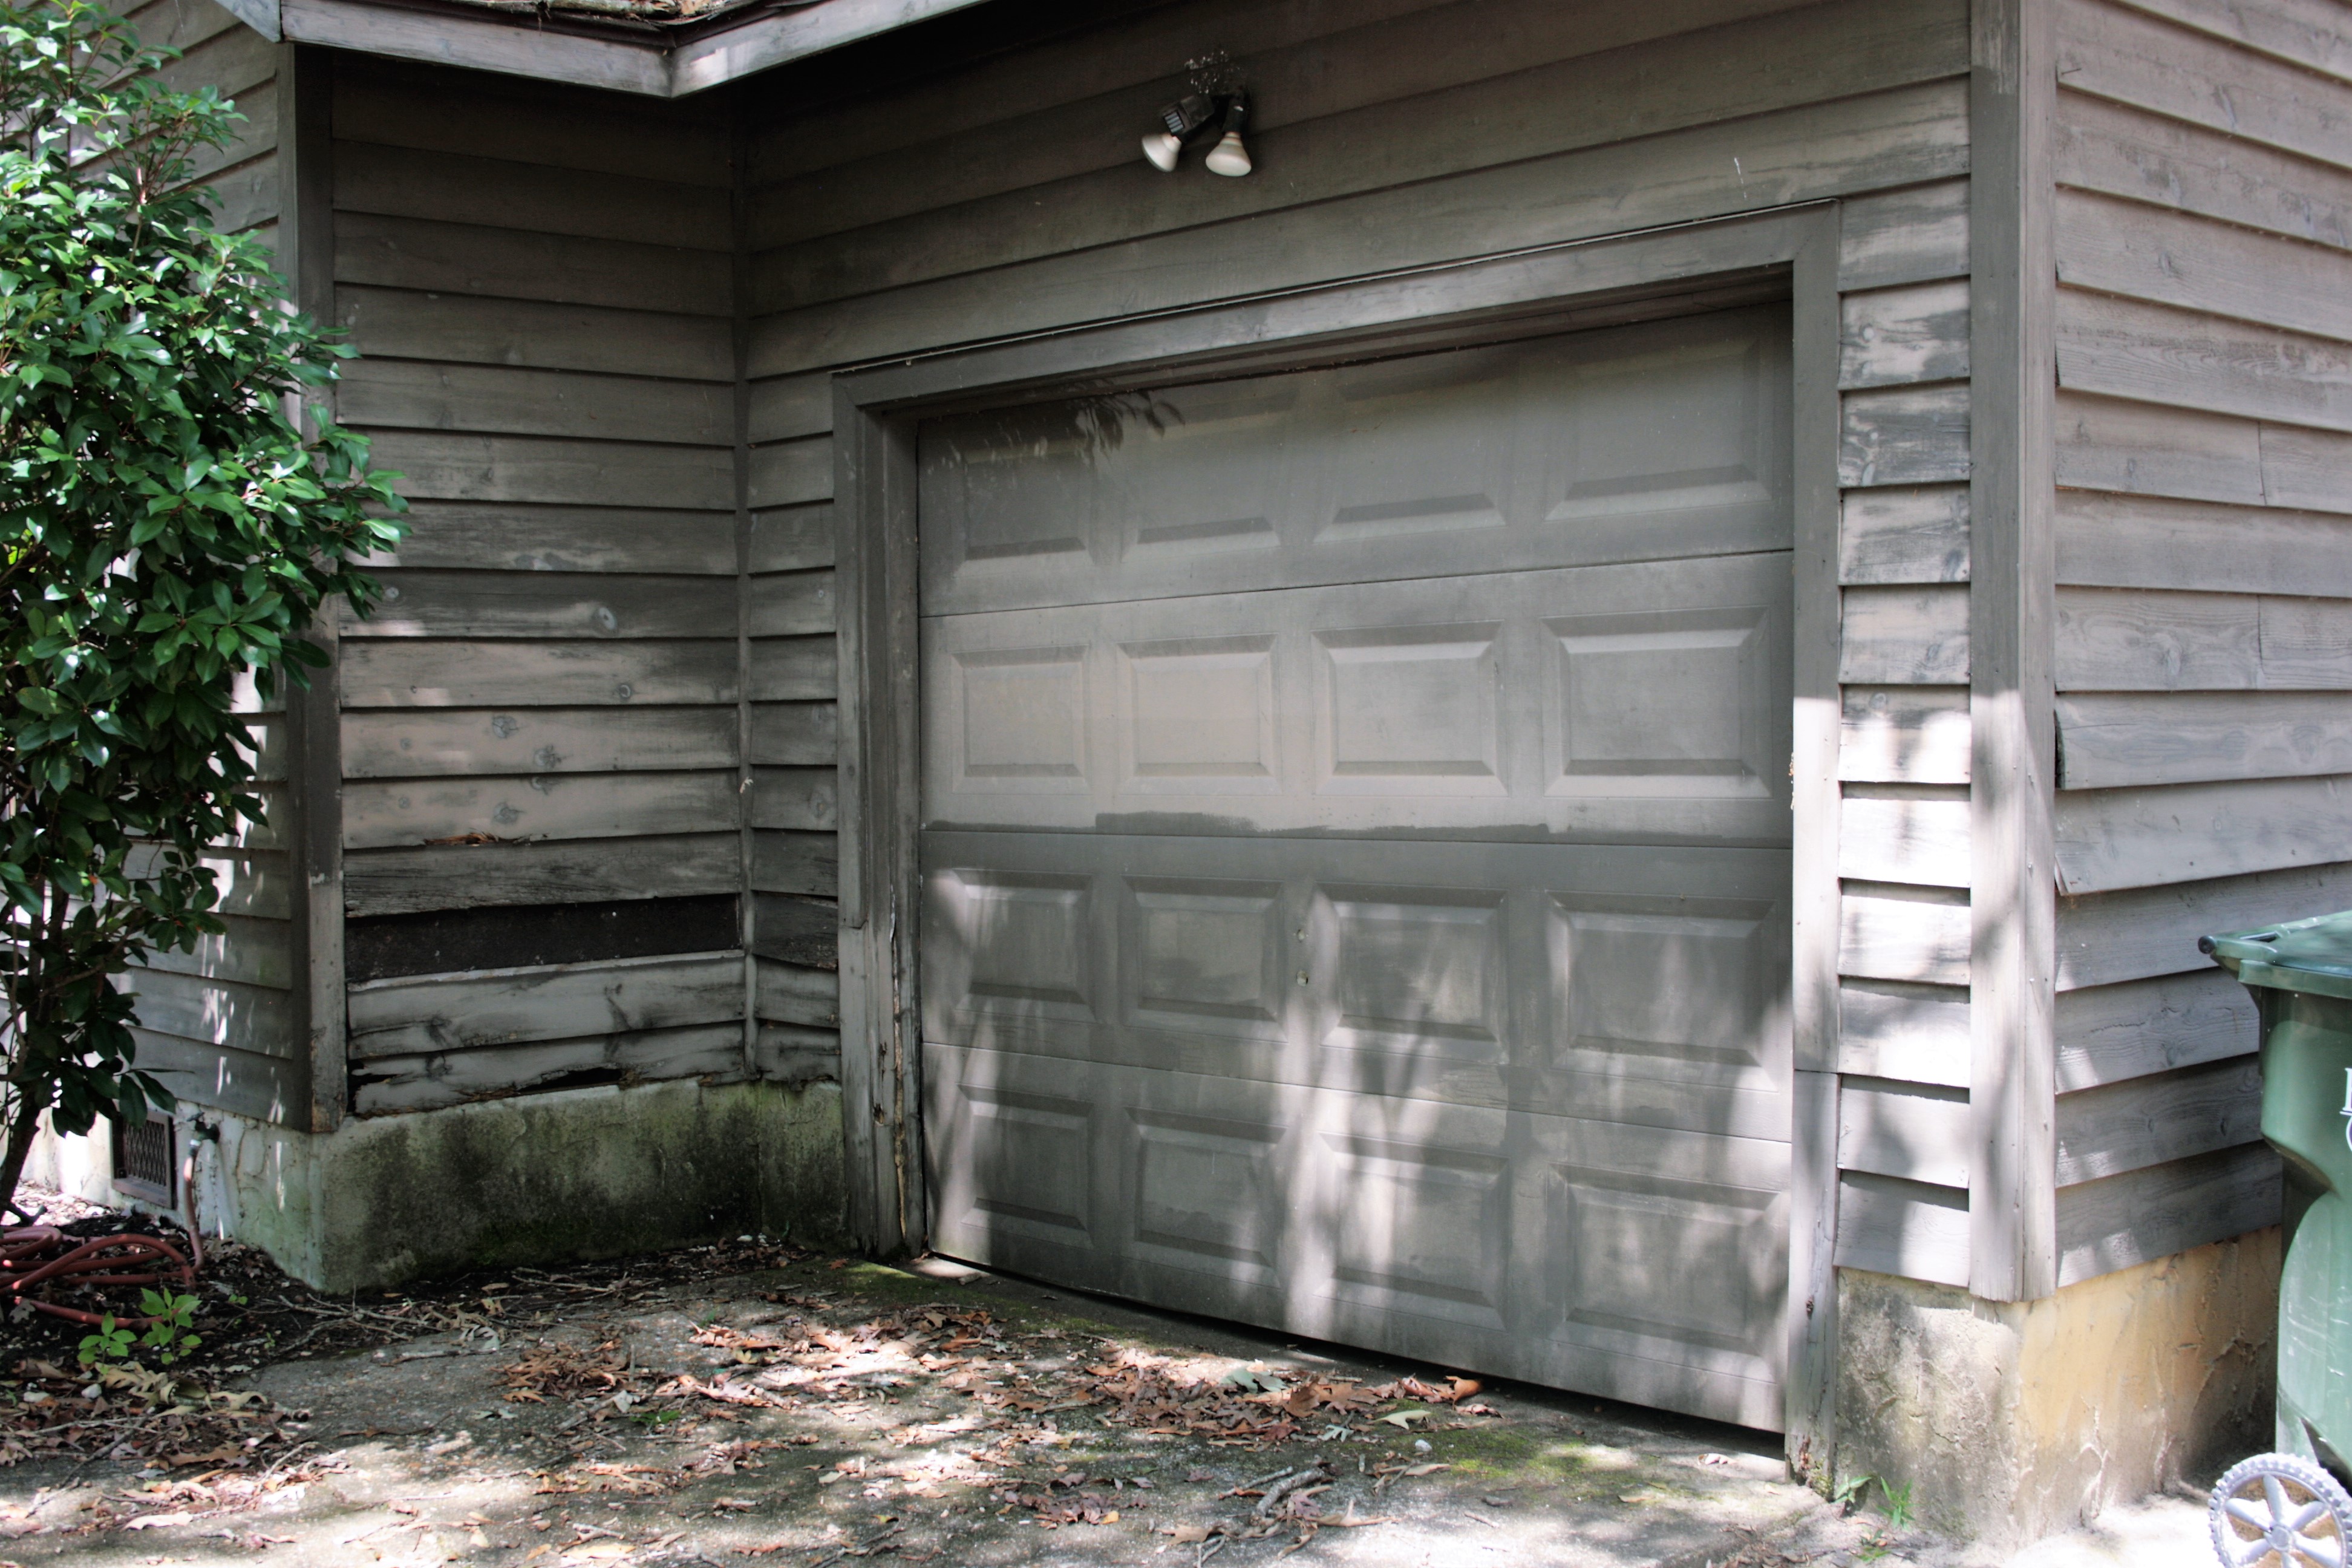
It was very evident by the lengthy list of issues stemming from poor handyman work throughout this house to include: poorly laid laminate flooring, sloppy int/ext painting, uneven flooring, hazardous electrical, and no working HVAC system just to name a few. 

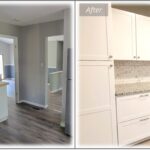
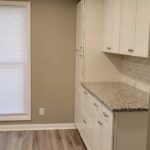
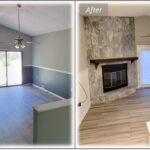
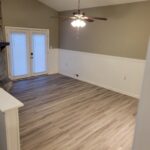
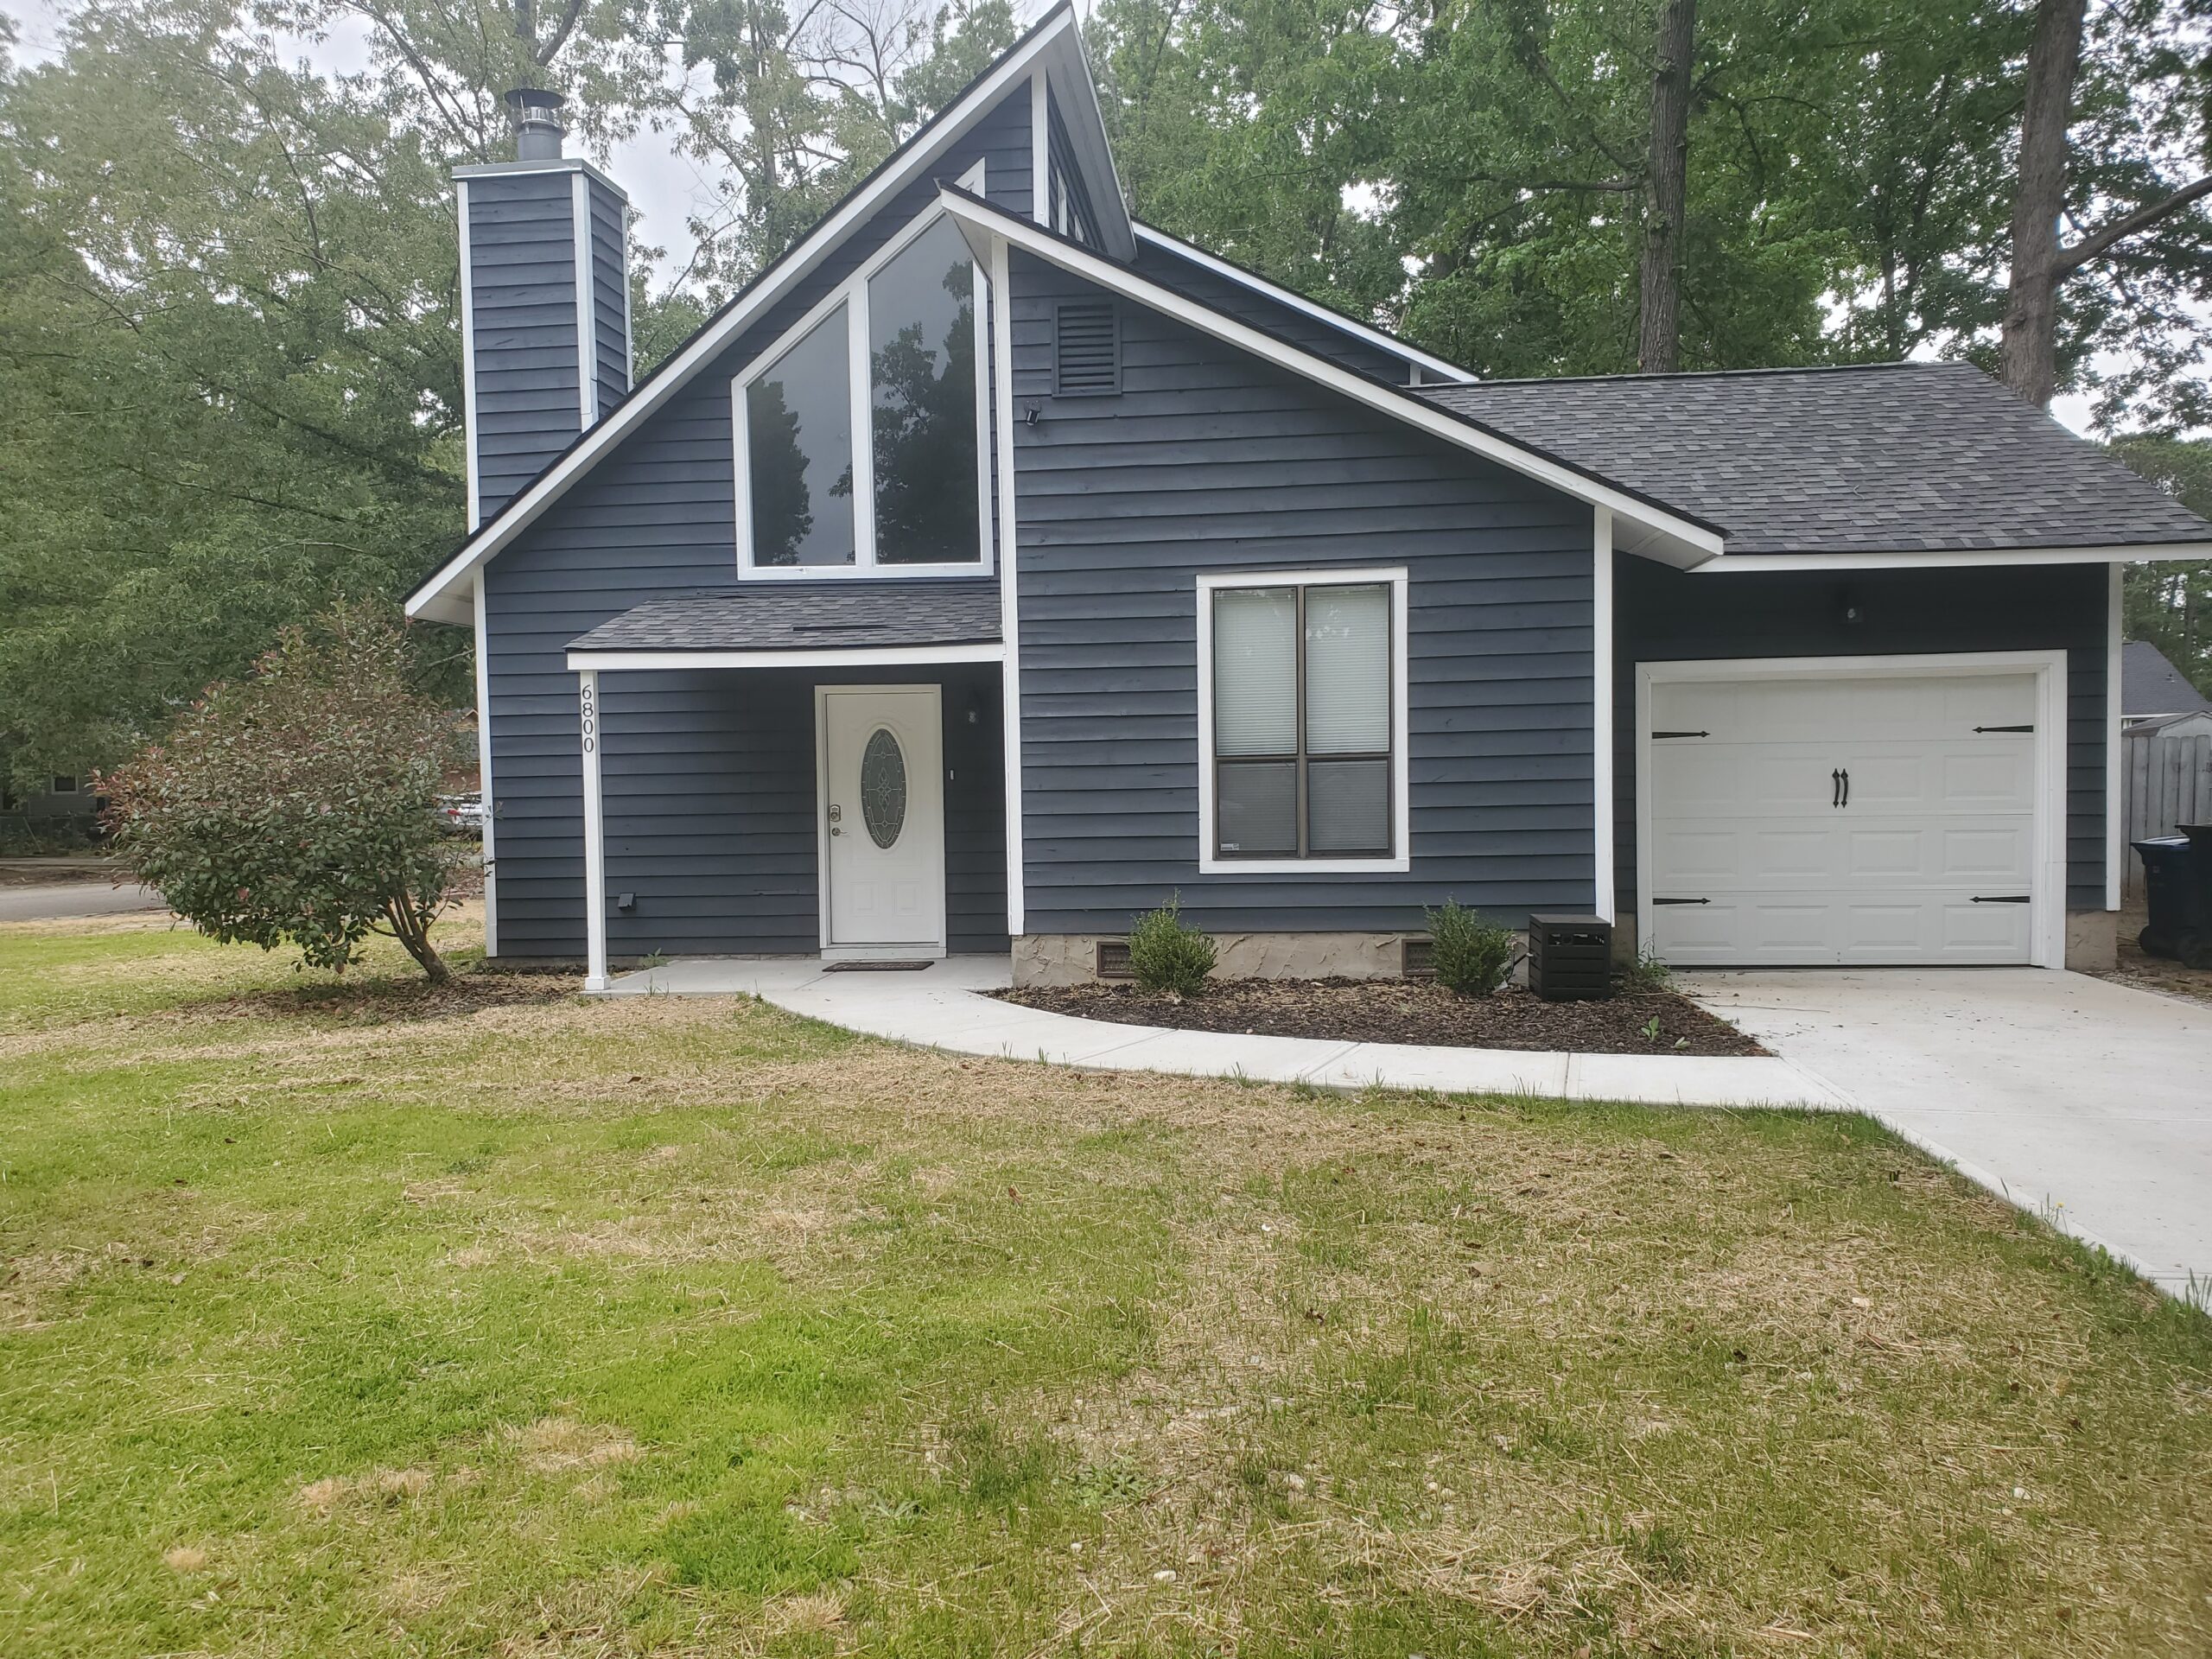
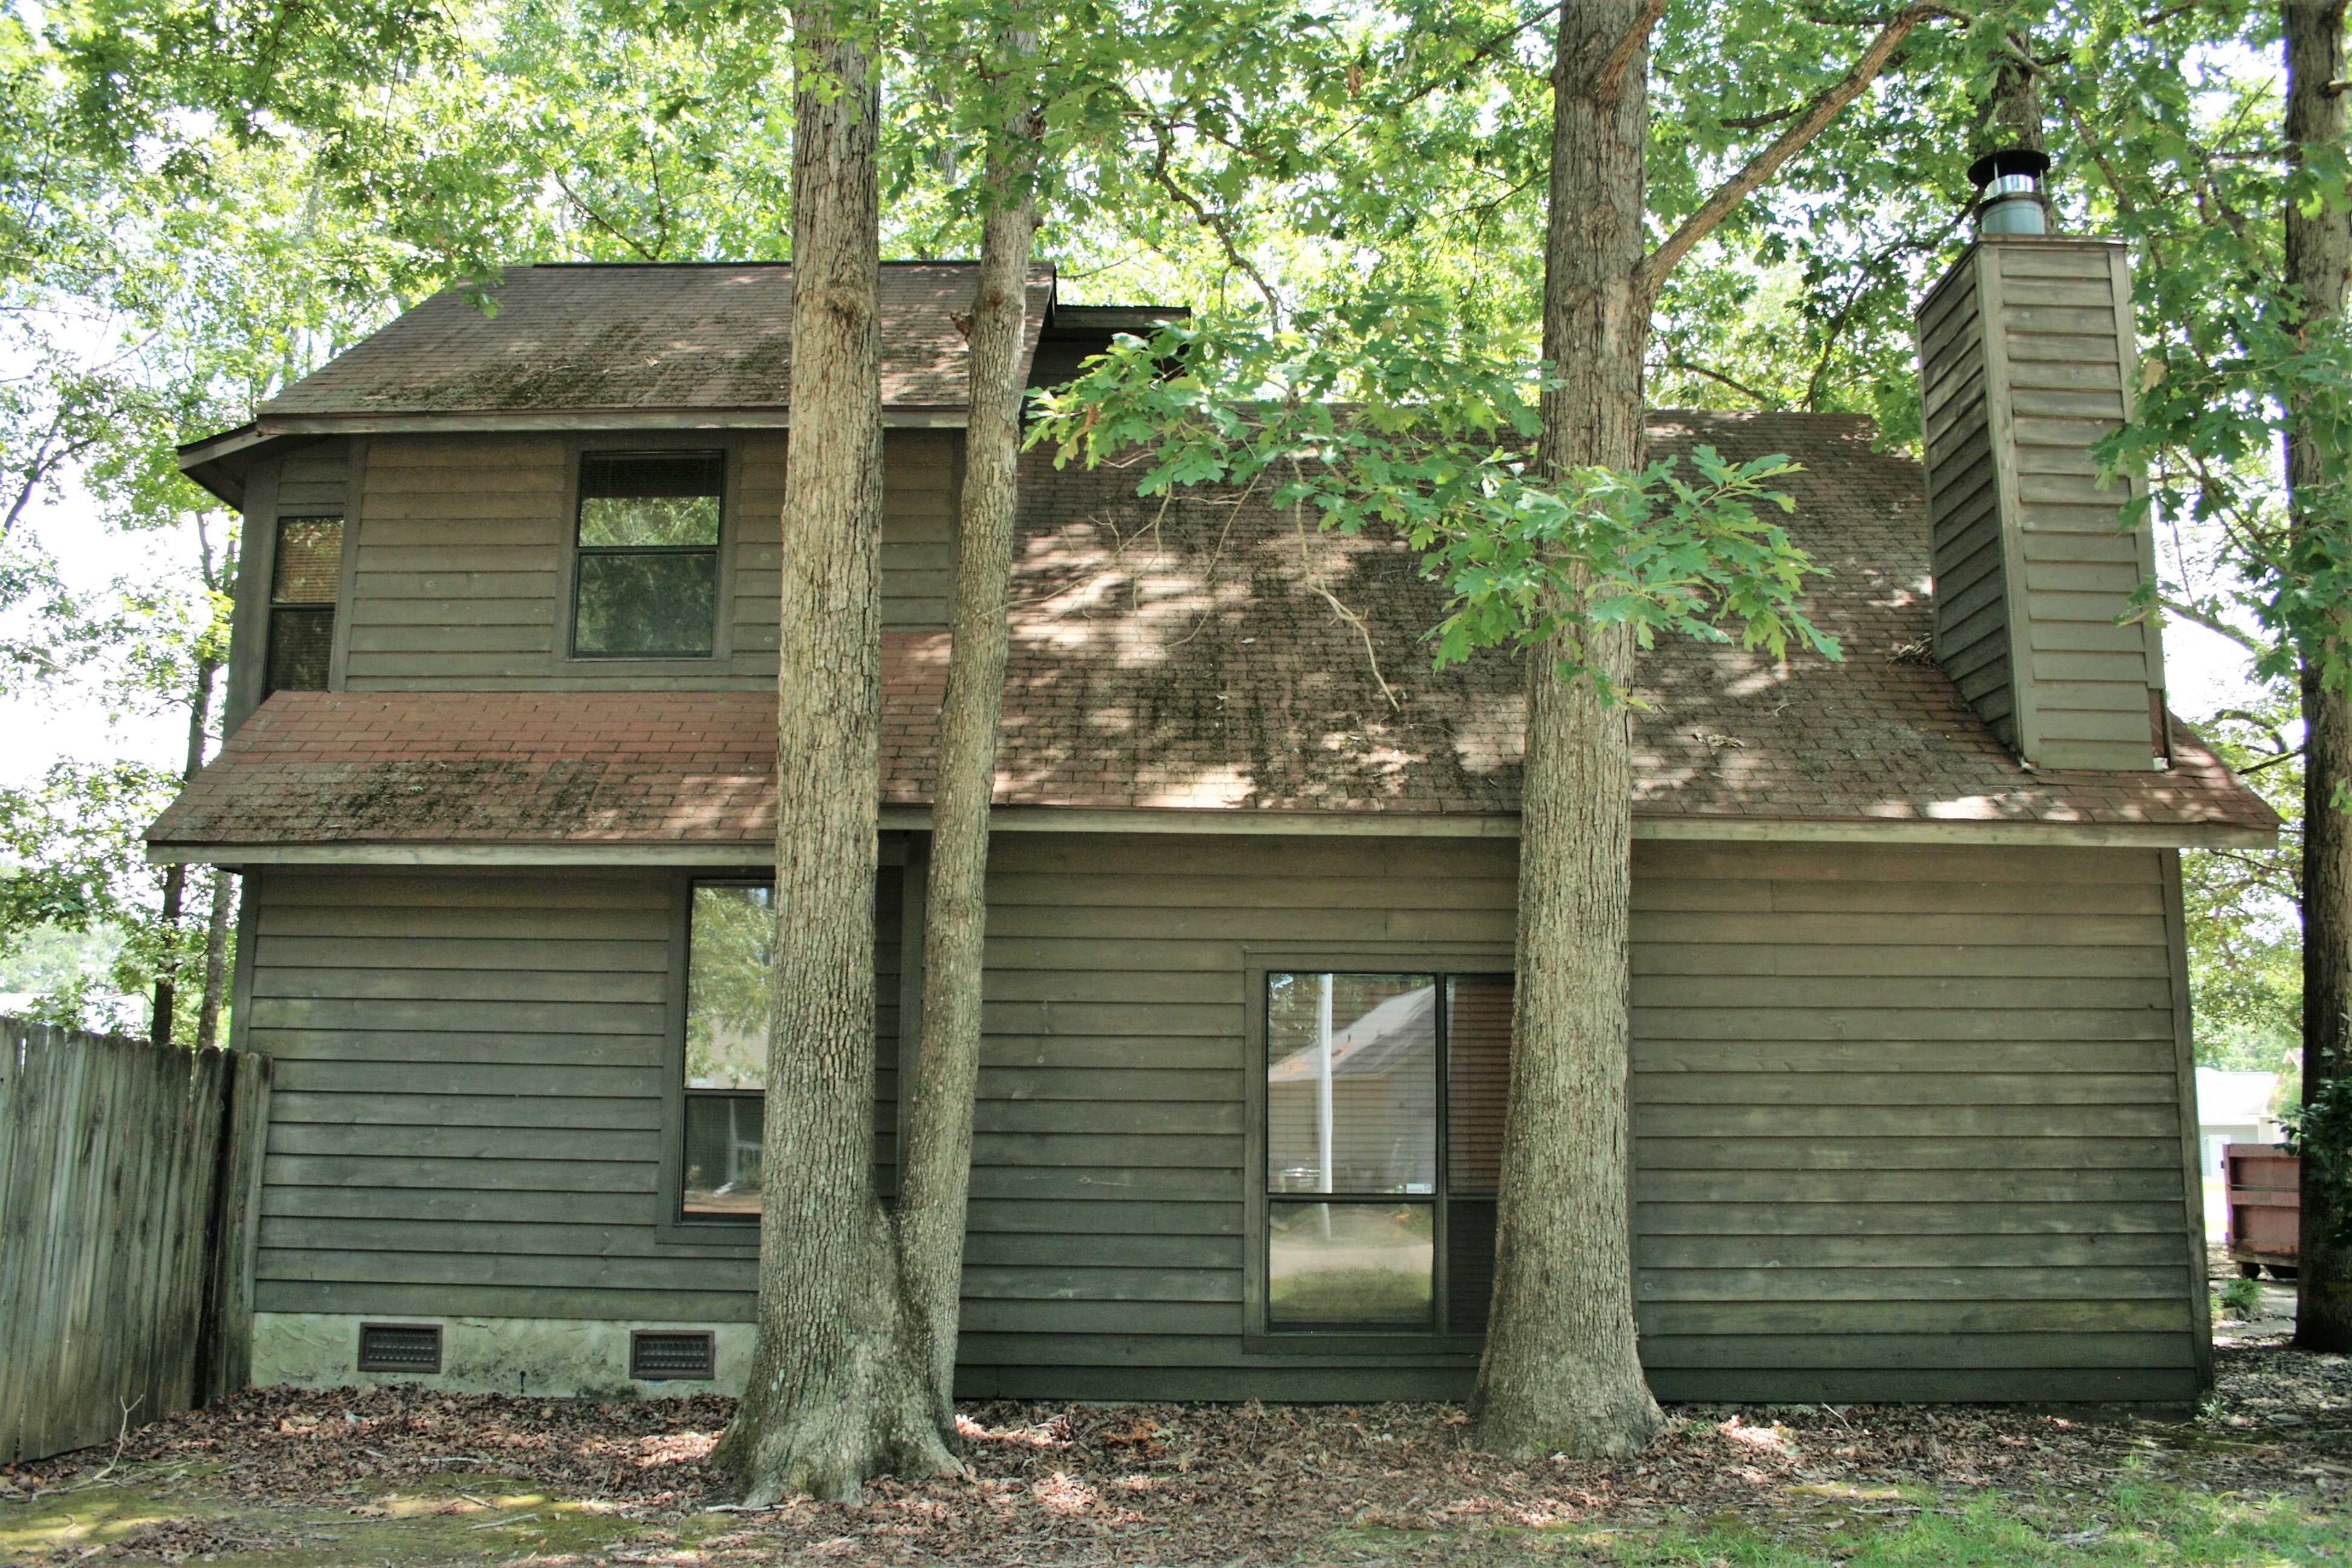
Addingham offered a home with great bones in a great school district ideal for families to be close to the military base and commercial centers in Fayetteville.

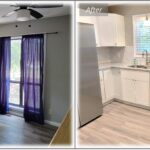
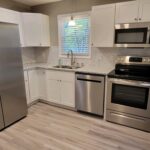
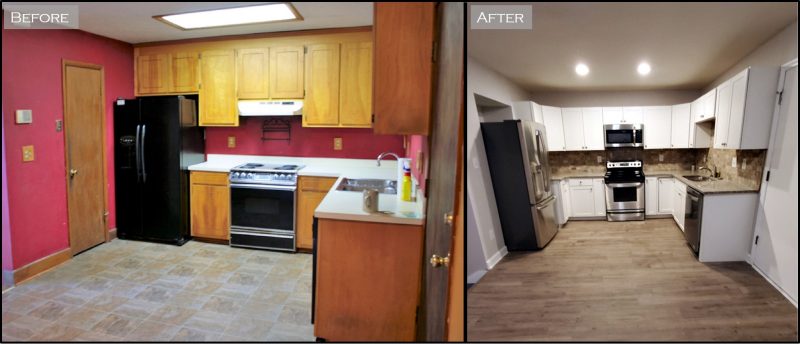
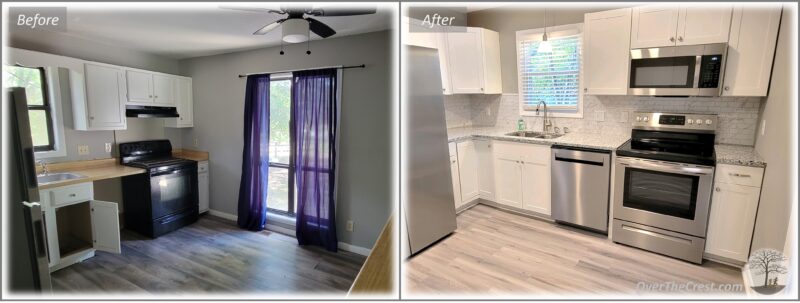
Of course, no NC project is complete without removing a ceiling fan from the kitchen!

  • Single Family Home in a Great School District
  • 3 Bed / 2 Bath; 1400 sq. ft.
  • Fenced-in Backyard
  • Attached Garage

Improvements

  • Complete HVAC System
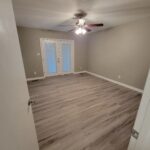
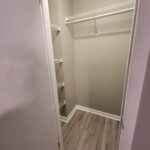
  • LVP
  • Int/Exterior Paint
  • New Cabinetry and Vanities
  • Granite Countertops
  • Updated Light Fixtures (Recessed, Fans, Flood Lights, etc.)
  • Electrical wiring to code
  • PEX Plumbing
  • Moen/Delta Plumbing Fixtures
  • RING Security System w/ Ext. Cameras

Surprise Real Estate Journeys​

Bidding on investment properties is always tricky, especially in our highly competitive market which benefits heavily from the densest US military base in the continental United States.

We put in the highest and best offer with a slightly over asking offer with no walk-through. We don’t recommend ever bidding blindly on offers, but after reviewing photos and crunching numbers we assessed the risk to low to moderate. Once under contract, we conducted a walk-through and the initial assessment consisted of focusing on new doors, windows, some HVAC, and simply cosmetic work. We knew it was a failed flip right away and expected the worst later.

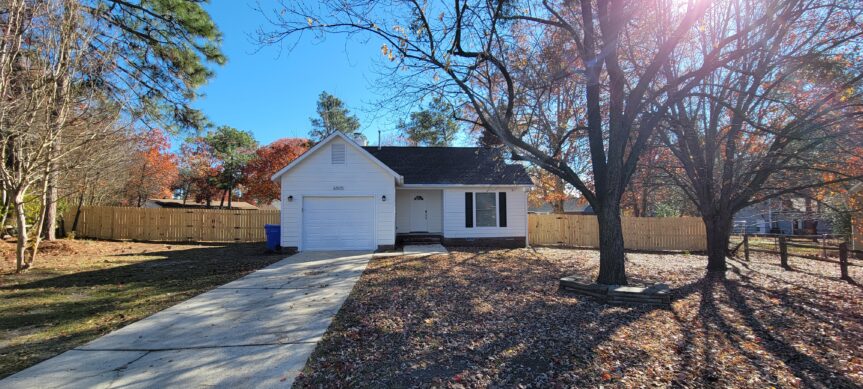
The Addingham project took longer than our original plan of a 6 week RENO. After approx. 9 weeks of fixing issues likely created by the seller and making all updates, we breathed new life into Addingham as a great house for the next family ready to move in.

Warning Signs of a Flipper Gone Wrong!

Partially completed laminate/hardwood flooring with uneven sub-floor. Watch out for big peaks and valleys in sub-floors, this will almost always destroy the life of any flooring material.

Broken HVAC, Summer in the South, and No Power During Diligence. While under contract, due diligence affords the buyer to assess the property for any major issues to address prior to close. The seller had all utilities off with no way of assessing water, electrical, or other mechanicals. Utilities are required to be on as defined by any contract.

However, in these situations, you must ask your…”Do I risk losing the deal/prolong the process over something simple like turning on the utilities.” Get them to turn the utilities, inspect the property then submit a breakdown of issues with a proposal to amend the agreed upon purchase price. 


Electrical wiring, monkey fists of electrical tape, no junction boxes. In these instances, hire a licensed and insured electrician. building code does not permit wiring/junction points to be outside of a junction box. Hire the electrician to save your asset from going up in smoke. 

The Appraisal.

No BRRRR is complete without a cash-out REFI. When using the BRRRR method, the refinance is critical in continuing the process for the next project. We made sure everything was wired tight with Addingham before initiating the process to escape our Fix/Flip Loan used for the acquisition of Addingham. 

Our market research indicated the surrounding area met all of the criteria we desire: stable housing, high demand, abundance of recent sales/rentals, mixture of distressed/updated properties, all with similar square footage.

The only negative on our appraisal came in the form of our square footage, about 100 sq. ft smaller than advertised at the purchase. Always do your measurements! We missed out on almost $15K which translated into almost $11,000 on the cash-out refinance! Ouch! 

Not every deal is a home-run, but luckily the rental market is strong to provide enough cash flow to pull out all invested funds within the first 2 years.

The cash-out refinance on this deal is being rolled into our next project. An off market SUBTO/Owner-financing deal with a major renovation. Check back in the spring for the southern colonial on Rehoboth!
Rim Rd Makeover

In any hot real estate market, finding a bargain is almost impossible…especially on the MLS. This diamond in the rough was distressed, run-down, and neglected for years. The seller had a headache and simply wanted to offload the headache and cut their losses. In addition to the need of a massive overhaul, this property came with a tenant on a month-to-month lease.

Reno Basics: New paint, New Flooring preferably LVP for resiliency, new fixtures, new appliances…fix it now, don’t wait for problems later!
This property brought challenges to include a difficult tenant, a tight budget, and a full renovation. Here we break down each one of those topics and more.

Buy

Acquired Rim Rd from the MLS with a bid slightly over asking price. 116K to close

Rehab

This distressed house needed updates and plenty of TLC. All in Reno (including sweat equity) cost ~$22K.

Refinance

Property acquired with a Fix/Flip, we chose a portfolio REFI with 2 other properties for our pivot to a 30-year loan. The hot market and inflation increased the amount of equity in multiple properties.

Rent

Comparative Market Analysis gave us our baseline of $1200/month. The same house was $900/month pre-reno. DSCR is roughly 1.33 (1200 rent/900 PTI)

Repeat

Once Refinance is complete, it’s time to find another property and start the cycle all over again! Rim road happened after our last successful BRRRR at Bluffview.

Unruly Tenants

Whether you have one or two, or especially 100 units in your portfolio, problematic tenants are almost inevitable. Being considerate of others while operating any business is a tight-rope balancing act, but is manageable. It’s extremely important to plan for worst-case scenarios and have a plan in place in managing such situations. Check out our article on planning. It’s even more important to understand when it’s acceptable to be understanding of the human plight. We approached this situation with full transparency and attempted to work a transition for the tenant. However, the tenant had other ideas even if they appeared to be in agreement from the beginning.

After closing on the purchase of the property, the tenant neglected to payout any rent and complained when we issued them a 40+ day termination of lease notification. Regardless, they moved a week prior to the notice date so we could start the renovation. Some key notes: study state/area laws on evictions, consult with an attorney, plan for loss of rents, anticipate less than ideal condition of the rental, and consider the use of a collection agency.

  • State/Local Laws

    States and jurisdictions will impose rules and requirements for notification to properly evict tenants. In NC, you cannot simply change locks and bar tenants from the property. NCCourts.gov is a great website to start.

  • Loss of Rents

    Anticipating for loss of rents is vital and a requirement for most new conventional loans in the first 3 - 6 months. The BRRRR strategy requires a vacancy period to finish the renovation, so a key goal is always convincing the old tenant to leave sooner rather than later.

  • Loss of Security Deposit

    Deposits are collected to cover a range of bills/items from failure to pay rent, damage done to the property beyond normal wear and tear, and other unpaid bills associated with the premise. Click to see a breakdown of NC Security Deposit Laws.

As with any frugal investor, budgets are always tight. However, with the dangerous combination of a highly-competitive market and lack of inventory, the renovation budget is vital to reoccurring success. Regardless of your investing philosophy such as the 1% rule or BRRRR method or even a bloated short term rental market, there is a need to remain true to the numbers 

A quick snapshot of numbers on this project placed the budget around $25K. The cash-out REFI @ 75% After Rehab Value (ARV) will leave approx. $5K-$7K of investment in the property with net annual income of $3600. All investments should be out in 18-24 months.

As with any one of our projects, the renovation is the most exciting part. Rim road needed the usual improvements: paint, flooring, cabinets, vanities, appliances, and finishes. For this project we replaced the front and back doors, windows, garage door opener, fencing, and some decking. We sub-contracted plumbing, painting, flooring, and granite to save overall costs of the project.

We always prioritize security and comfort with our projects. The old fence had a ton of issues due to age, poor placement, and poor construction. The decking rotted from years of coverage from the sun by trees and deadfall of mostly pine straw. All of which is commonplace in the sandhills of NC. The prior tenant destroyed the frame of the front door and the sliding back door barely slid open and shut. Both doors were an absolute must and top of the list for replacing. 

The overall timeline ran shy of 8 weeks with the biggest lag around sub-contractors painting, flooring, and granite counter tops. As with any renovation anticipate for hiccups and delays. 

Here is the

In true BRRRR fashion, we identified the ARV and CMA for rents before we acquired the property which made this house compelling. In volatile markets, we don’t recommend overbidding just to acquire the property, but run your numbers. This scenario we overbid slightly and won. Ideal scenario is “All In” is less than 75% ARV. “All in” = Purchase Price + Reno Costs. The 75% ARV holds true to current Cash-Out Loan products from lenders. This project lost 2 months in the beginning with removing an old tenant and about 8 weeks for the renovation. Once market ready it took less than 24 hours to find an ideal tenant at the desired price point. We enjoyed this project and the result is a great property near commercial businesses in a quiet neighborhood. 

Look out for our next project as we keep the BRRRR cycle rolling!

Candlewood Pre-Foreclosure

The Candlewood Project was an exciting adventure in which we took on a troubled and neglected house, and with time and tons of energy we turned into a pretty cool home to live in.  

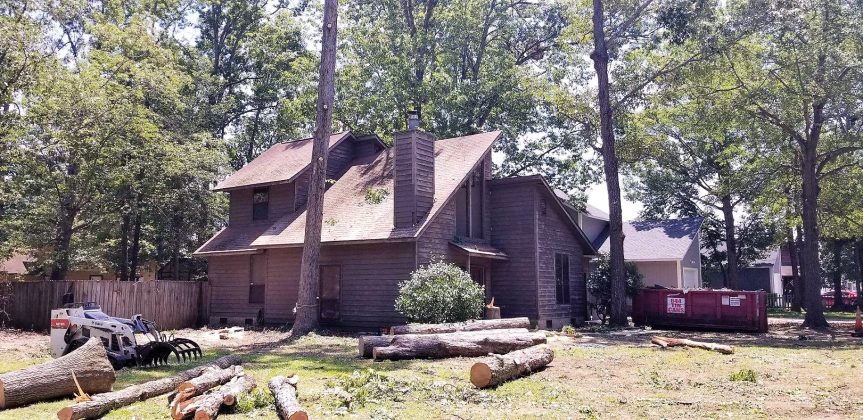
Front Exterior: Starting with the exterior, we first identified the hazard of 5 rather large Oak trees residing nearly on top of the house…they had to go!  Next we new the roof was either the original or well overdue for a replacement…thanks to a great local Sandhills NC crew – 3 Bros Roofing – it was done in a day and looks great.  Next we had a deteriorated driveway, sidewalk and need for front and rear patios…bring on the concrete! 

Front Exterior

The next much needed item was just general improvements of doors, windows, and cedar board/trim replacements. Originally there were two bedrooms with exterior doors and now stairs/porch. We then had an exposed crawlspace with a random board covering the entrance. We closed off the doors, and put in one exterior door off the new hallway. We add the concrete patio and slab in front of the crawlspace to reduce water and debris from pooling near the house. We chose Hardy panel over replacement cedar due to the price difference and provide a change in the overall appearance. During the process we improved the light fixtures and added a security camera for the back yard. Currently, we have a plan to do exterior paint in the spring, but overall the exterior is sealed up and ready to go!

CandlewoodRearExt
Rear Exterior

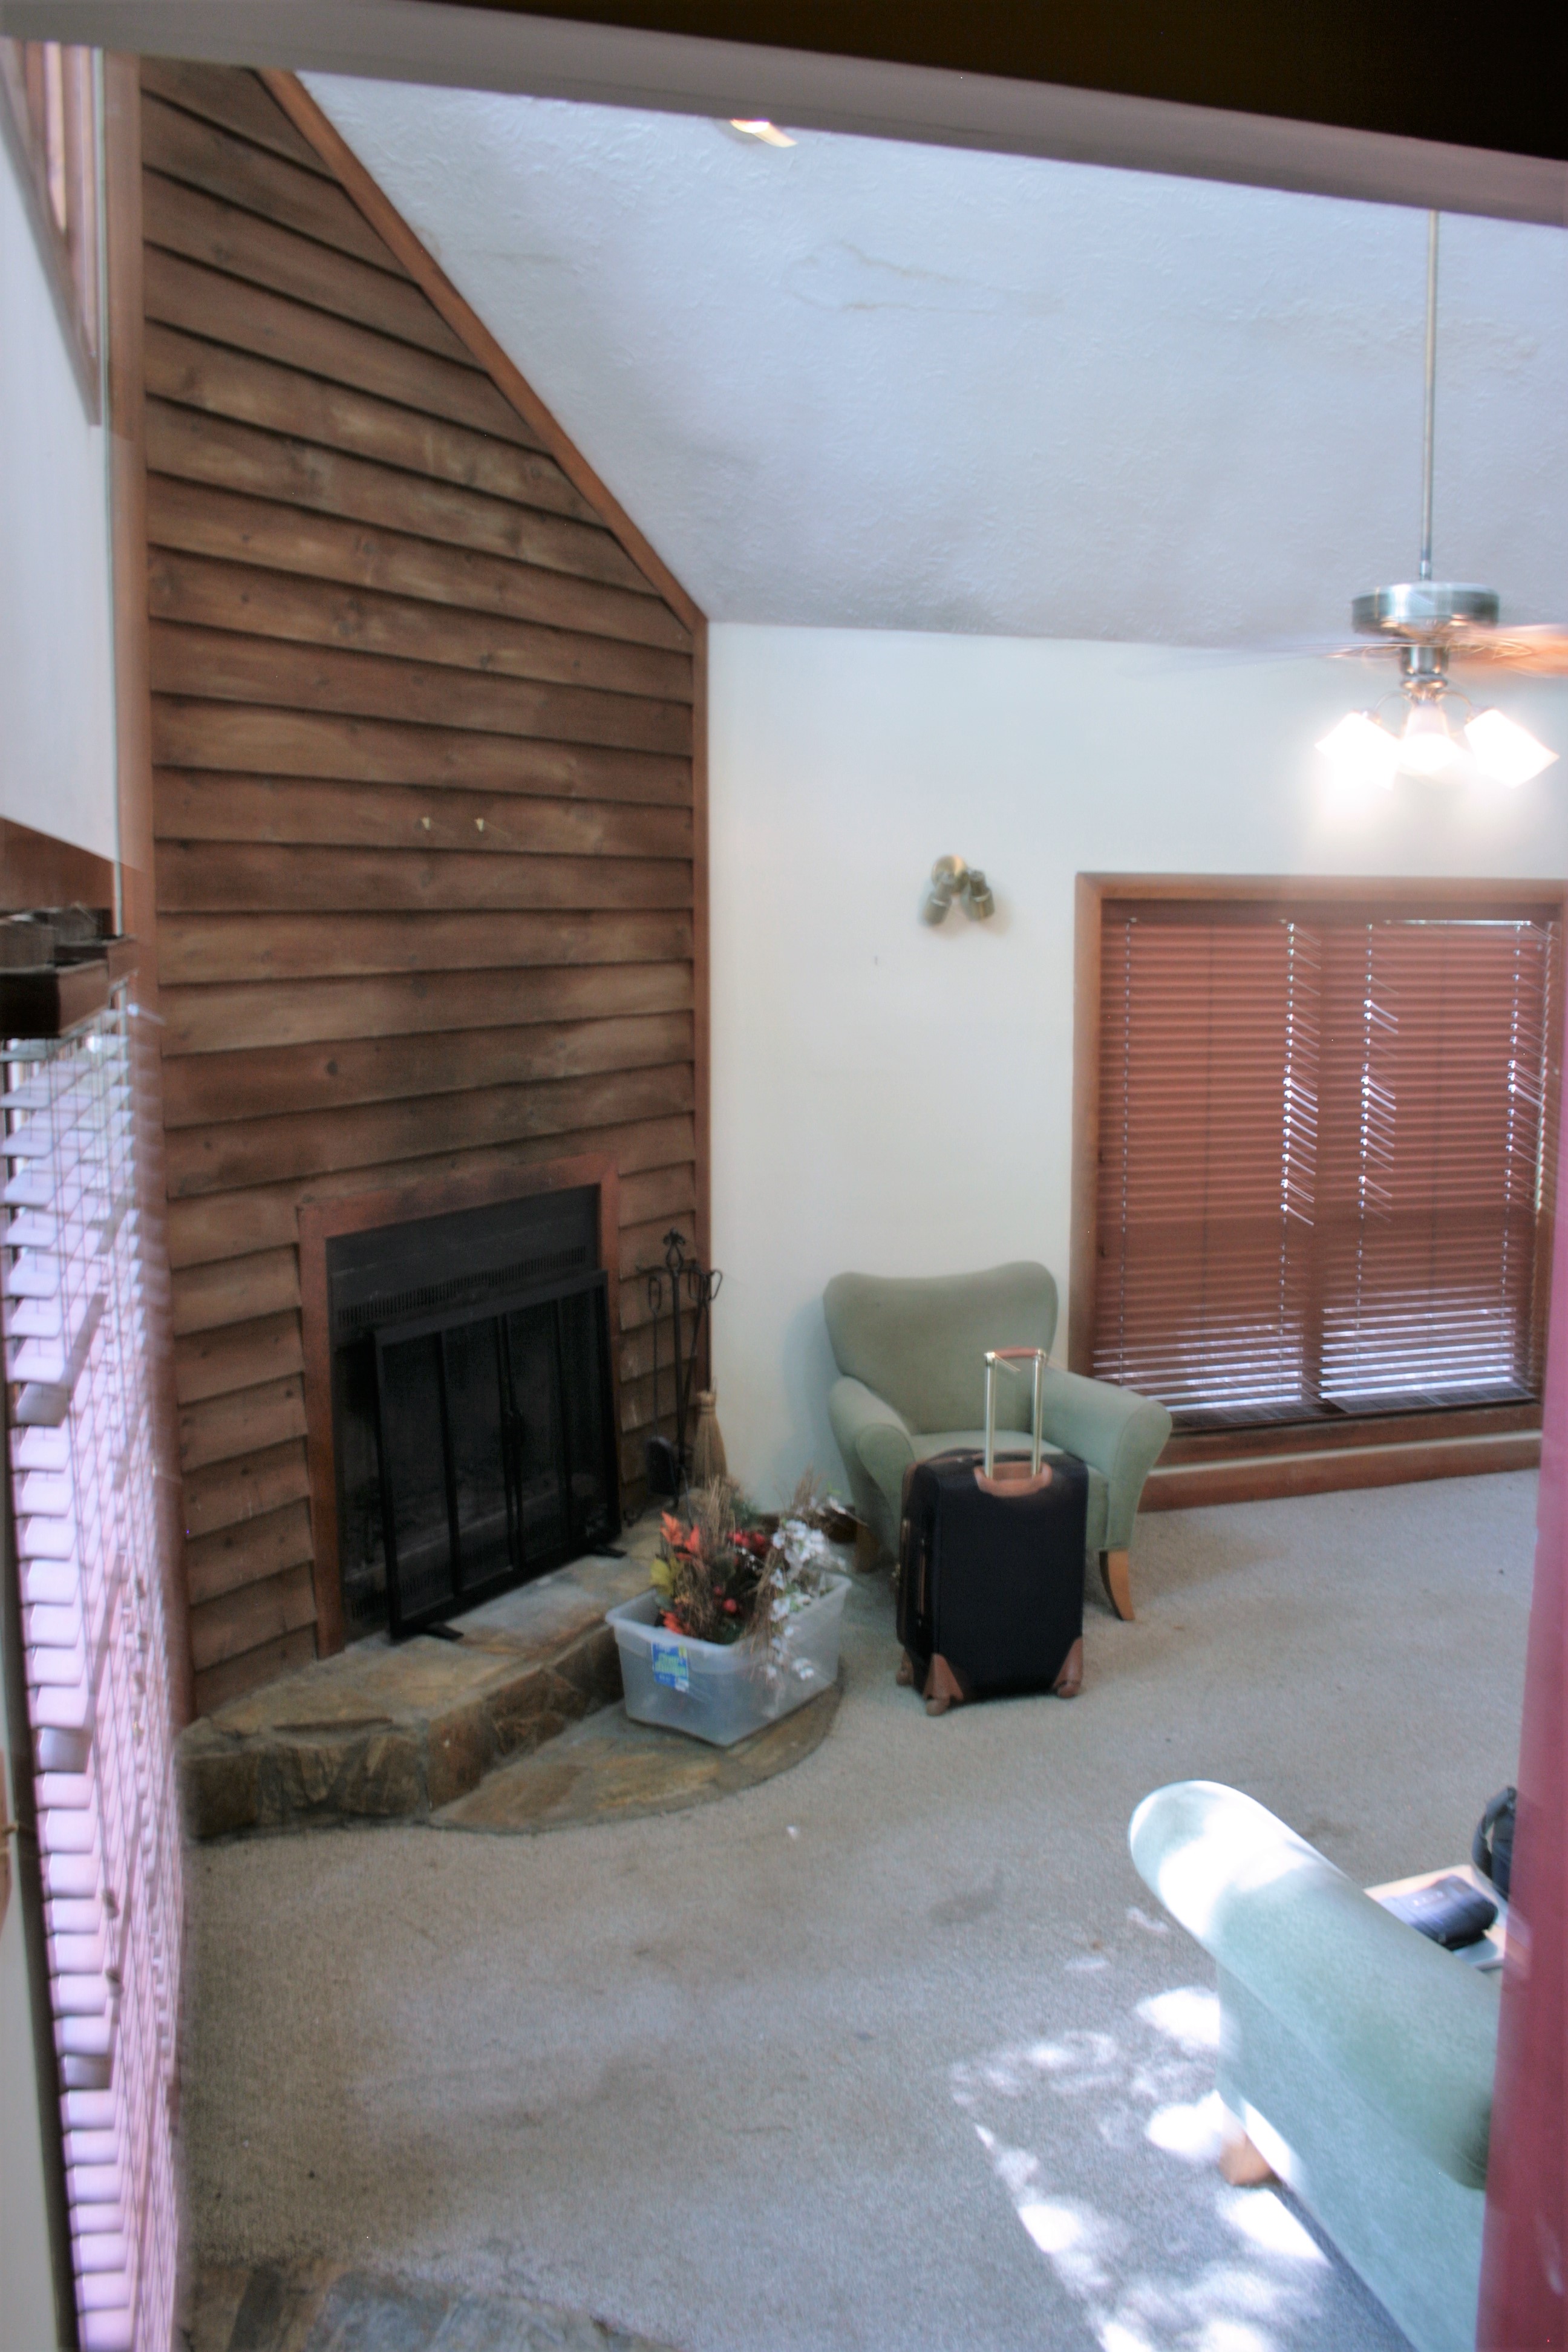
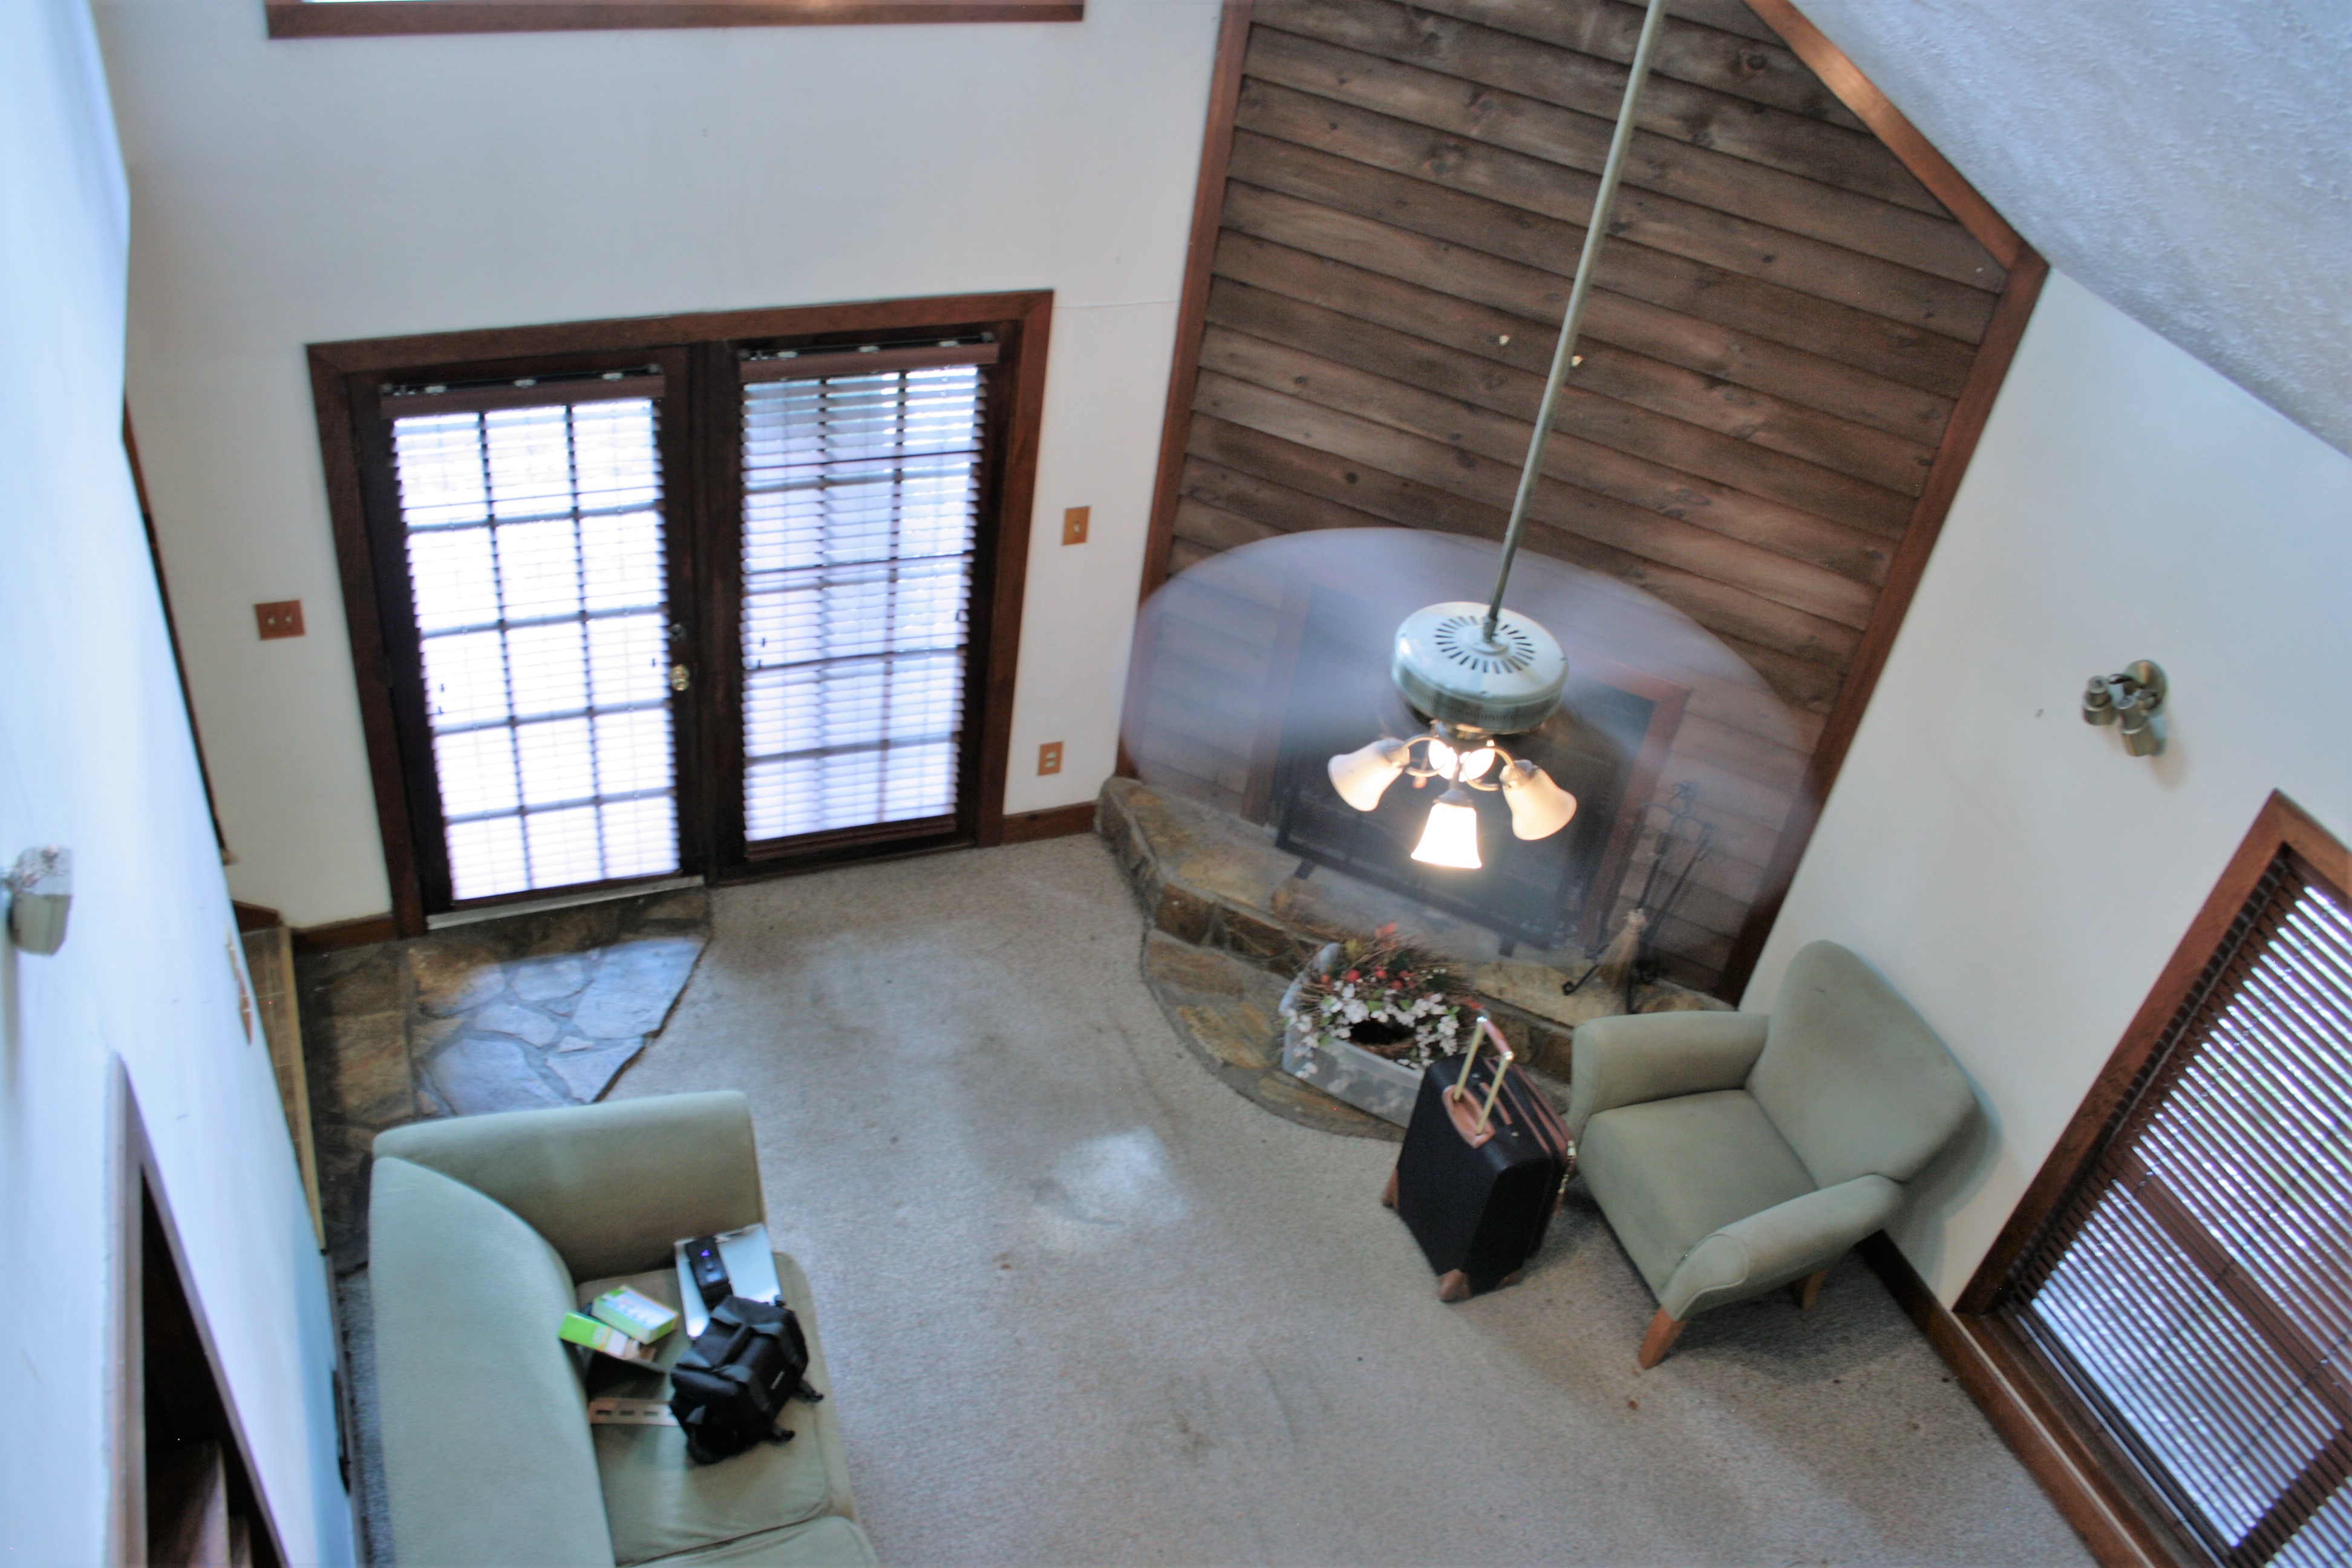
Living Room: For the living room, we removed the carpet and replaced it with Luxury Vinyl Planks (LVP). The faux double front door was replaced with a single front door with an oval window cutout. After those major improvements, we updated light fixtures and applied fresh coats of paint to the fire place, built-ins, walls, ceiling, and trim.

Before and After
Living Room

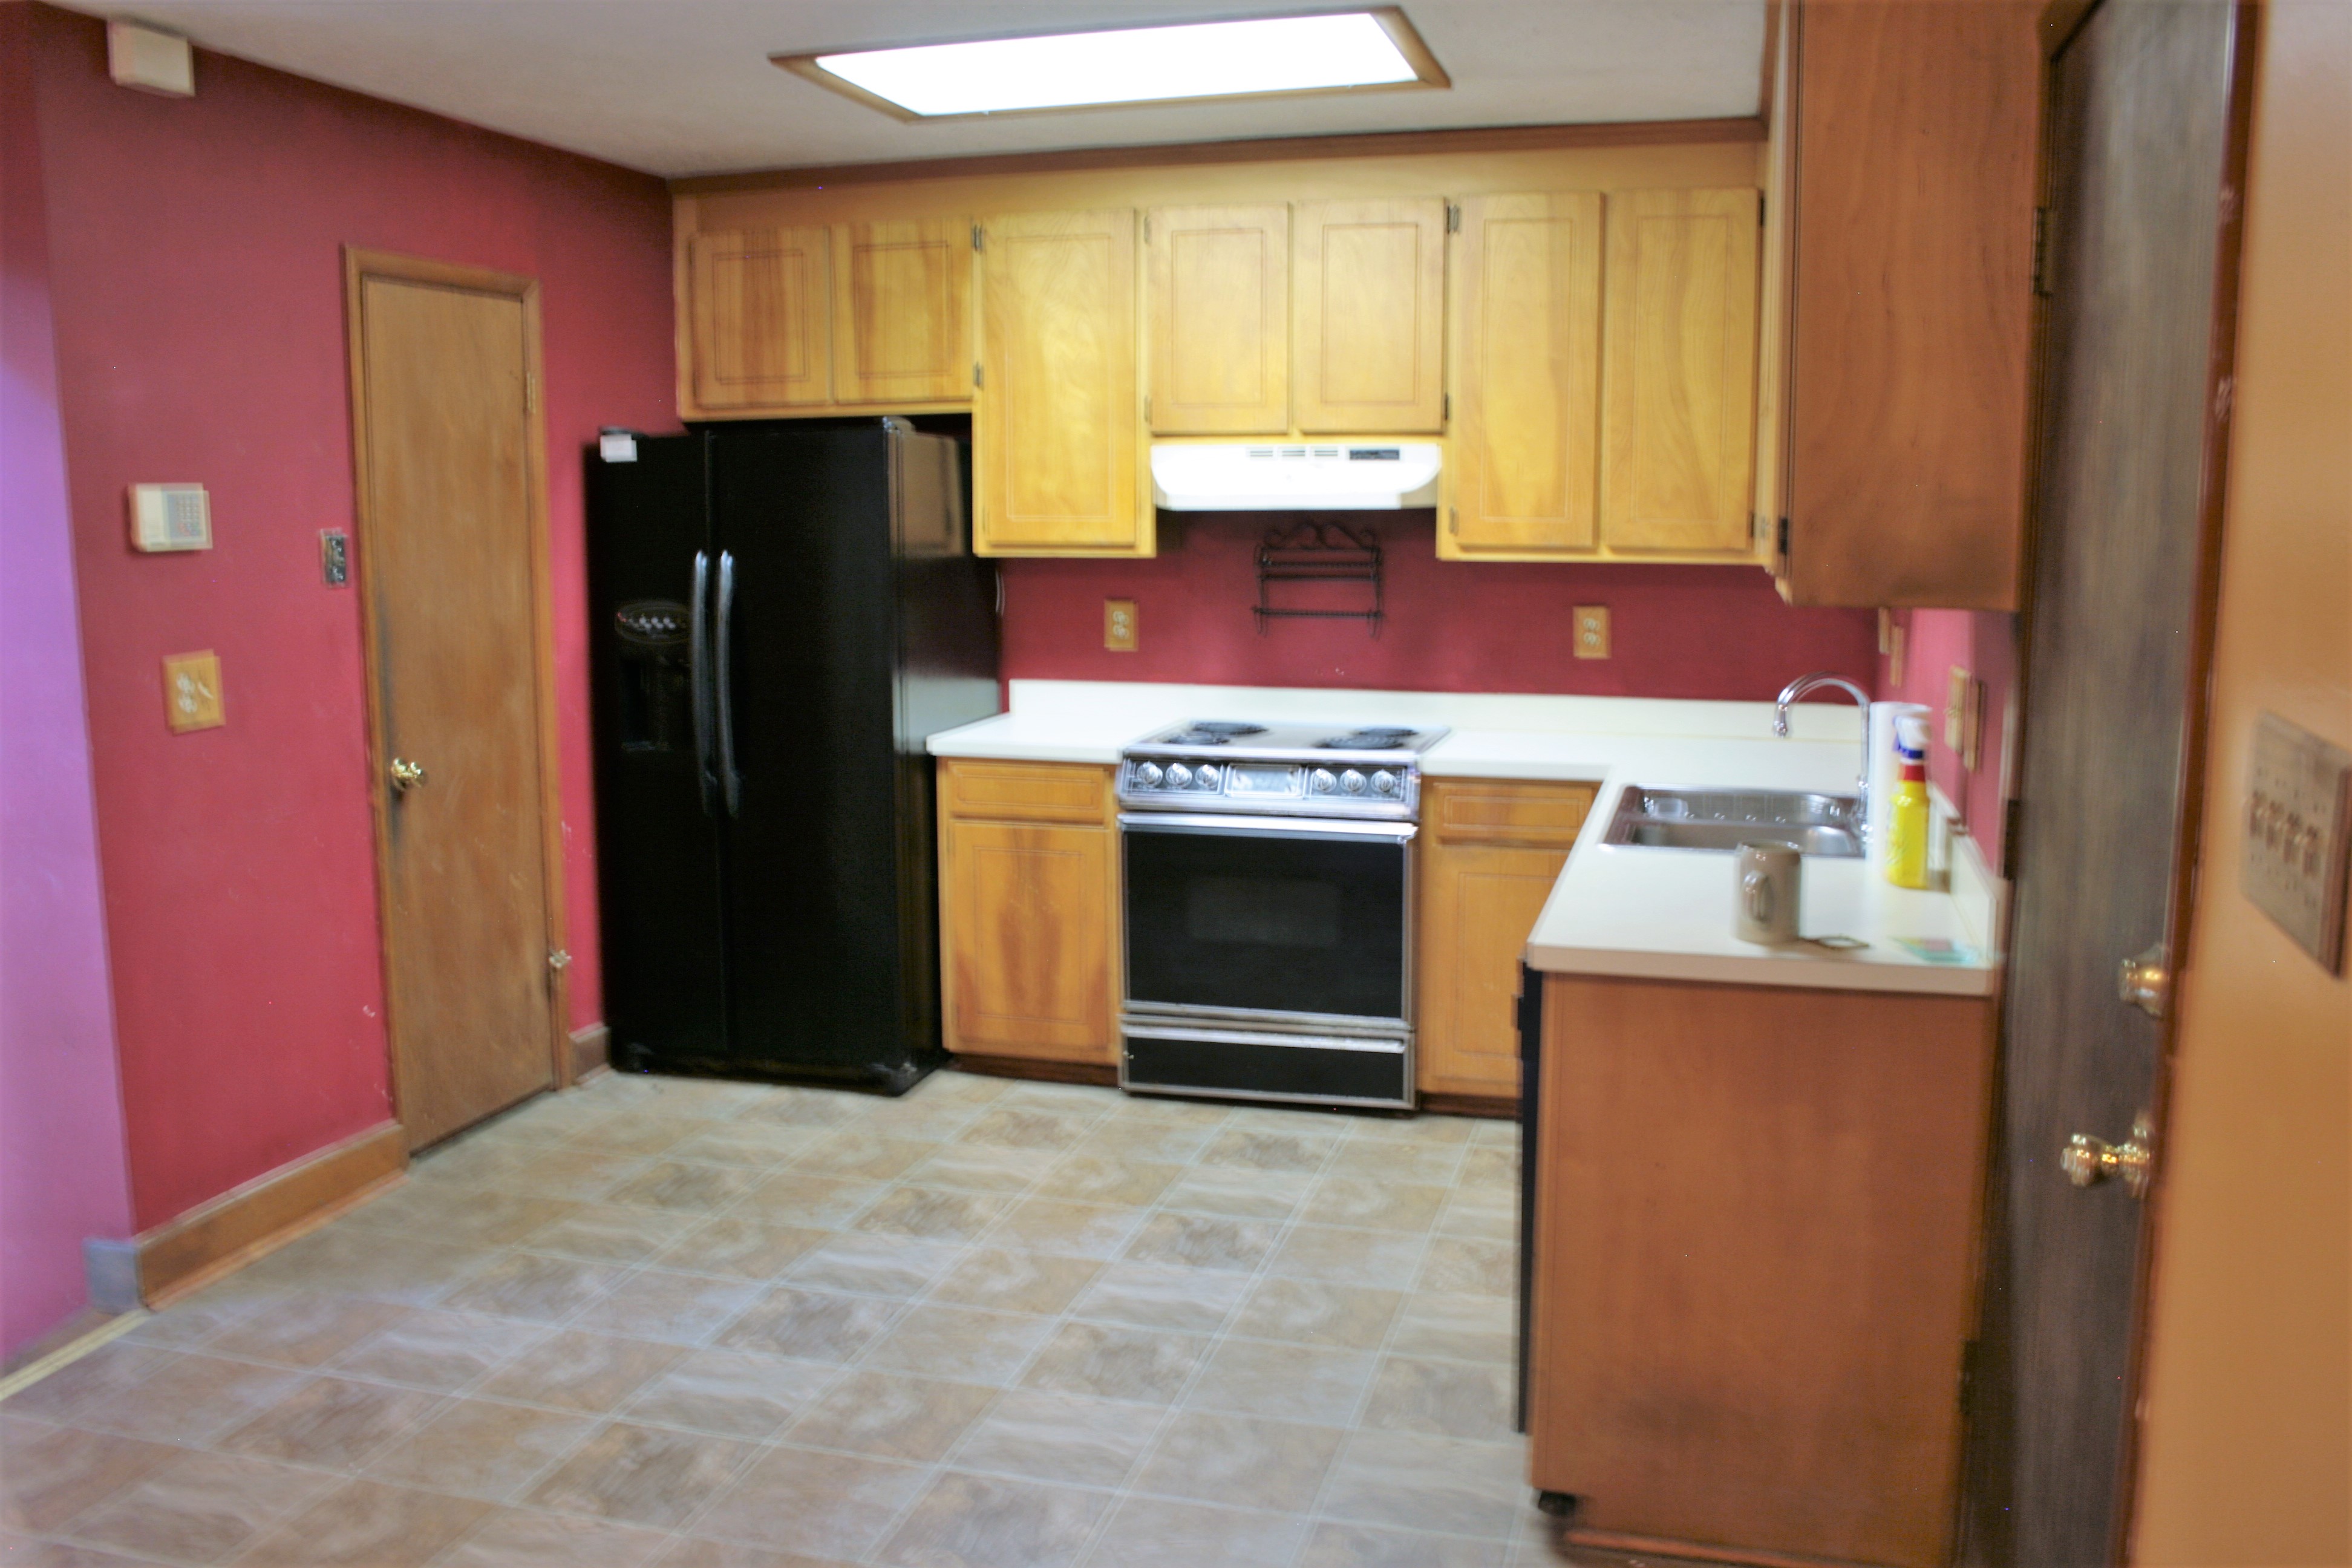
Kitchen: Everything in the original kitchen needed a good update, whether its the appliances, the cabinets, flooring, or paint. Naturally, we were up to the task. Additionally we added an over-the-range microwave, moved the refrigerator in order to create some much need cabinet space. We added a backsplash to tie it altogether.

Before and After
Kitchen

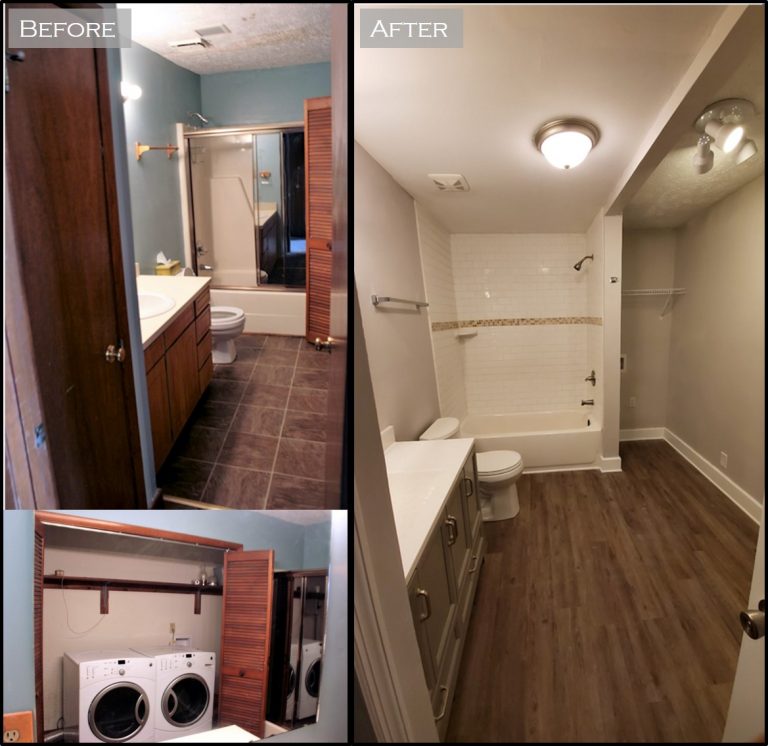
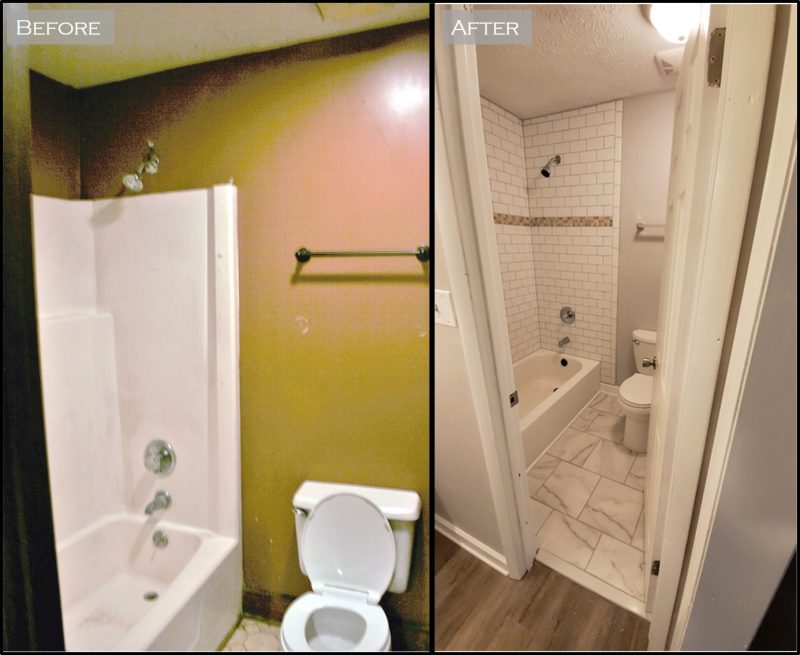
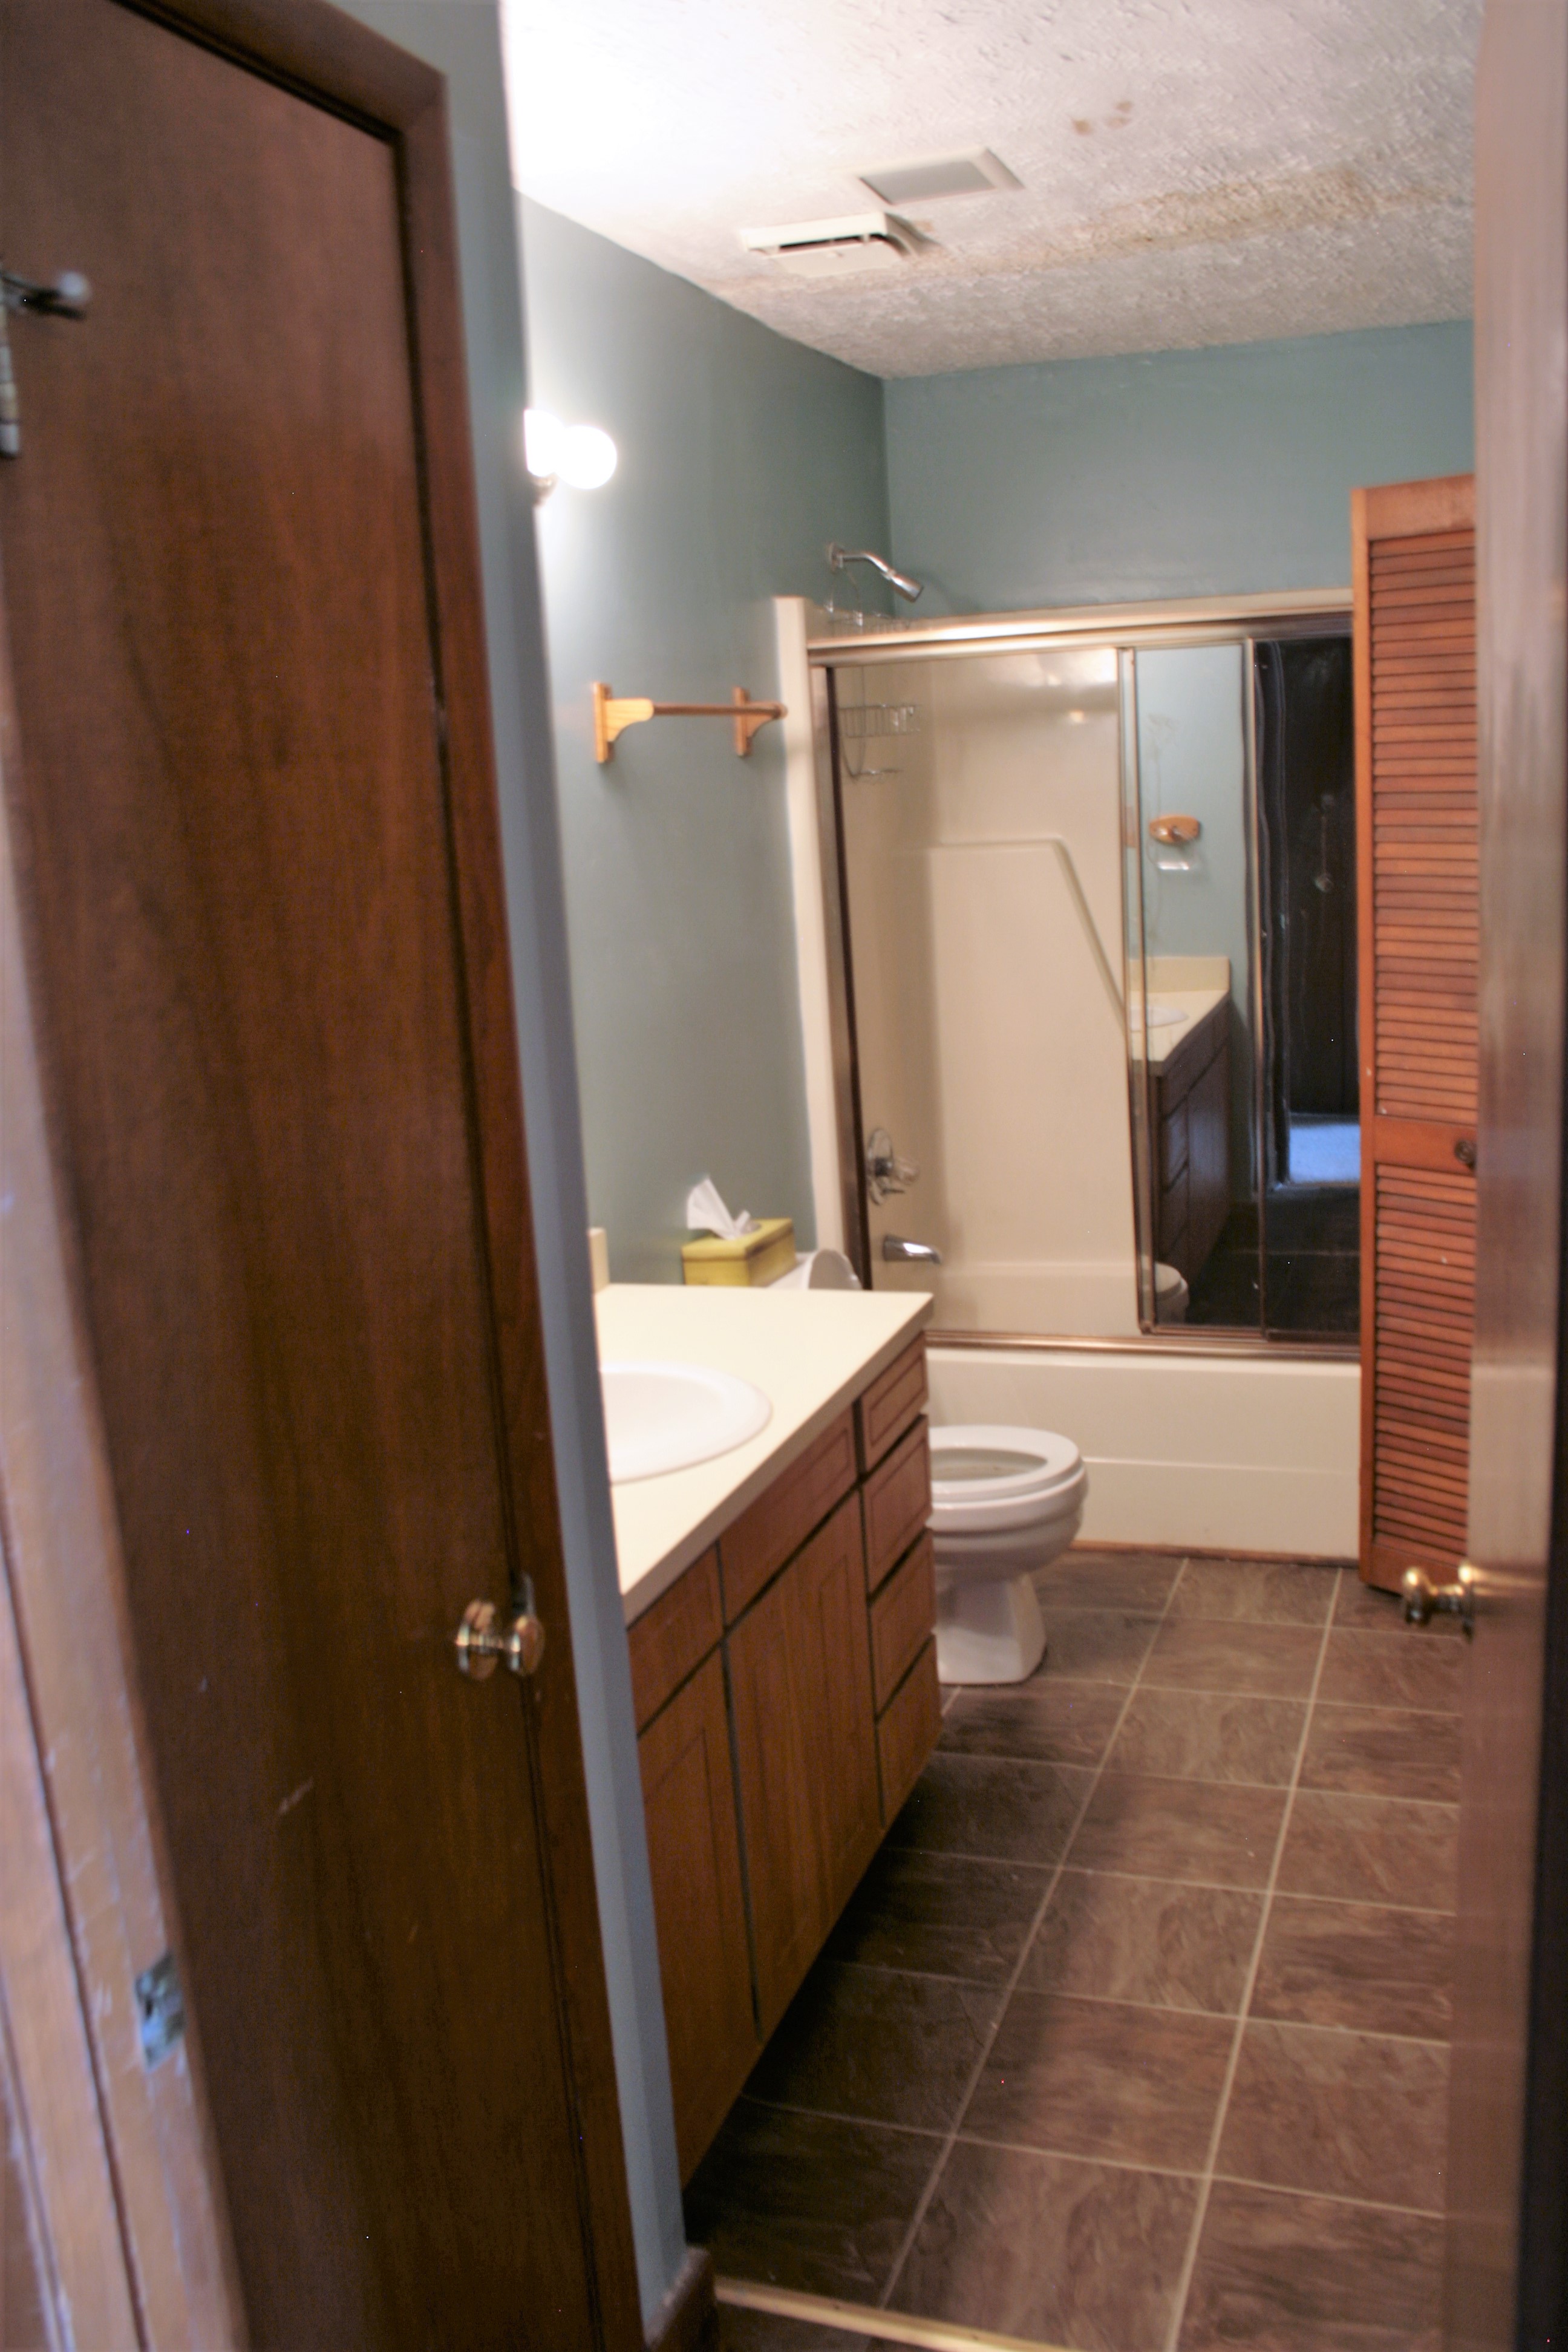
First Floor Bathroom: The downstairs bathroom proved to be the biggest challenge of this project. Due to significant water damage we gutted the bathroom, replaced floor joists as needed, replaced CPVC plumbing with PEX tubing, moved the electric Hot Water Tank to the garage, replaced sub-floor, and gave the heart of the house a much needed face lift. Now, the once outdated and impractical bathroom/laundry room is ready for a small family.

Before and After
Downstairs Bathroom

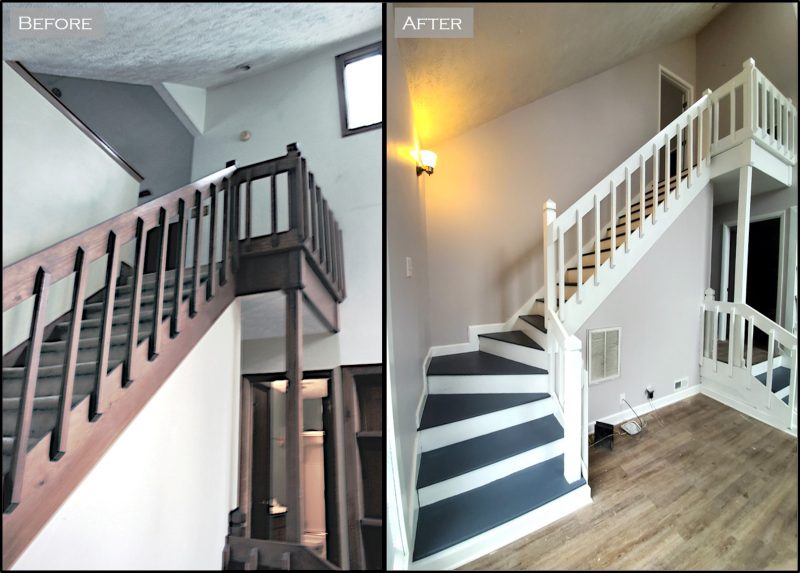
Staircase and Loft Improvements: The original master suite loft concept seemed outdated and lacked significant privacy for any prospective tenant. We closed off the room, removed the carpet on the stairs, and put a fresh coat of paint on the staircase.

Before and After
Staircase

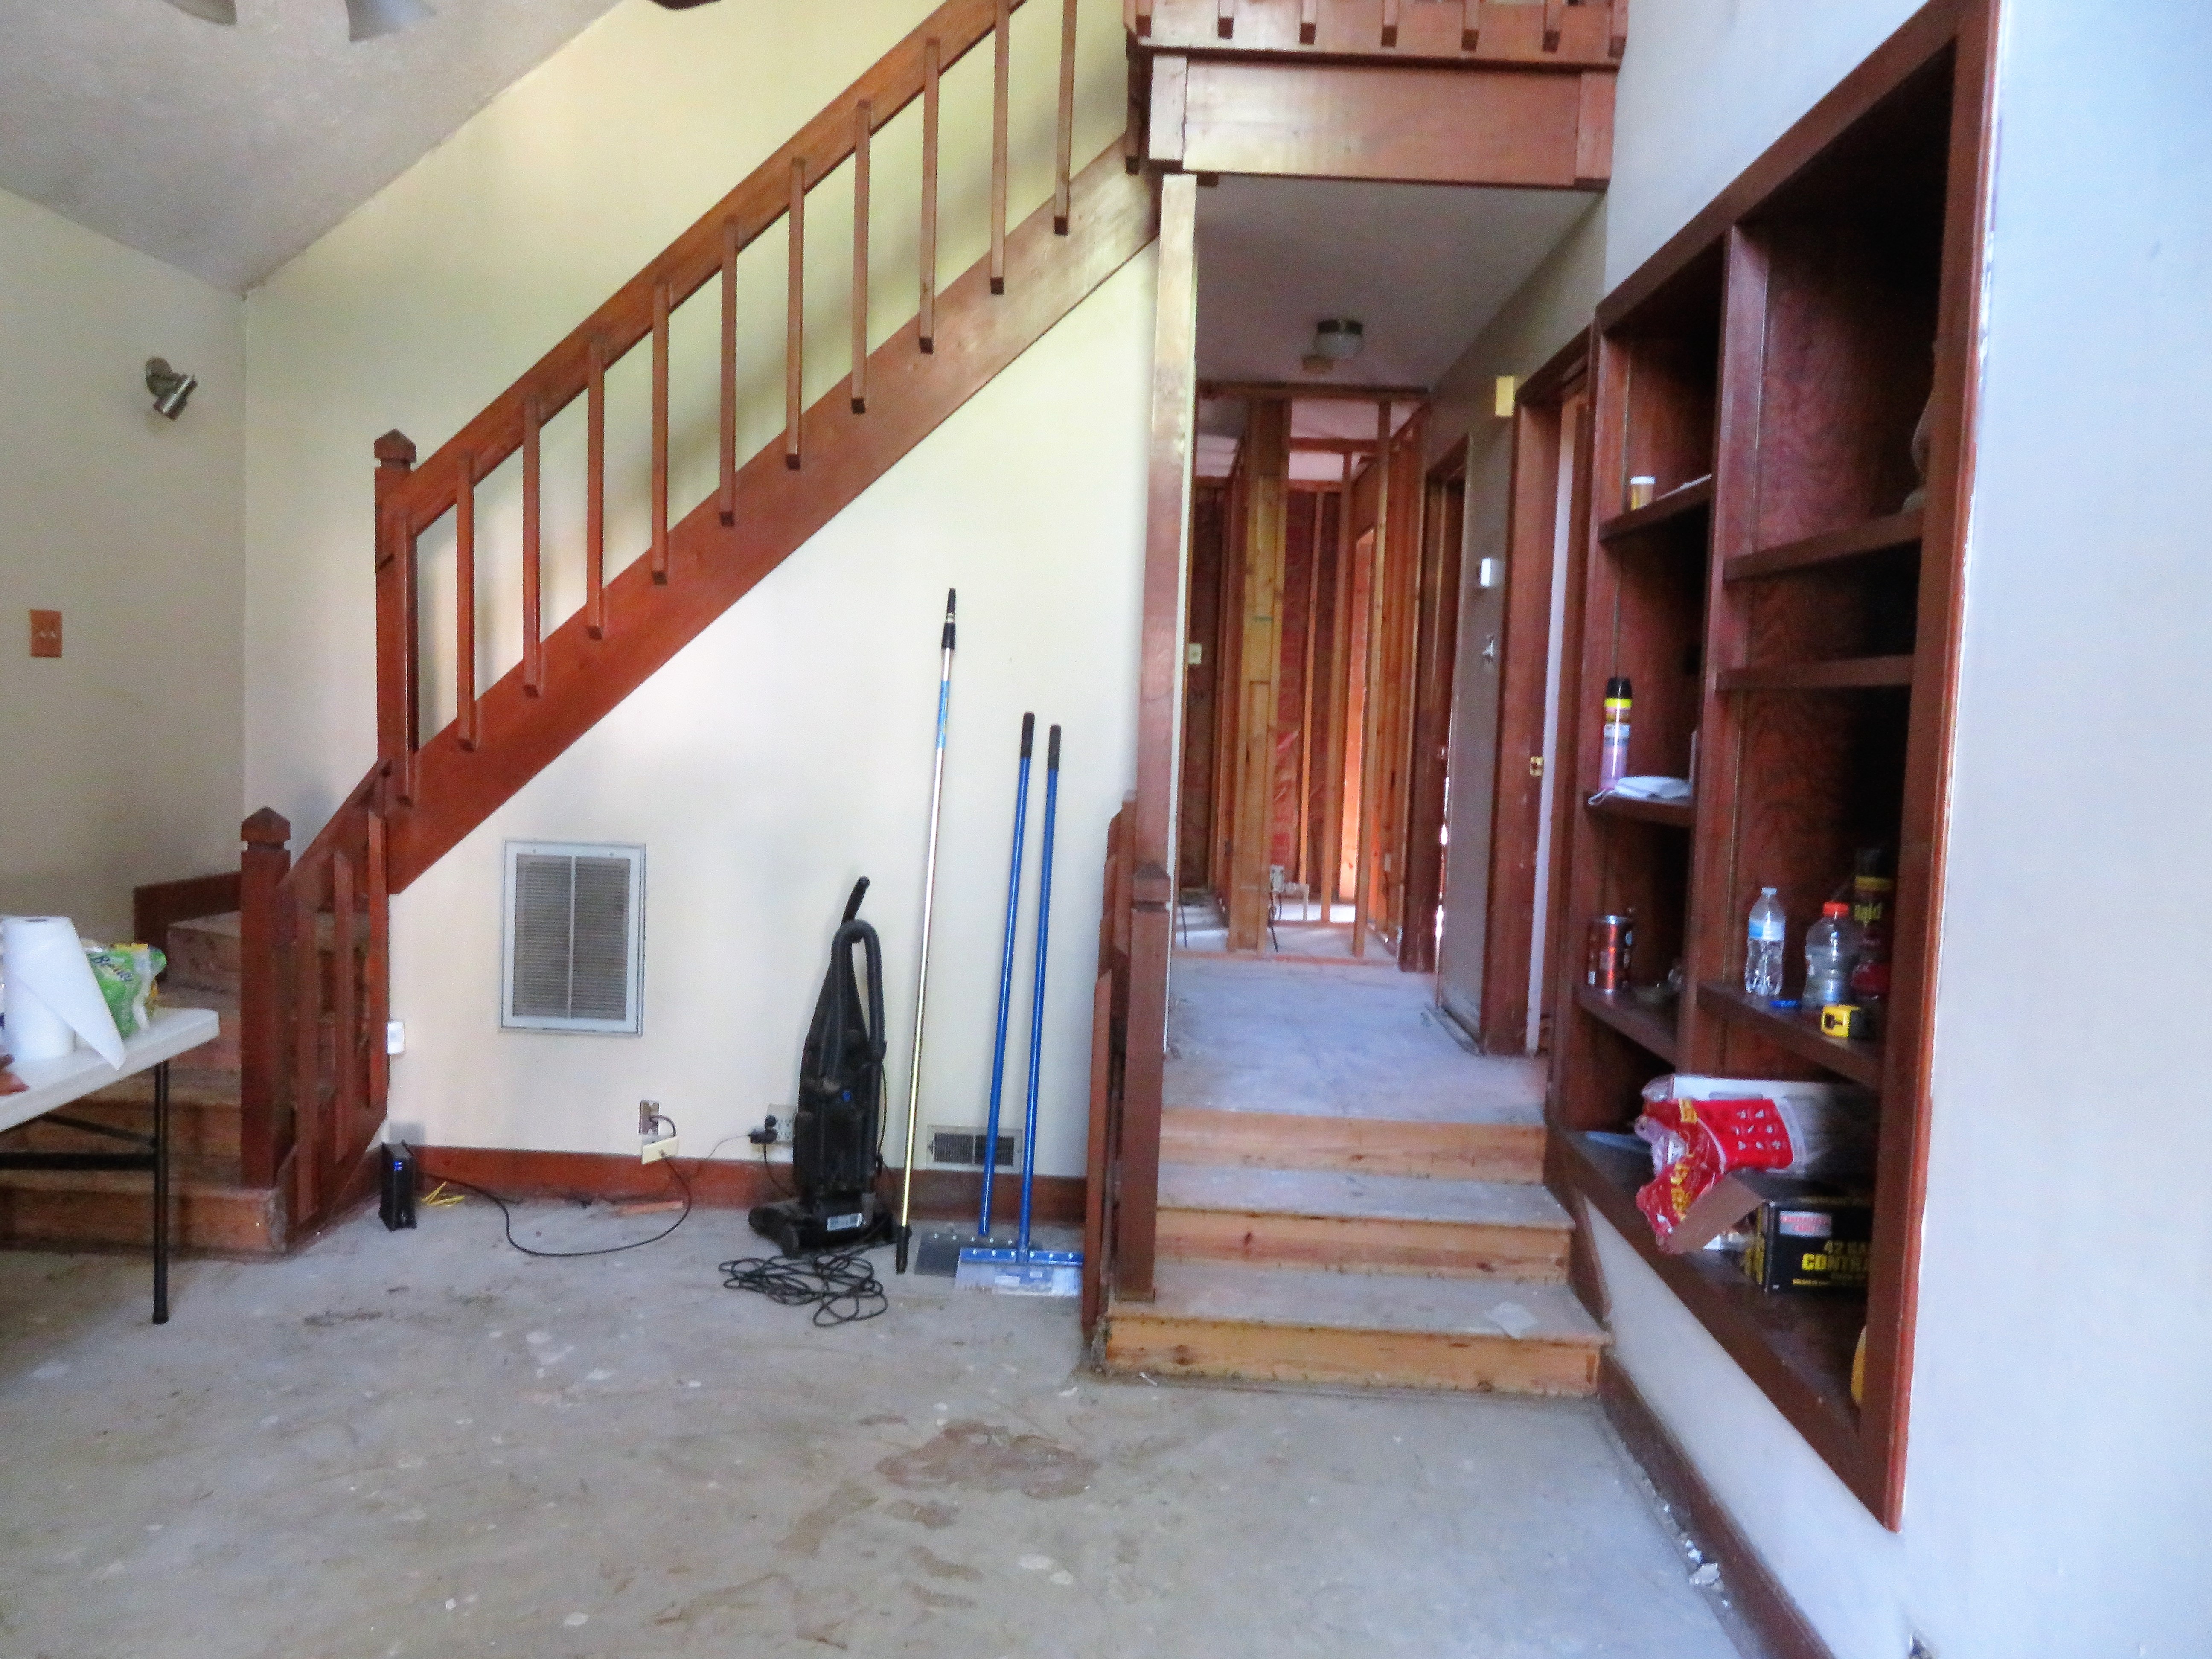
Living Room: The very first room in the house and it was perhaps one of the more dismal and depressing rooms. With the enhancement of the hallway to the rear exterior, the overall flow of the house through the living room makes for an exciting and practical living space for any family. We focused on new flooring, paint, fixtures, and necessary repairs. Not pictured is the built-in shelving that shares a wall with the kitchen. The living room has two accent walls with an actual wood fireplace and the built-in shelving.

Before and After
Living Room

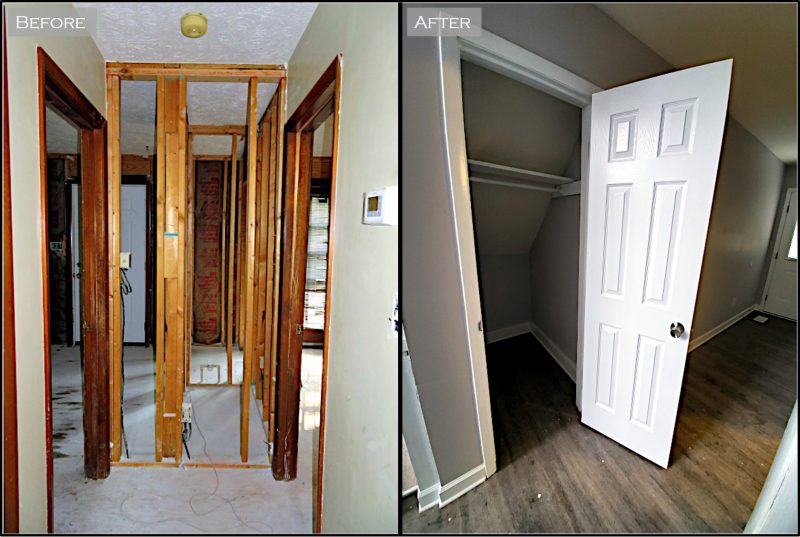
Hallway Addition: This house required you to walk through either of the two first floor bedrooms in order to access the backyard from the living room. We moved the main water shut off to a convenient spot along the wall and reframed a hallway with a single exit to the back yard. We later closed off the original exterior doors and insured both bedrooms had closets built. The location where the hallway is now was once utilized by two adjacent closets for the first floor bedrooms.

Before and After
Hallway

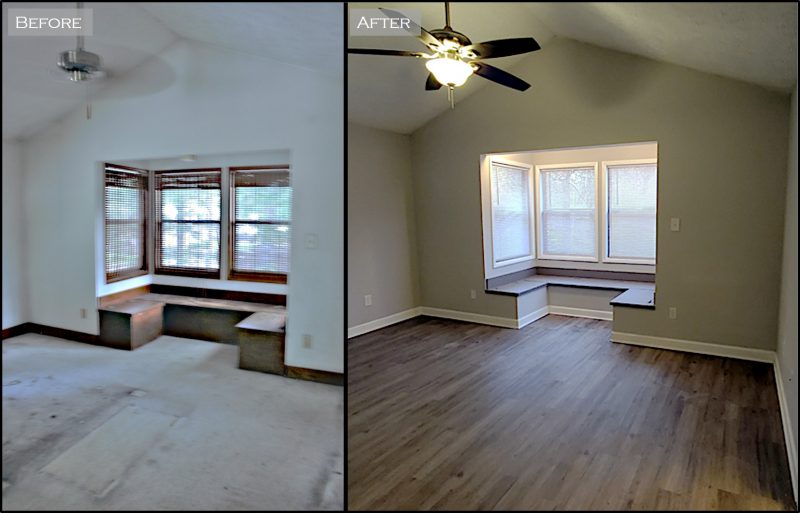
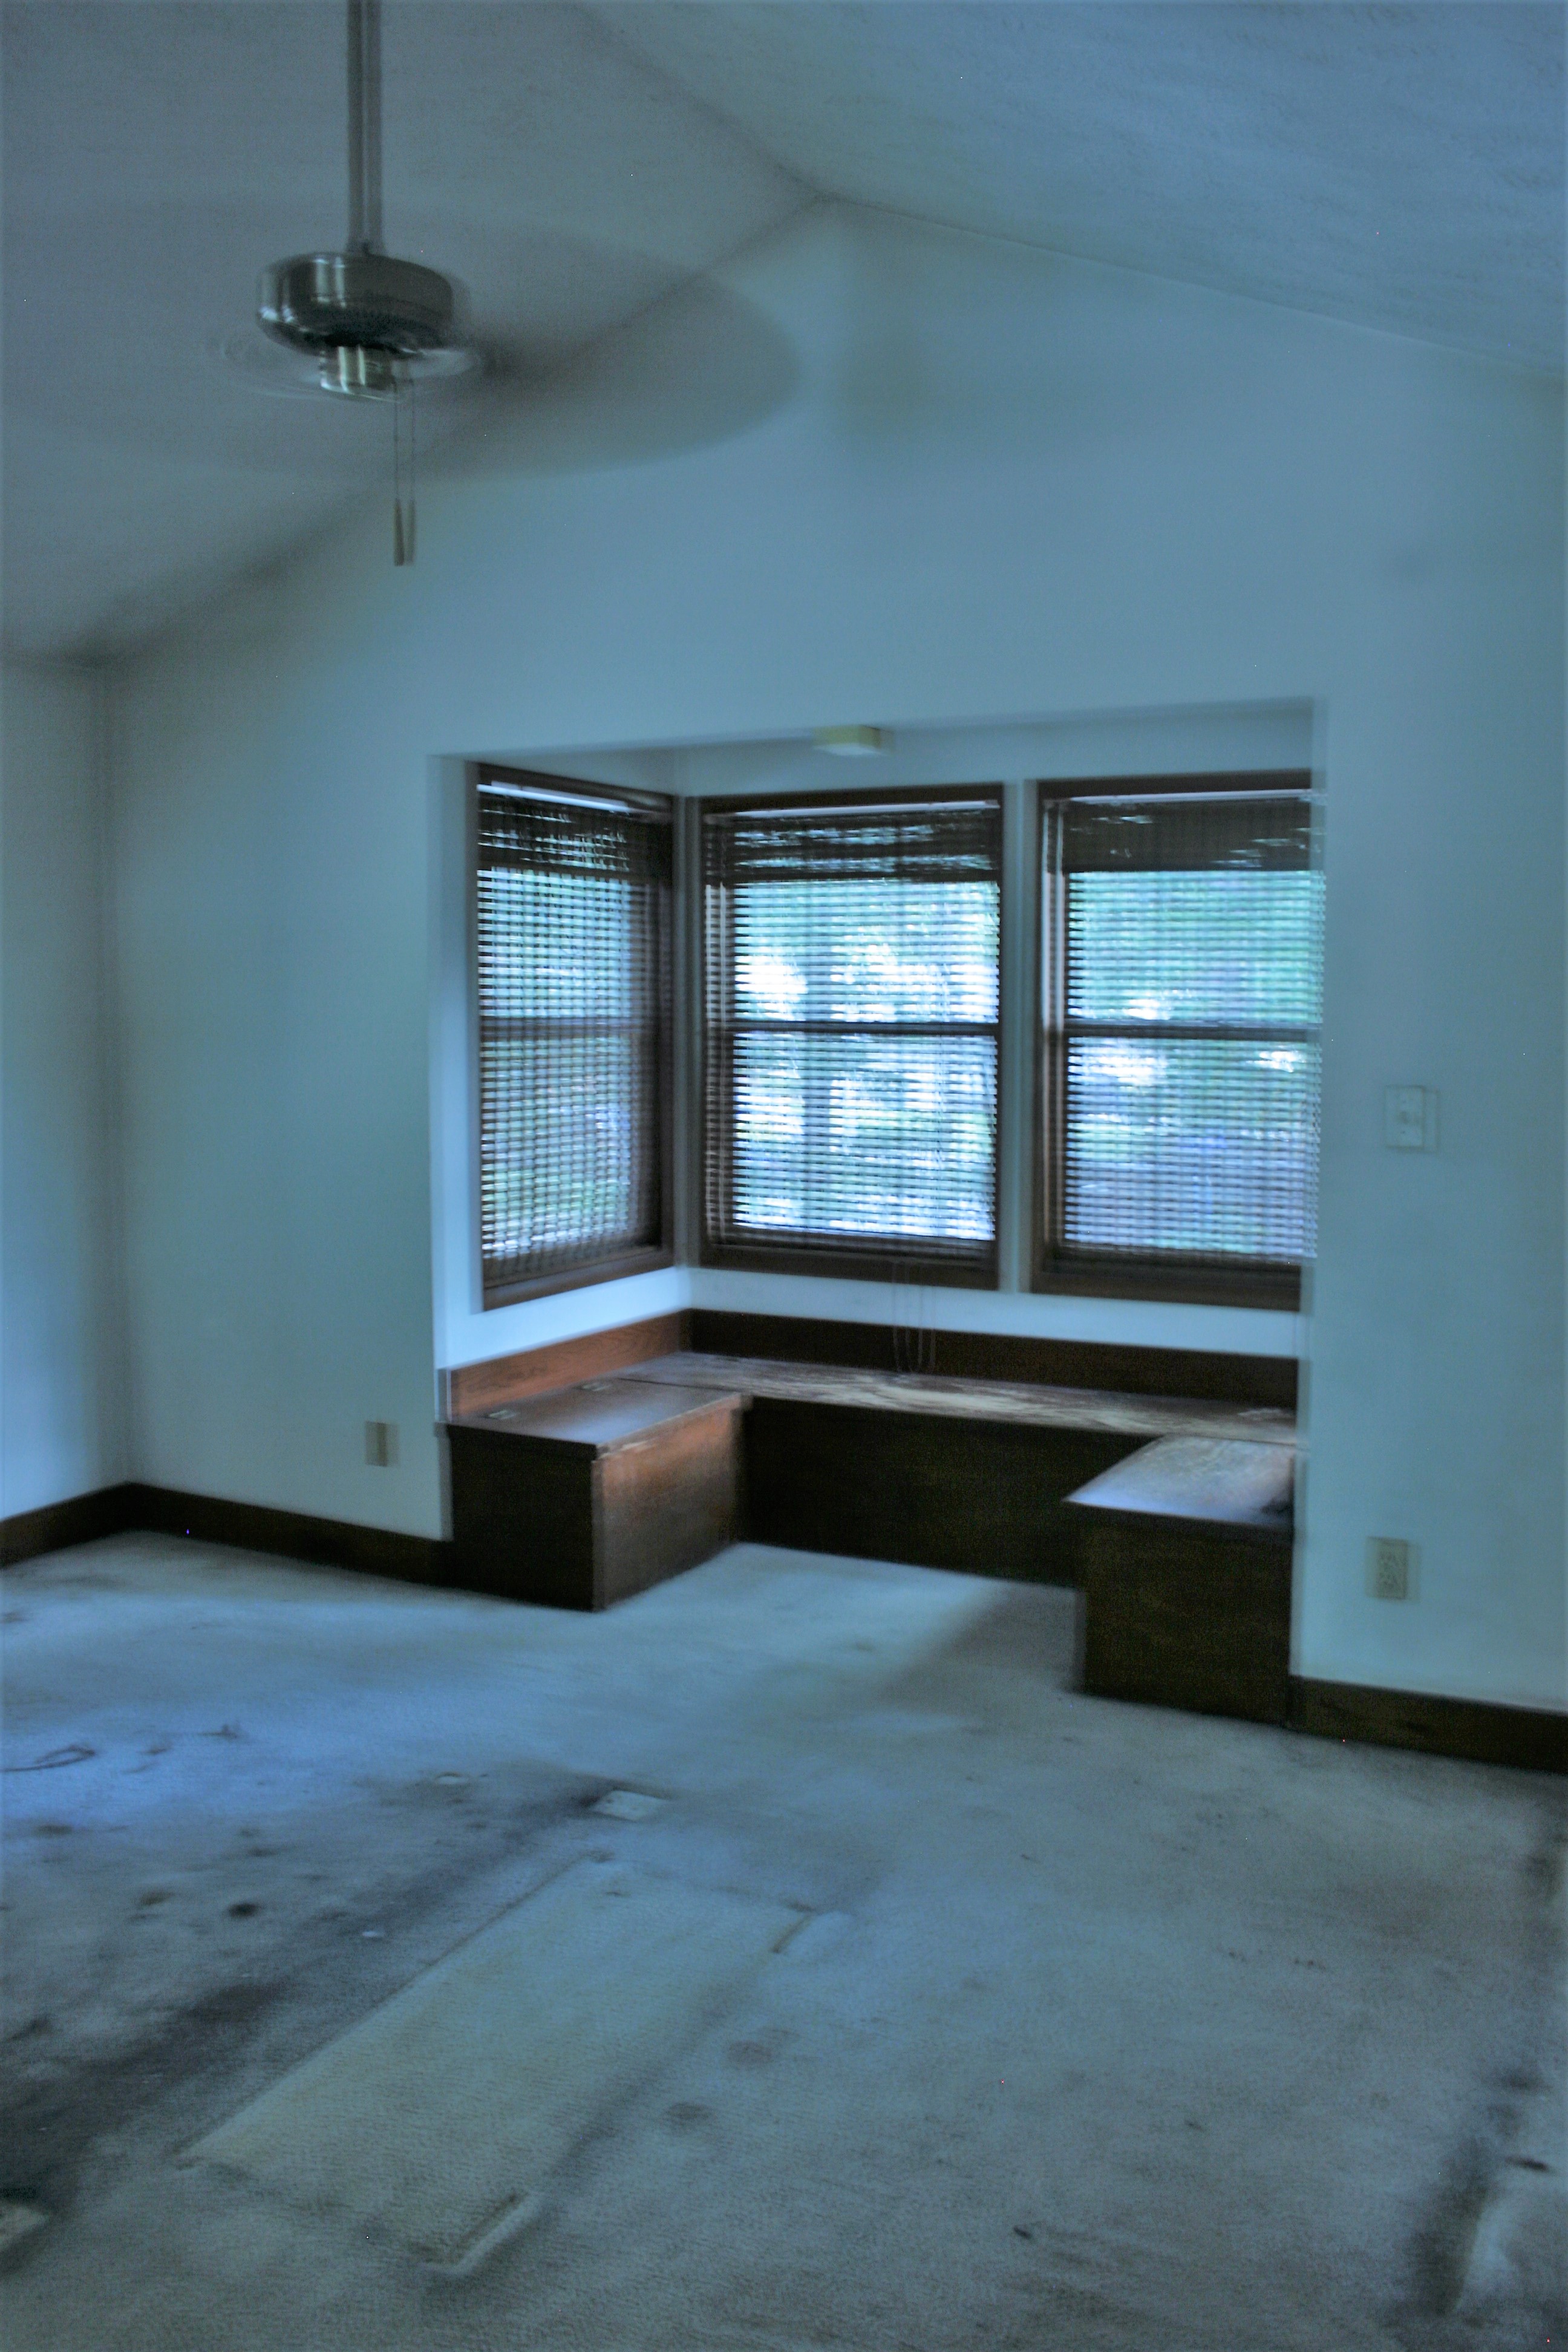
Master Suite: The Master Suite has ample space for bedroom with a nook area. Additionally there is a walk-in closet and a full bathroom. For the bedroom area we closed off the loft and gave the room a much needed makeover.

Before and After
Upstairs Master Suite

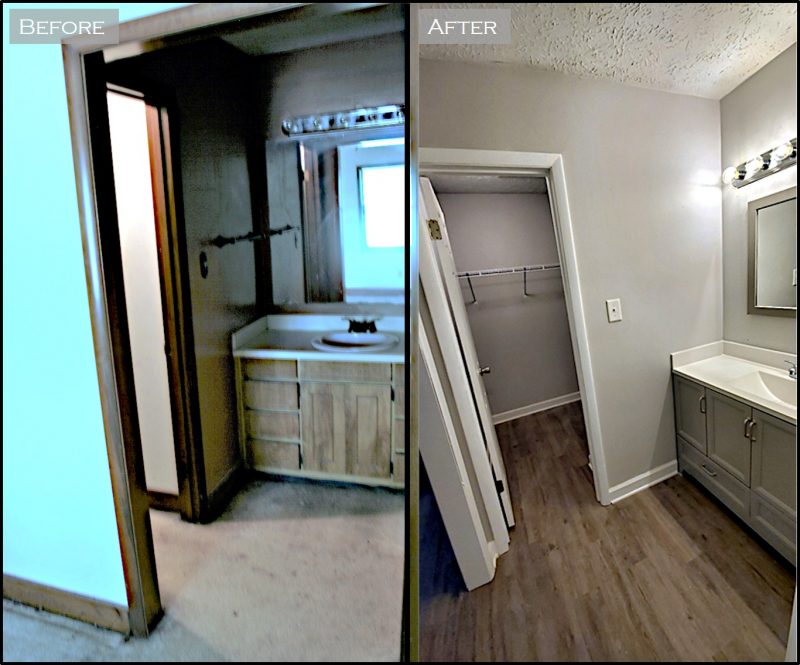
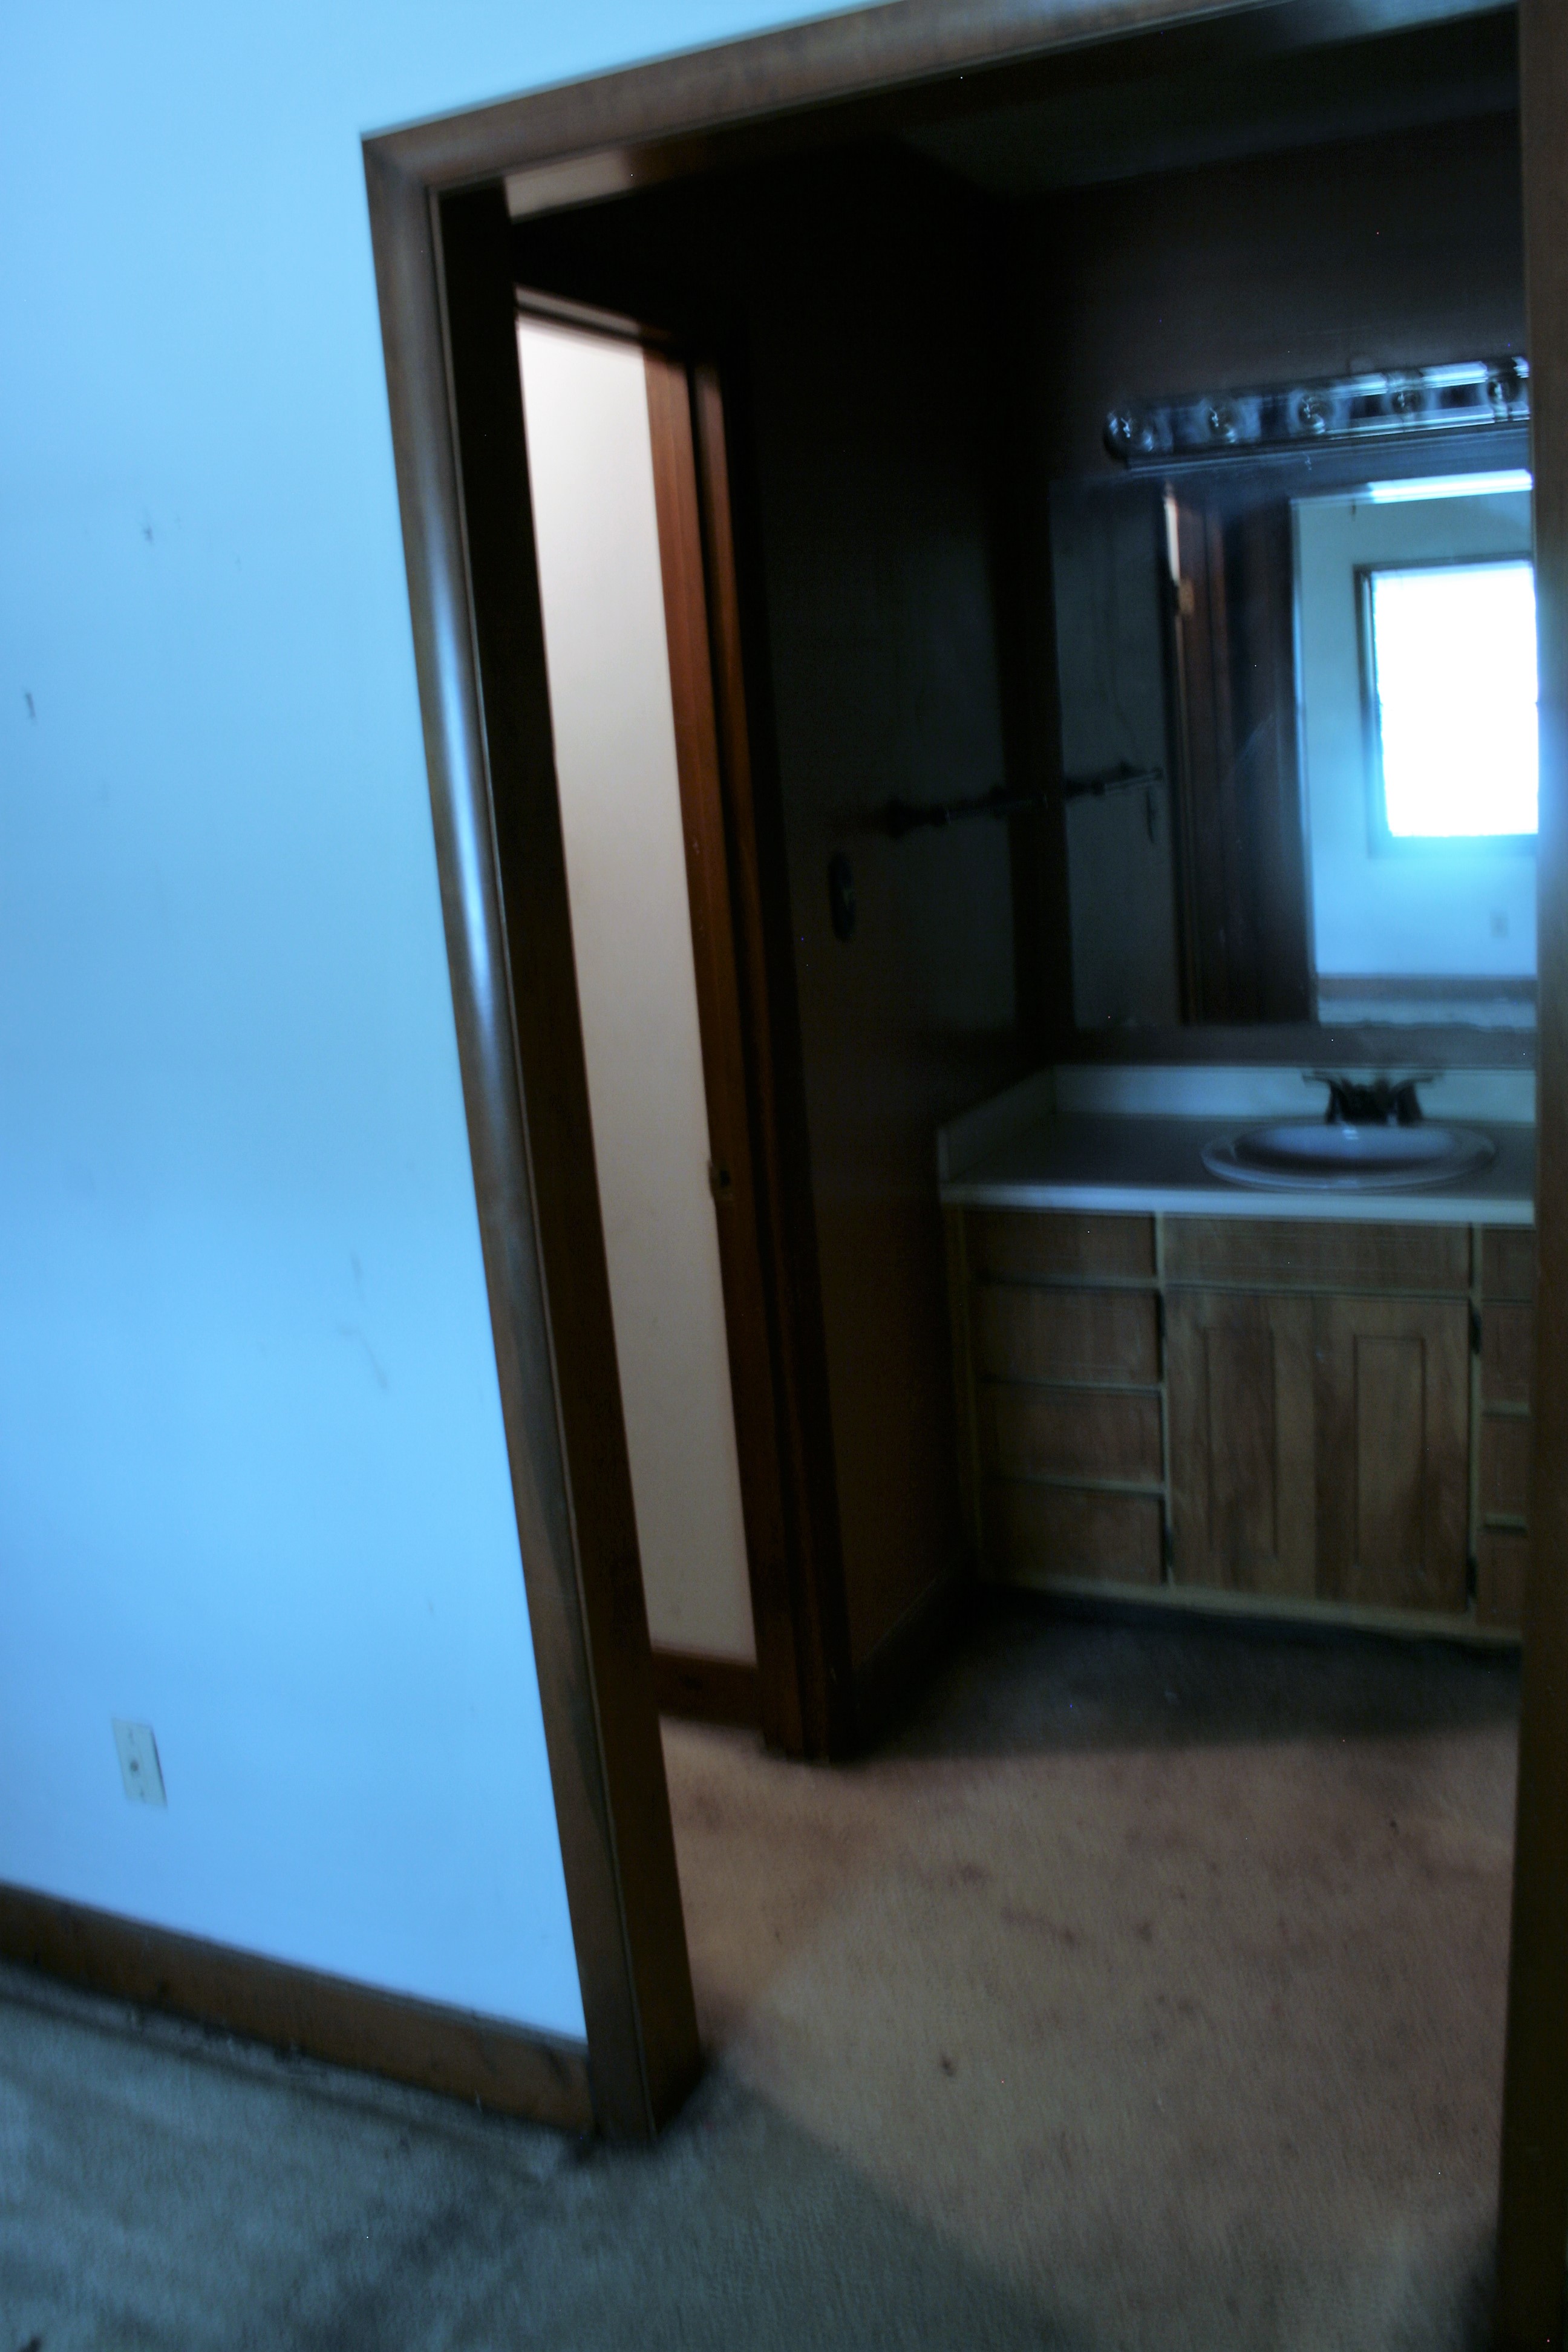
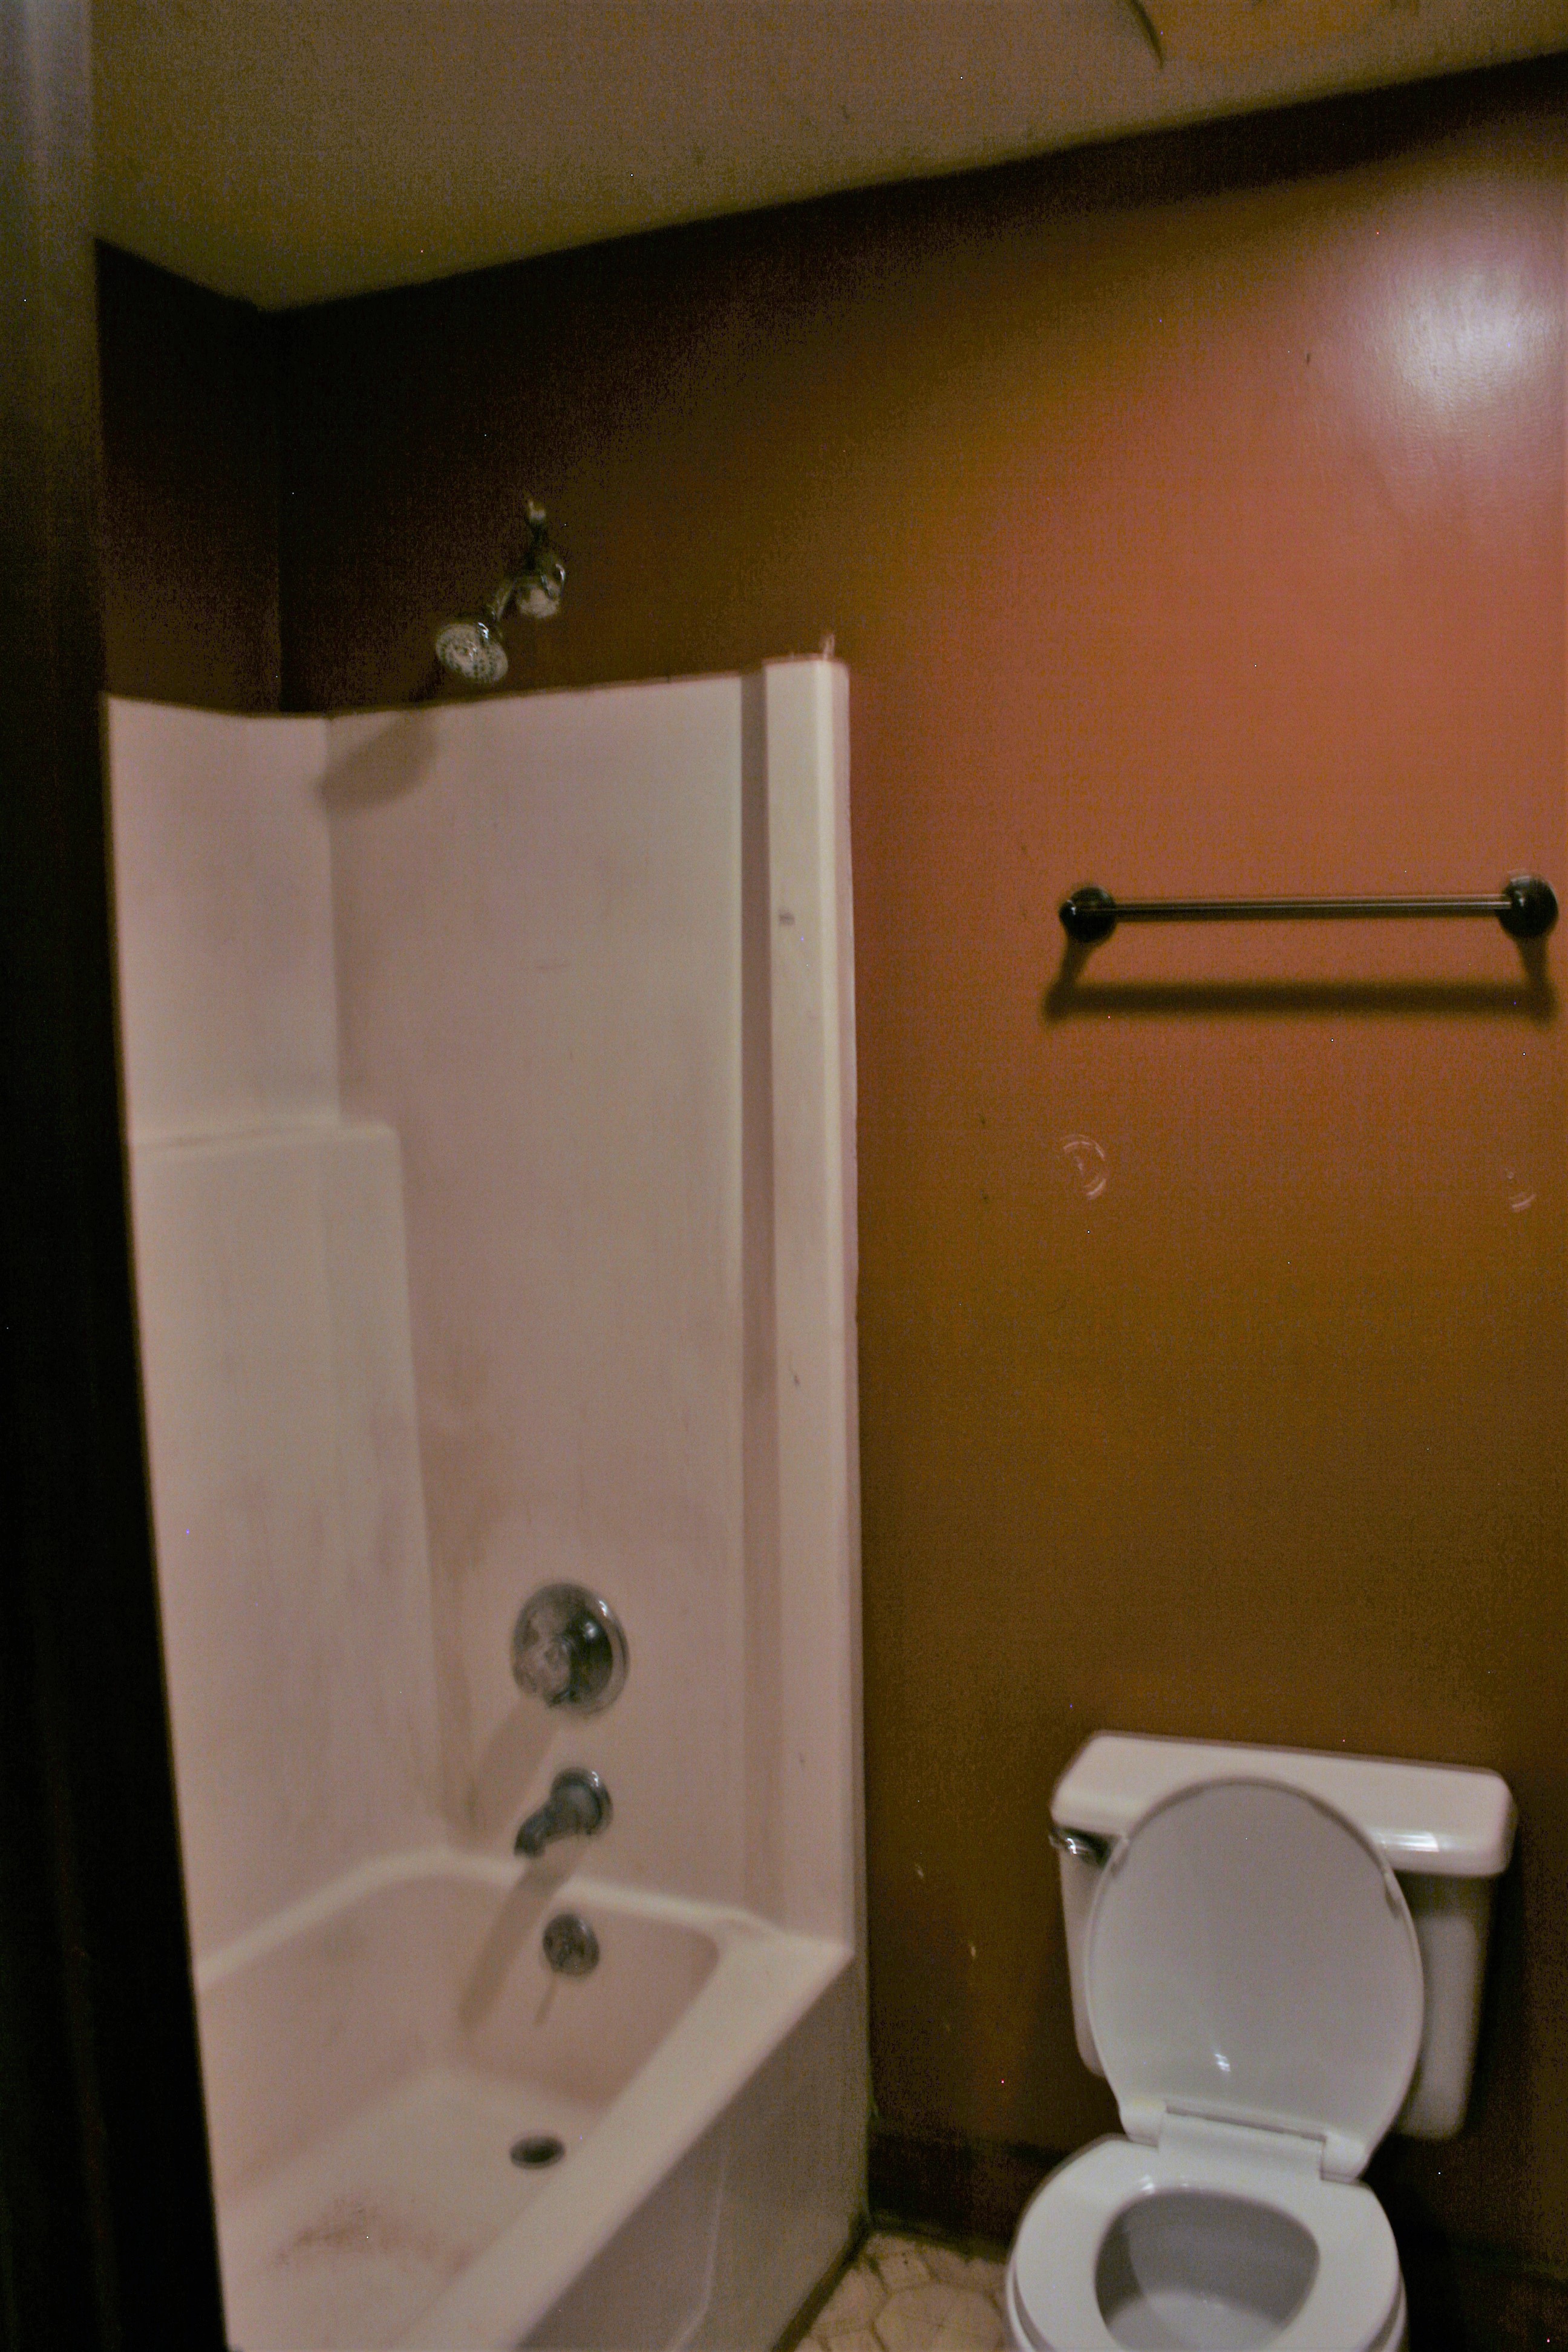
Master Bathroom: The Walk-In Closet and Vanity received much needed improvements. The original drab wooden shelf/wire shelf combination in the walk-in made the closet feel dark and cold. One would argue that is the case for the entire house and the master bathroom was no exception. In fact, the master bathroom was by far the most miserable room in the house. It suffered from water damage issues and required a full makeover. Now the entire space feels lighter and more inviting.

Before and After
Upstairs Bathroom
Before and After
Upstairs Bathroom

This project was our first true test in planning, purchasing, and executing the remodel of a single-family home. We spent long hours working the project, reaching out to various contractors for bids/quotes, and insuring we made the most out of our limited budget. In the end we experienced our share of ups and down, whether it was the unforeseen issues or expenses or the fact our timeline was not what we originally planned.

We enjoyed the journey. We encourage others to do the same. We wanted to test ourselves and gain some experience. I would say we certainly accomplished just that. This project is a wrap minus a fresh exterior paint job in the spring time. Now it’s just waiting for someone to call it home!

Demo on Candlewood

The house is bought.  The ideas are brewing, but before a single wall can be painted or a cabinet can be hung all of the unwanted must go. 
 
For demo day, we utilized a 15 yard dumpster which turned out to be too small.  We ordered a second 15 yard dumpster and filled up just as fast as the first. 
 
This particular house came with many “bonuses”:  a couch, sofa, all of the appliances, and a garage full of more unwanted items.  We demolished both bathrooms and the kitchen due to obvious moisture issues.  Not to mention an overwhelming need of an upgrade. 
 
Here is a slide deck of before and after demo photos.

  • Before Reno Kitchen
  • Before Reno
  • Before Reno Living Room
  • Demo Living Room
  • Before Reno Bathroom
  • Before Reno Bedroom
  • Before Reno Master
  • Before Reno Master Bath
  • Before Reno Master Bath


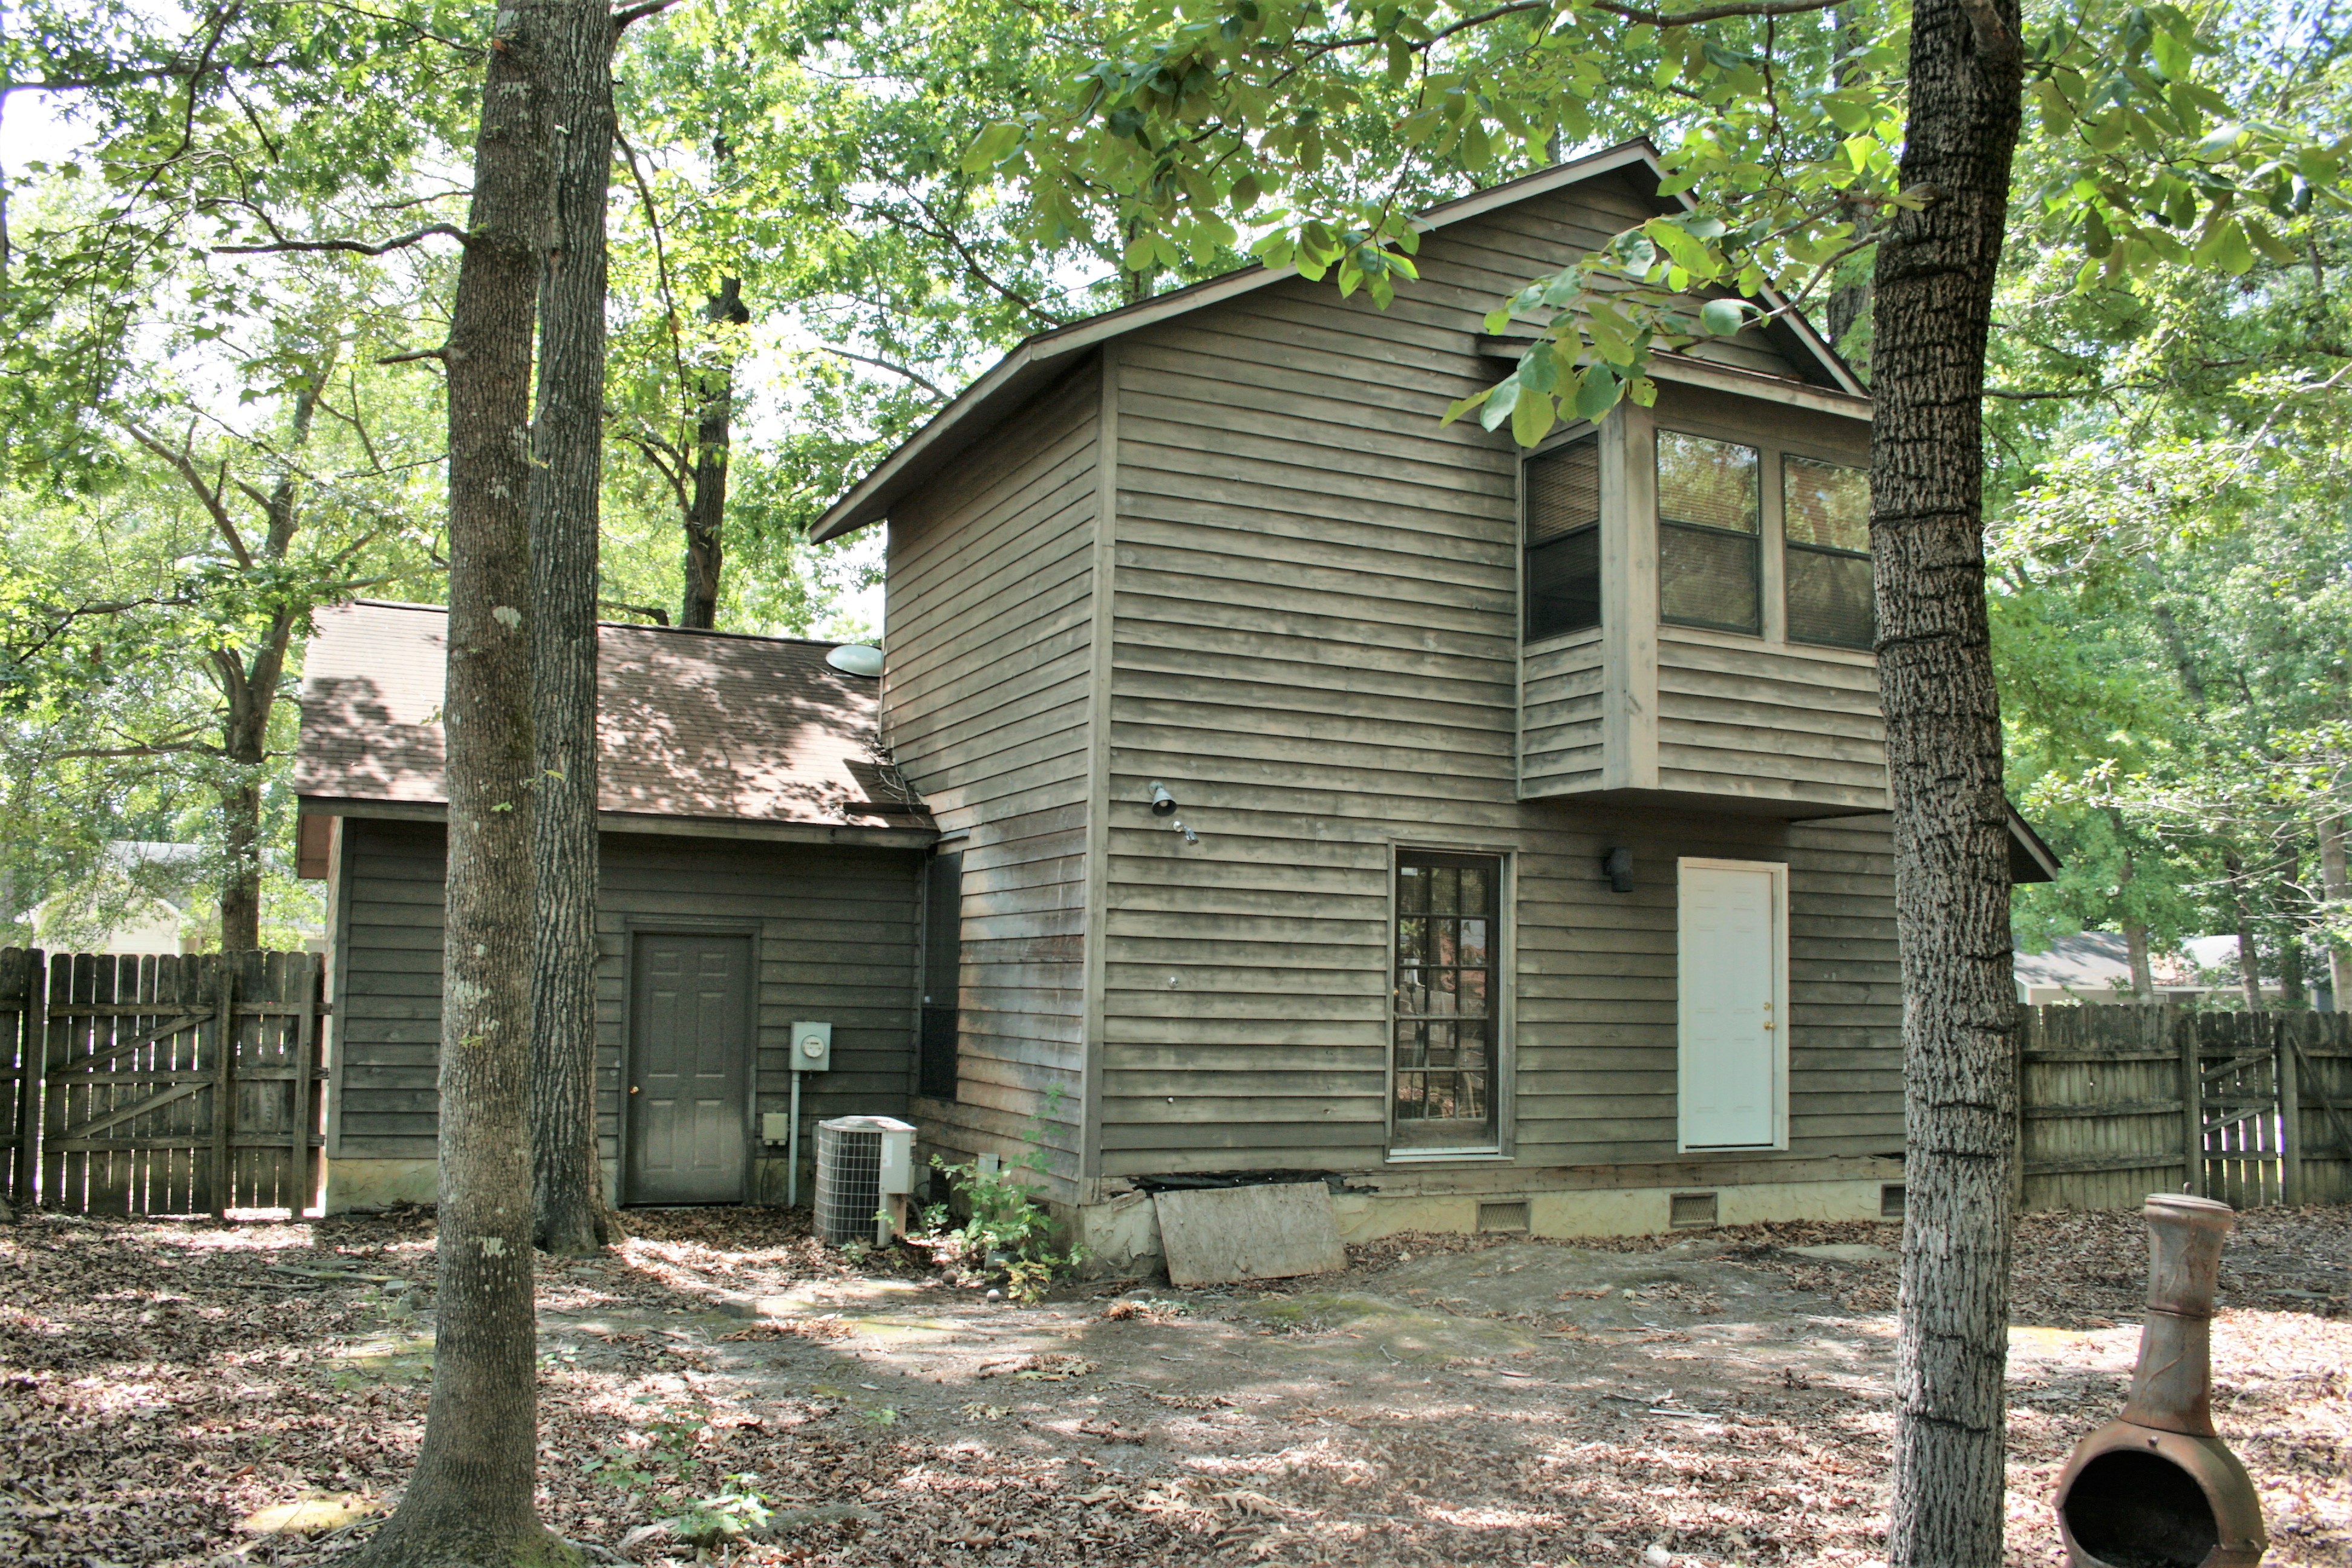
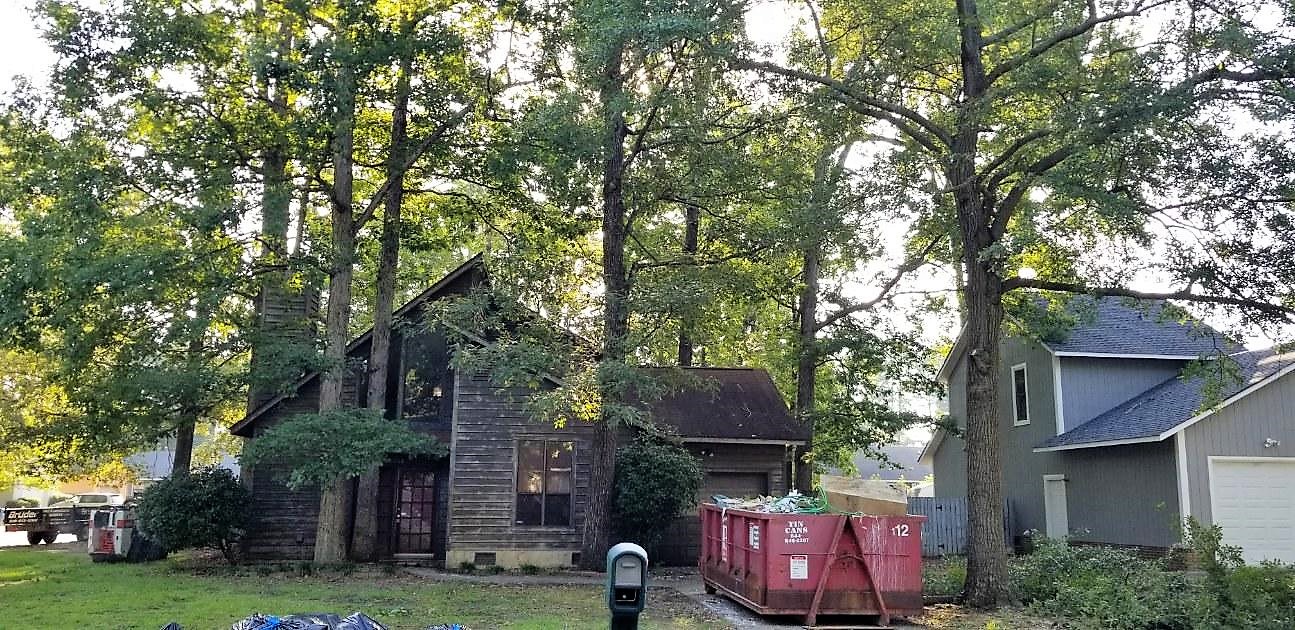
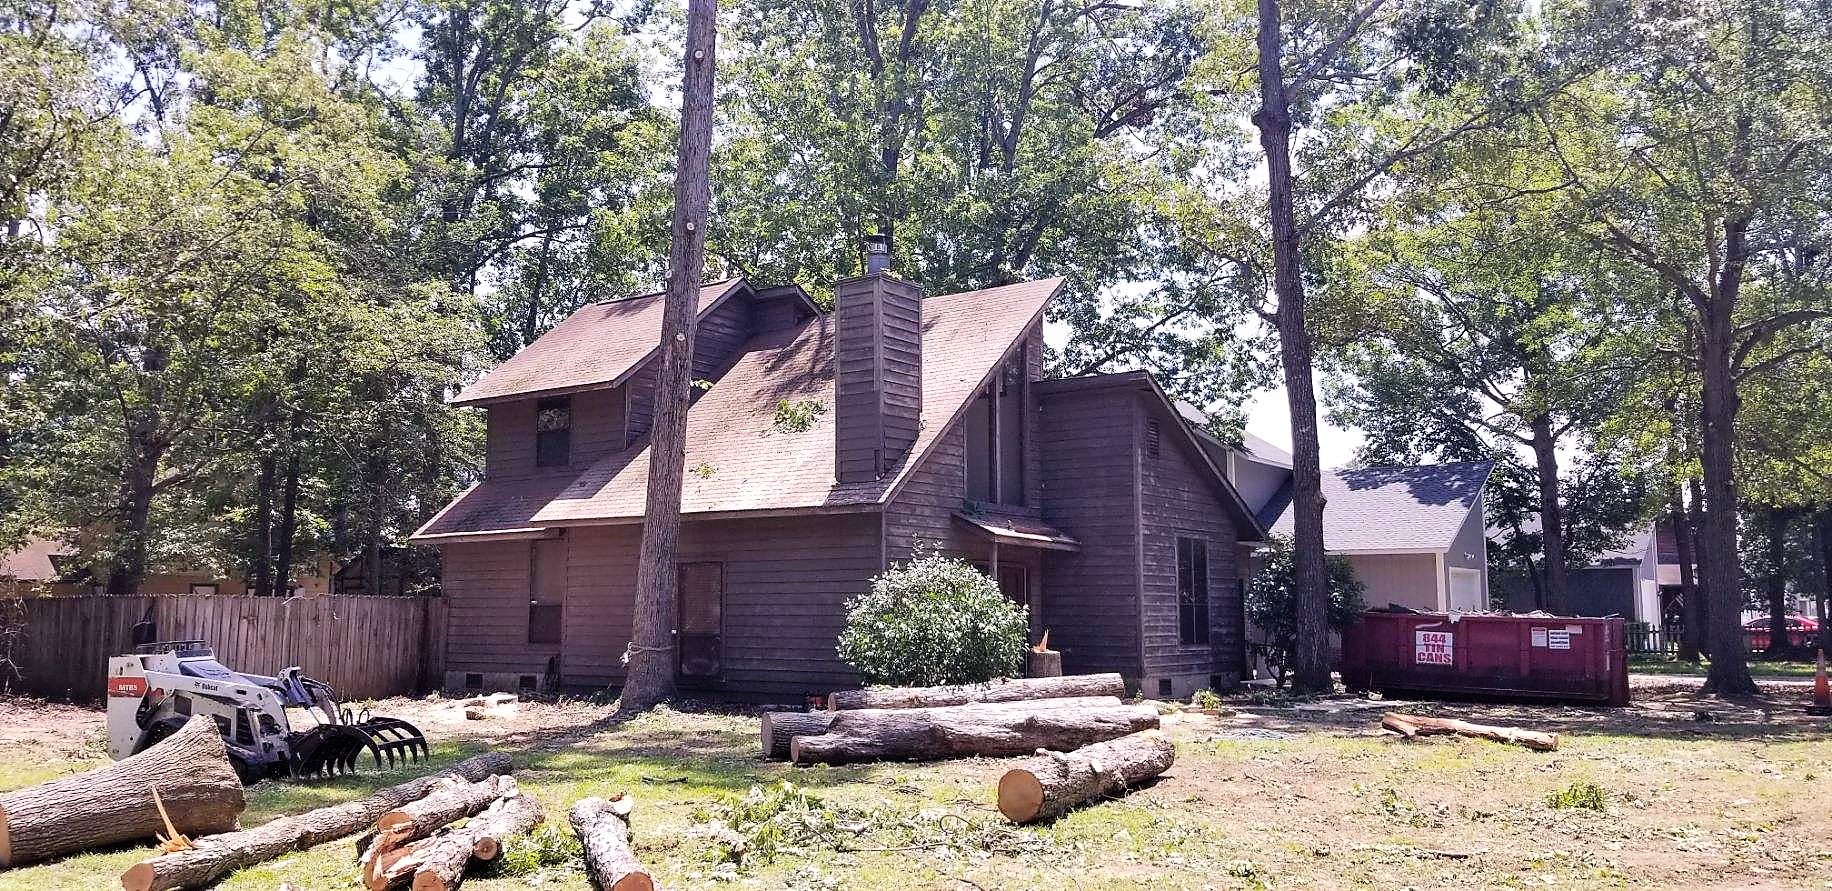
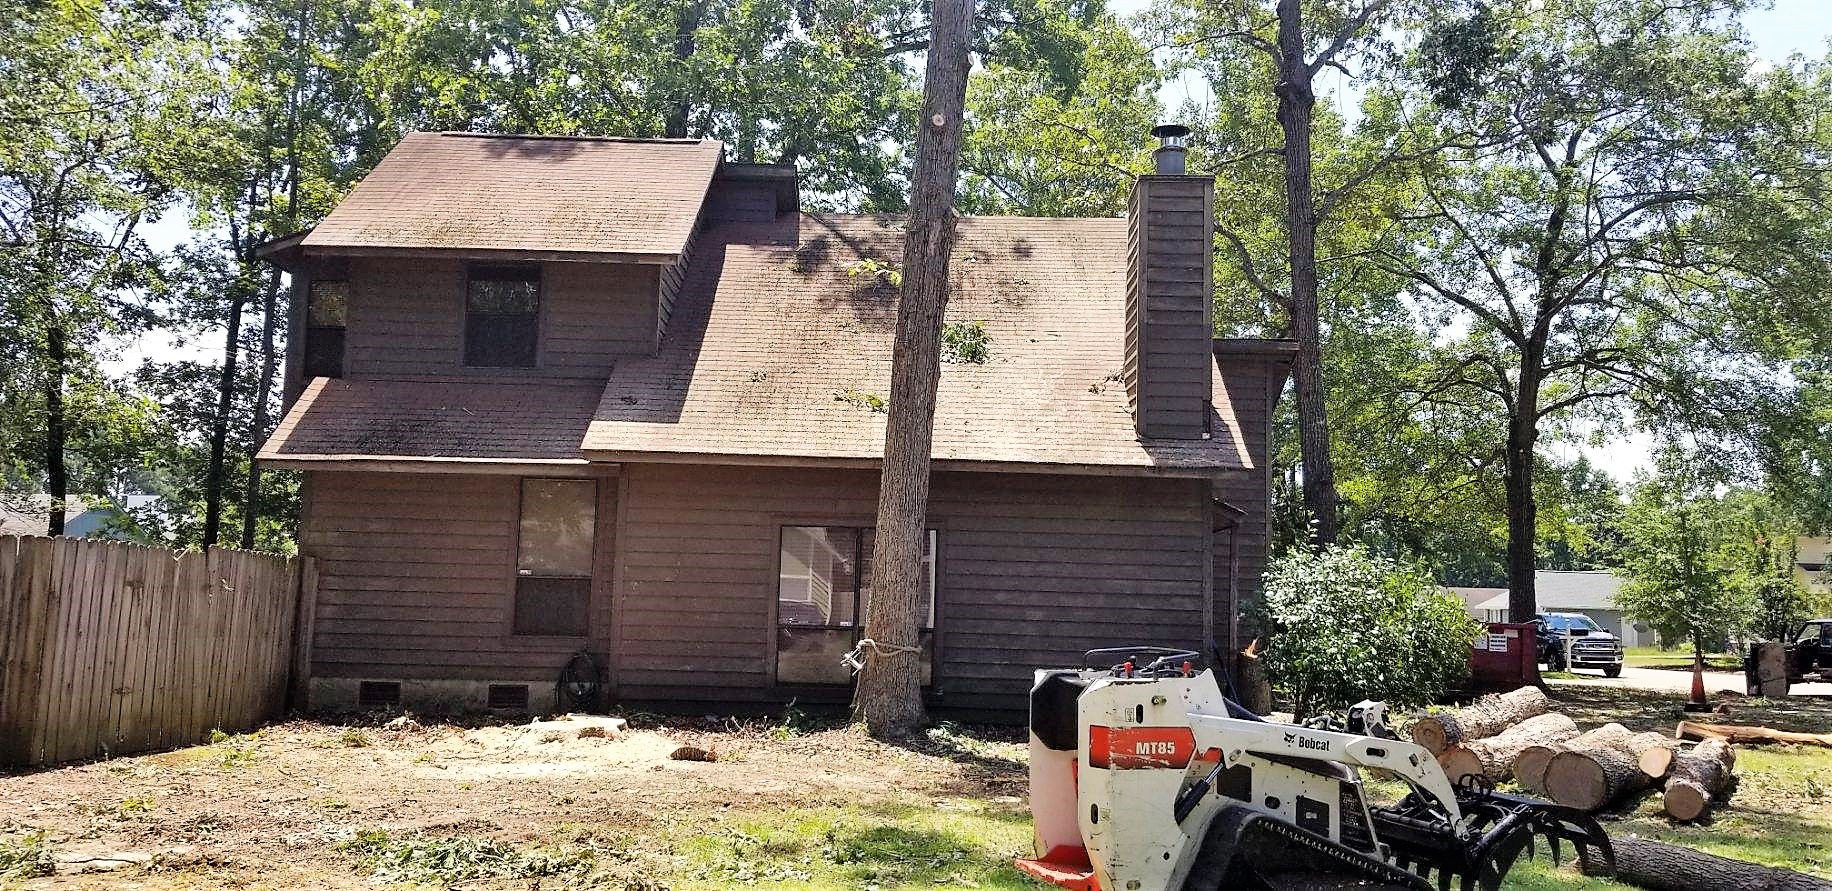
The inside was cluttered as well as the outside.  The outside of the house was surrounded by 5 tall Oak trees that grew within 5 feet of the house.  The proximity created concerns with roots invading the foundation, abundance of moisture from all of the shade and even moss growth on the roof.  We gathered estimates for tree removal as early as the due diligence period knowing the trees had to go.  As an added bonus, our tree service is milling the oak logs into board for future projects.

  • Before Reno Front
  • Before Reno Side
  • Before Reno
  • Before Reno
  • Tree Removal
  • Tree Removal
  • Tree Removal
  • Tree Removal

Pre-Foreclosures and What to Know

[jetpack_subscription_form show_only_email_and_button=”true” custom_background_button_color=”undefined” custom_text_button_color=”undefined” submit_button_text=”Subscribe” submit_button_classes=”undefined” show_subscribers_total=”false” ]

Are you tired of chasing properties on the MLS and not getting your offers accepted?  We were too and finally our first off-market opportunity showed up on our laps.  It showed up in the form of a pre-foreclosure from a divorced couple that were desperate to save their credit.  My broker approached us after two other offers we placed on houses fell through due to being outbid in a highly competitive market.

The broker represented the seller and of course represents me.  He walked the property and already knew how I analyze properties due to the countless hours we spent looking for good deals.  He undersold the property as requiring simple cosmetic improvements, a new roof, garage door, and some other improvements.  As with anything, I valued his opinion, but knew my experience in construction is more vast than his.  Ideally, I wanted to conduct a property inspection first, but we were racing the clock…in this case…the foreclosure date.

Banks and Foreclosures.  The bank told the listing broker that the property must be under contract by 1 July or it would be sold at auction on the Courthouse steps.  We later learned the seller didn’t communicate clear enough with their broker, because the bank never received the purchase agreement, loan payoff amount request, or communicated the closing date to the bank.  This mishap almost proved costly in closing the deal because it forced us to close on 1 July.

The Loan That Never Was.  Originally, we tried to get conventional agency financing with a 20% down payment which requires an appraisal and significant amount in closing costs that includes:  lawyer fees, title searches, appraisal costs, loan origination fees, penalties for low finance amounts, etc.  For the agreed upon purchase amount of $78K, this amount would equal about $6K with a total cost of $84K.  We knew this amount with the CAPEX (Capital Expenditures or initial repairs) would force us to leave money in the property after a cash-out refinance, but we were confident with the ability of renting the property at our target amount of $1K for the 3 bedroom/2 bathroom house.  We had to pay for the appraisal in advance and the report was to be completed by 21 June with a 1 July closing.  The lender didn’t receive the report until the morning of 28 June…exactly 3 calendar days prior to closing.  As we waited, the lender and broker grew worried and reached out for an extension with the bank.  This is when we learned the bank DIDN’T know the property was under contract and required 72 hours to produce the loan payoff amount.  Additionally, NC law requires a 72 hour period for the lender to show the seller the Closing Disclosures (CD) prior to closing.  At this point we busted these time windows and we began scrambling for an all cash deal as part of the back-up plan…in the event the bank didn’t agree to the extension.  Shortly after I would learn none of that mattered.  The LATE appraisal report came back with a low appraisal value and conditions that I was well aware of with a rating of C5 that my lender would affectionately refer to as the equivalent of being hit by a hurricane.  Basically, the lender could NOT finance the property.  Instantly, we switched gears to an all-cash deal.

Show Me the Money.  While we waited for conventional financing to be approved, we were forced to leave money in separate accounts since we were looking at personal financing due to the loan amount being less than $75K, but more than $50K (Commercial Loan minimums are $75K).  So now we had money in personal accounts as well as in the business account.  On closing day, the sellers signed their documents with no issues and provided the little they could afford.  Now it’s our turn, payment options include certified check(s) or wire transfers.  Due to the previously stated issues, we went with the wire transfer.  While all of this transpired, my broker and I were nervous, because the bank communicated the money had to transfer and deed had to be registered with the county or they would place the property under foreclosure.  We successfully transferred the money, but with only an hour for registering the deed.  Thankfully, the Real Estate Attorney communicated with the bank attorney that all funds are present, documents are signed, and submitted for writing at the courthouse.  As of the next morning, we were listed as the new owners of our very first rental property.

Summary.  We learned so much during this period and here it is.

  • Plan for Contingencies (Financing, Inspections, Timelines)
  • Constant Communication with Your Team – Broker, Lender, Contractor
  • Get Construction Estimates Early and Often
  • Be Prepared for the Worst
  • Be Prepared to Walk Away

We knew this property would be a challenge especially after the initial inspection and the list of items that needed fixed.  We established a hard cutoff for maintenance at $40K.  We knew anything over this amount would require too long to pull our money out.  Remember, we plan to Buy, Rehab, Rent, and Hold for 10 years.  This is concrete for us and has proven to be our backbone in all of our decision making.  Additionally, through tons of prep work and communication with others we placed ourselves in a situation that allowed us to use all cash as a contingency.  IF this is not available to you, just get more creative, be proactive because hard money and other lending is available.

Getting Started On The First Deal

Whether it’s a podcast, a book, an eager business-minded friend, or your own ambitions, the message seems abundantly clear – “Make the first deal, and don’t give in to the tough times.”

For most aspiring entrepreneurs, making the first deal is more than half the battle. I have found myself hoping for some luck in the form of a great deal to get me off and running, but luck isn’t reliable, dependable and lies outside of anyone’s “sphere of influence.”

Right now, I find myself saving in order to build up reserves and find more ways to leverage money to meet the demands of a 25% down payment and up to 20K in rehab costs. All of this with the BRRRR (Buy, Rehab, Rent, Refi, Repeat) strategy in mind, a means to leverage banks to Refi and push all of those funds back my way for property number 2.

So how do I plan to leverage my own money? Two ways, the first is with a loan on a Thrift Savings Plan (Military speak for 401K) that holds a 2.5% interest rate with a 5 year pay off period. This account has received a steady 6% input over the span of 10 years. The second is with a good ole’ fashion HELOC (Home Equity Line of Credit) on my primary residence. I have nearly 5 years of equity on a VA loan in a neighborhood that provided already up to 50K in appreciation based on the comps locally.

Now for possible deals. It is spring, near a major military installation, so there are more homes on the market than the winter months. The number of foreclosures continue to populate the MLS and my broker continues to encourage me with the comps on properties of interest. For my first deal I am torn between the slow cash flow route of a Single Family Home (SFH) with moderate repairs or a Duplex or a possible Triplex in a less popular area.

For the first deal I am concentrating on the following:

  • Cash Flow (Goal: $300 a month per unit)
  • Appreciation through Rehab/Land Value
  • All-in ARV < 75-85% for Cash Out Refi (After Rehab Value)

In the coming days, I plan to visit 3-5 local banks and compare small-business banking options, escrow services, and mortgage products. Be mindful, that I have a full-time job (not Real Estate related), so everything is orchestrated in my off-time. These engagements will hopefully contribute to my current plan, or educate myself on areas that need improvement in the current business plan. And naturally, a follow-on meeting with my CPA to discuss tax implications, breaks, etc.

I remain in line with my main goals by focusing on establishing systems and relationships with SMEs (Subject Matter Experts): Broker, CPA, Banker. One of the key tasks on my list is to find a solid Real Estate Attorney in order to better understand local laws for contracts, leases, etc.

With each passing week, I reexamine each one of these incremental steps taken. The original plan has seen subtle tweaks, but we are ever so closer to pulling the trigger on our first deal.

Note: This are simple micro steps needed to fulfill my macro goals. Each little task is a micro goal, but these micro goals are well nested with my desired macros.