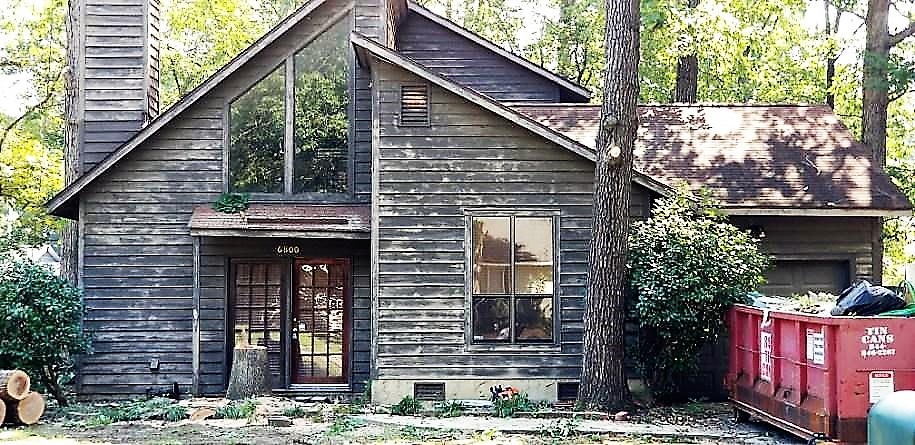
The Addingham Project

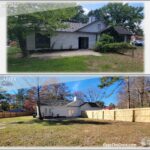
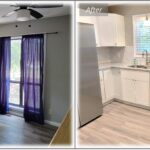
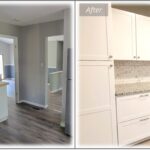
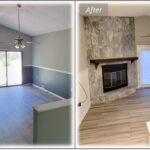
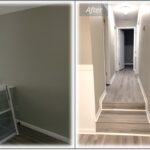
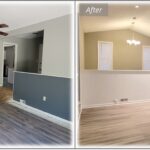
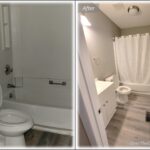
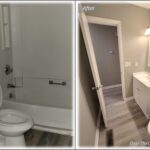
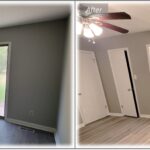
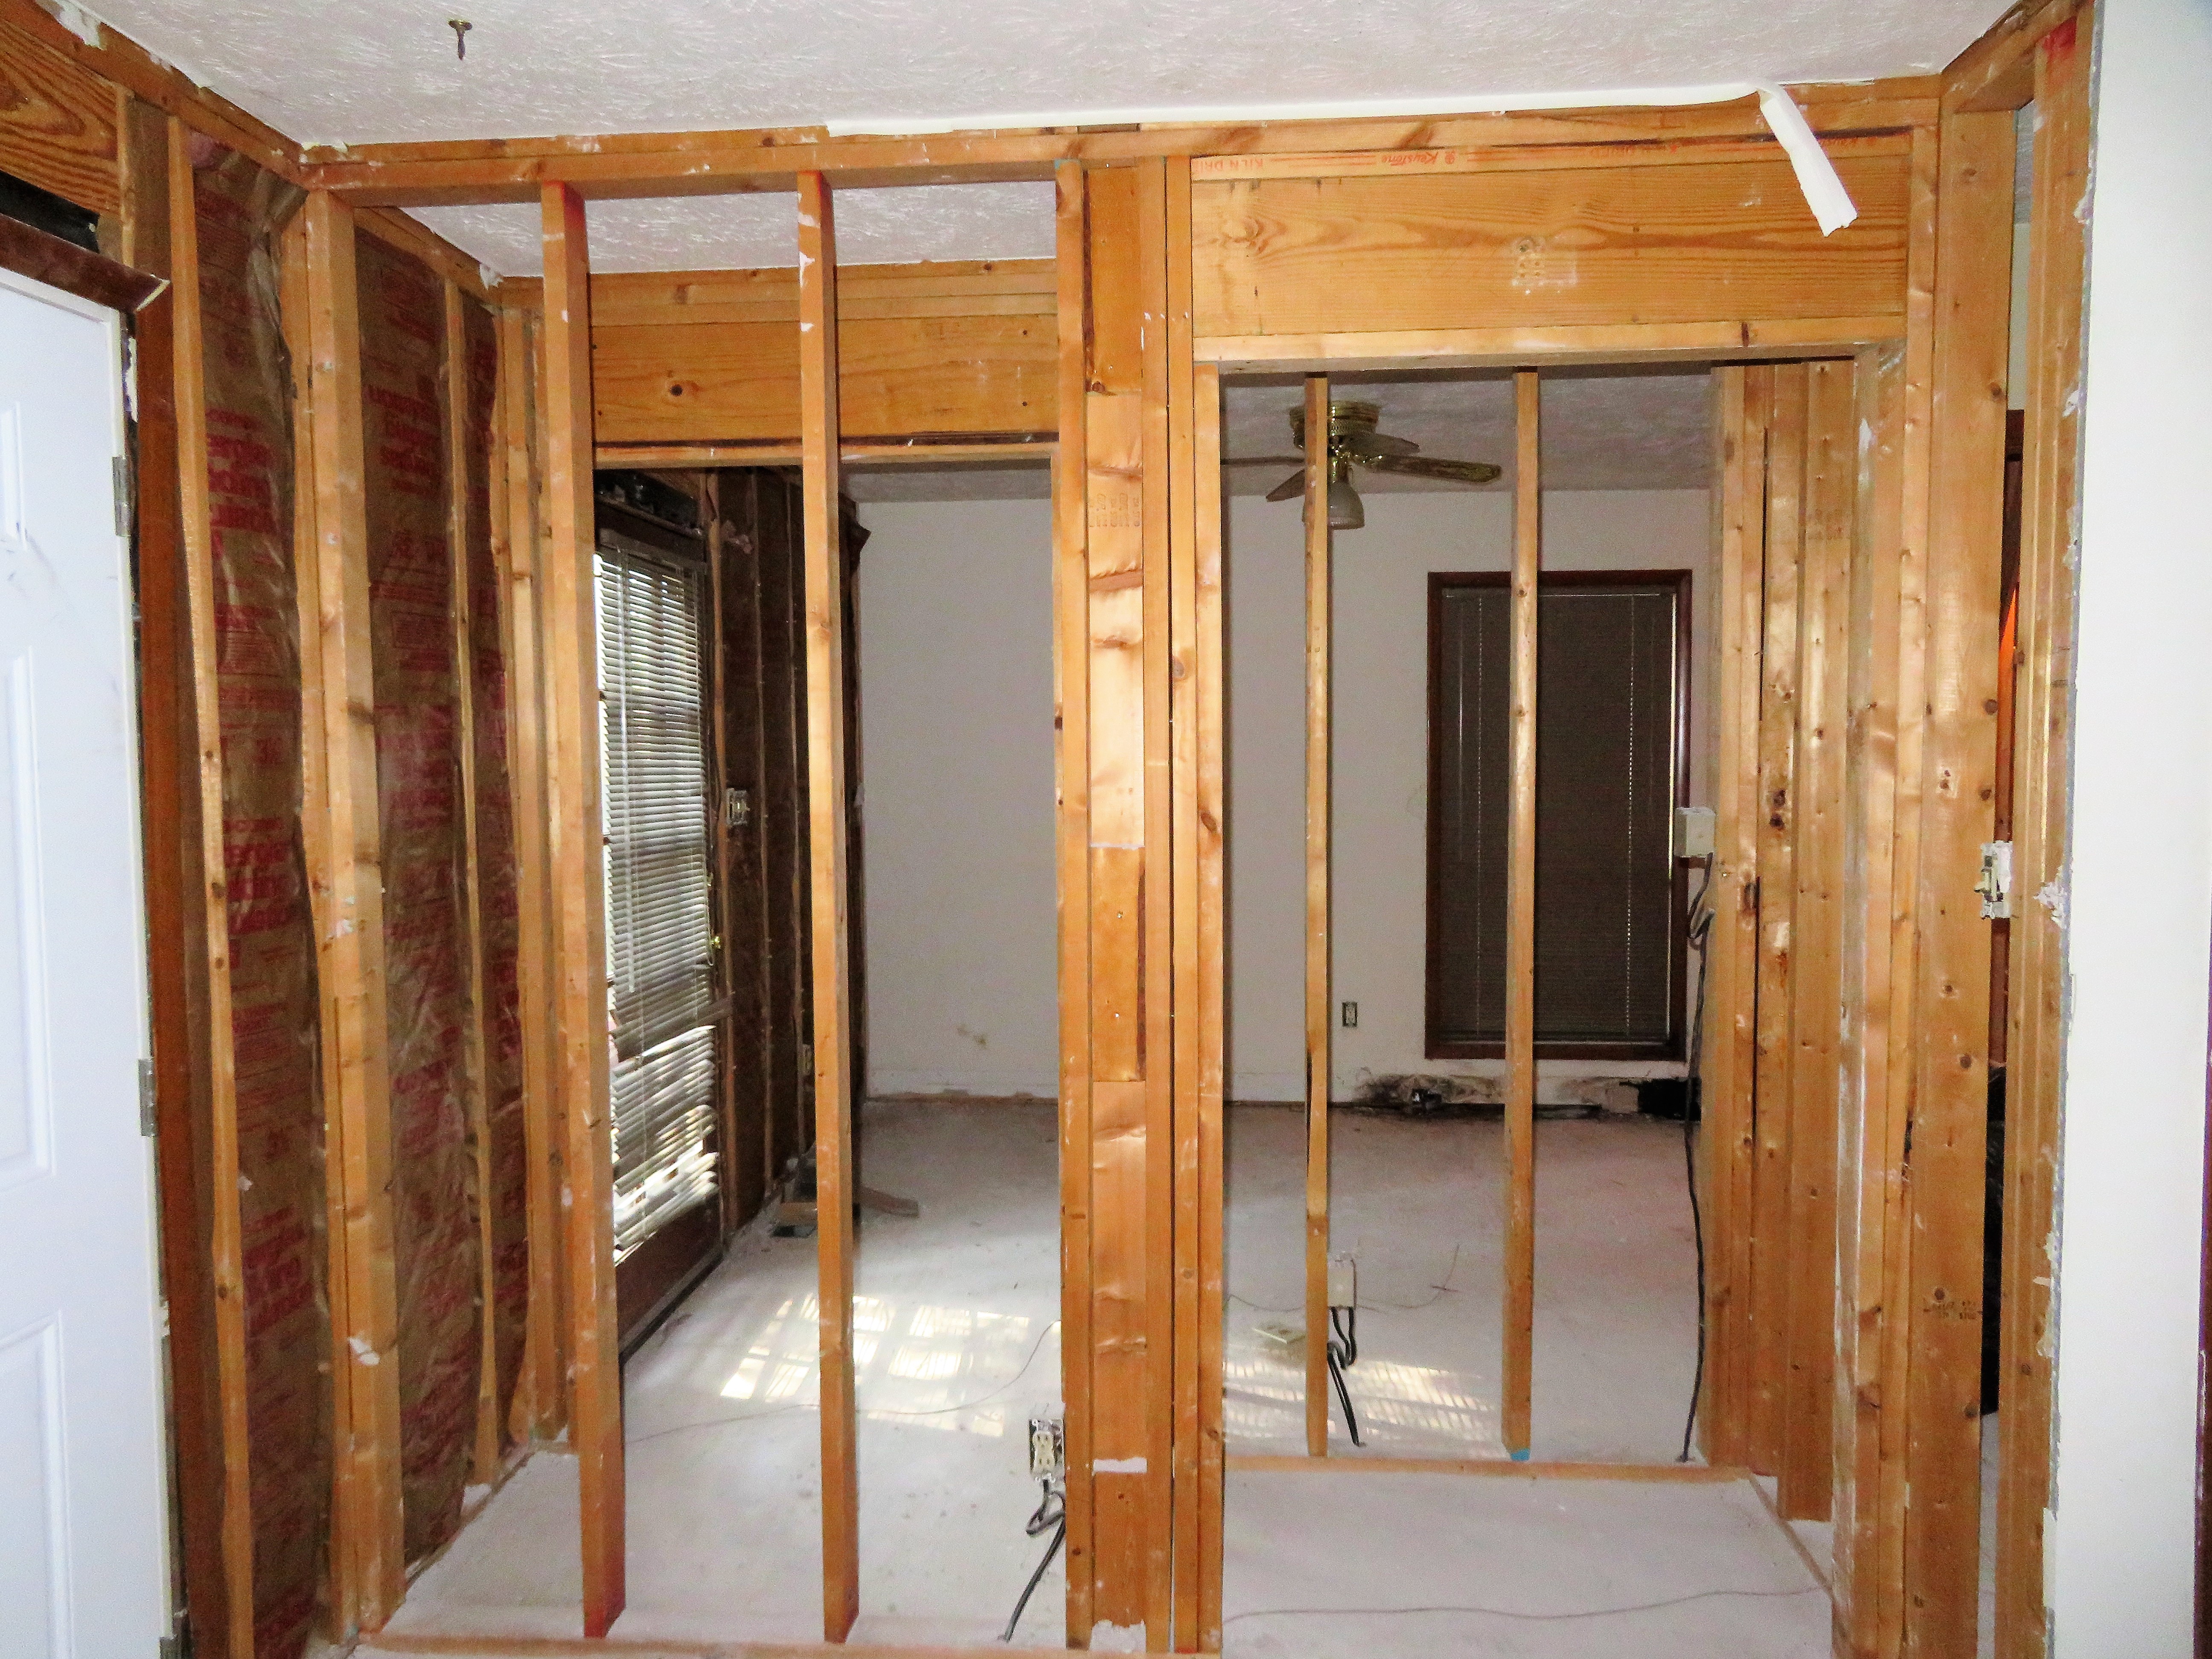
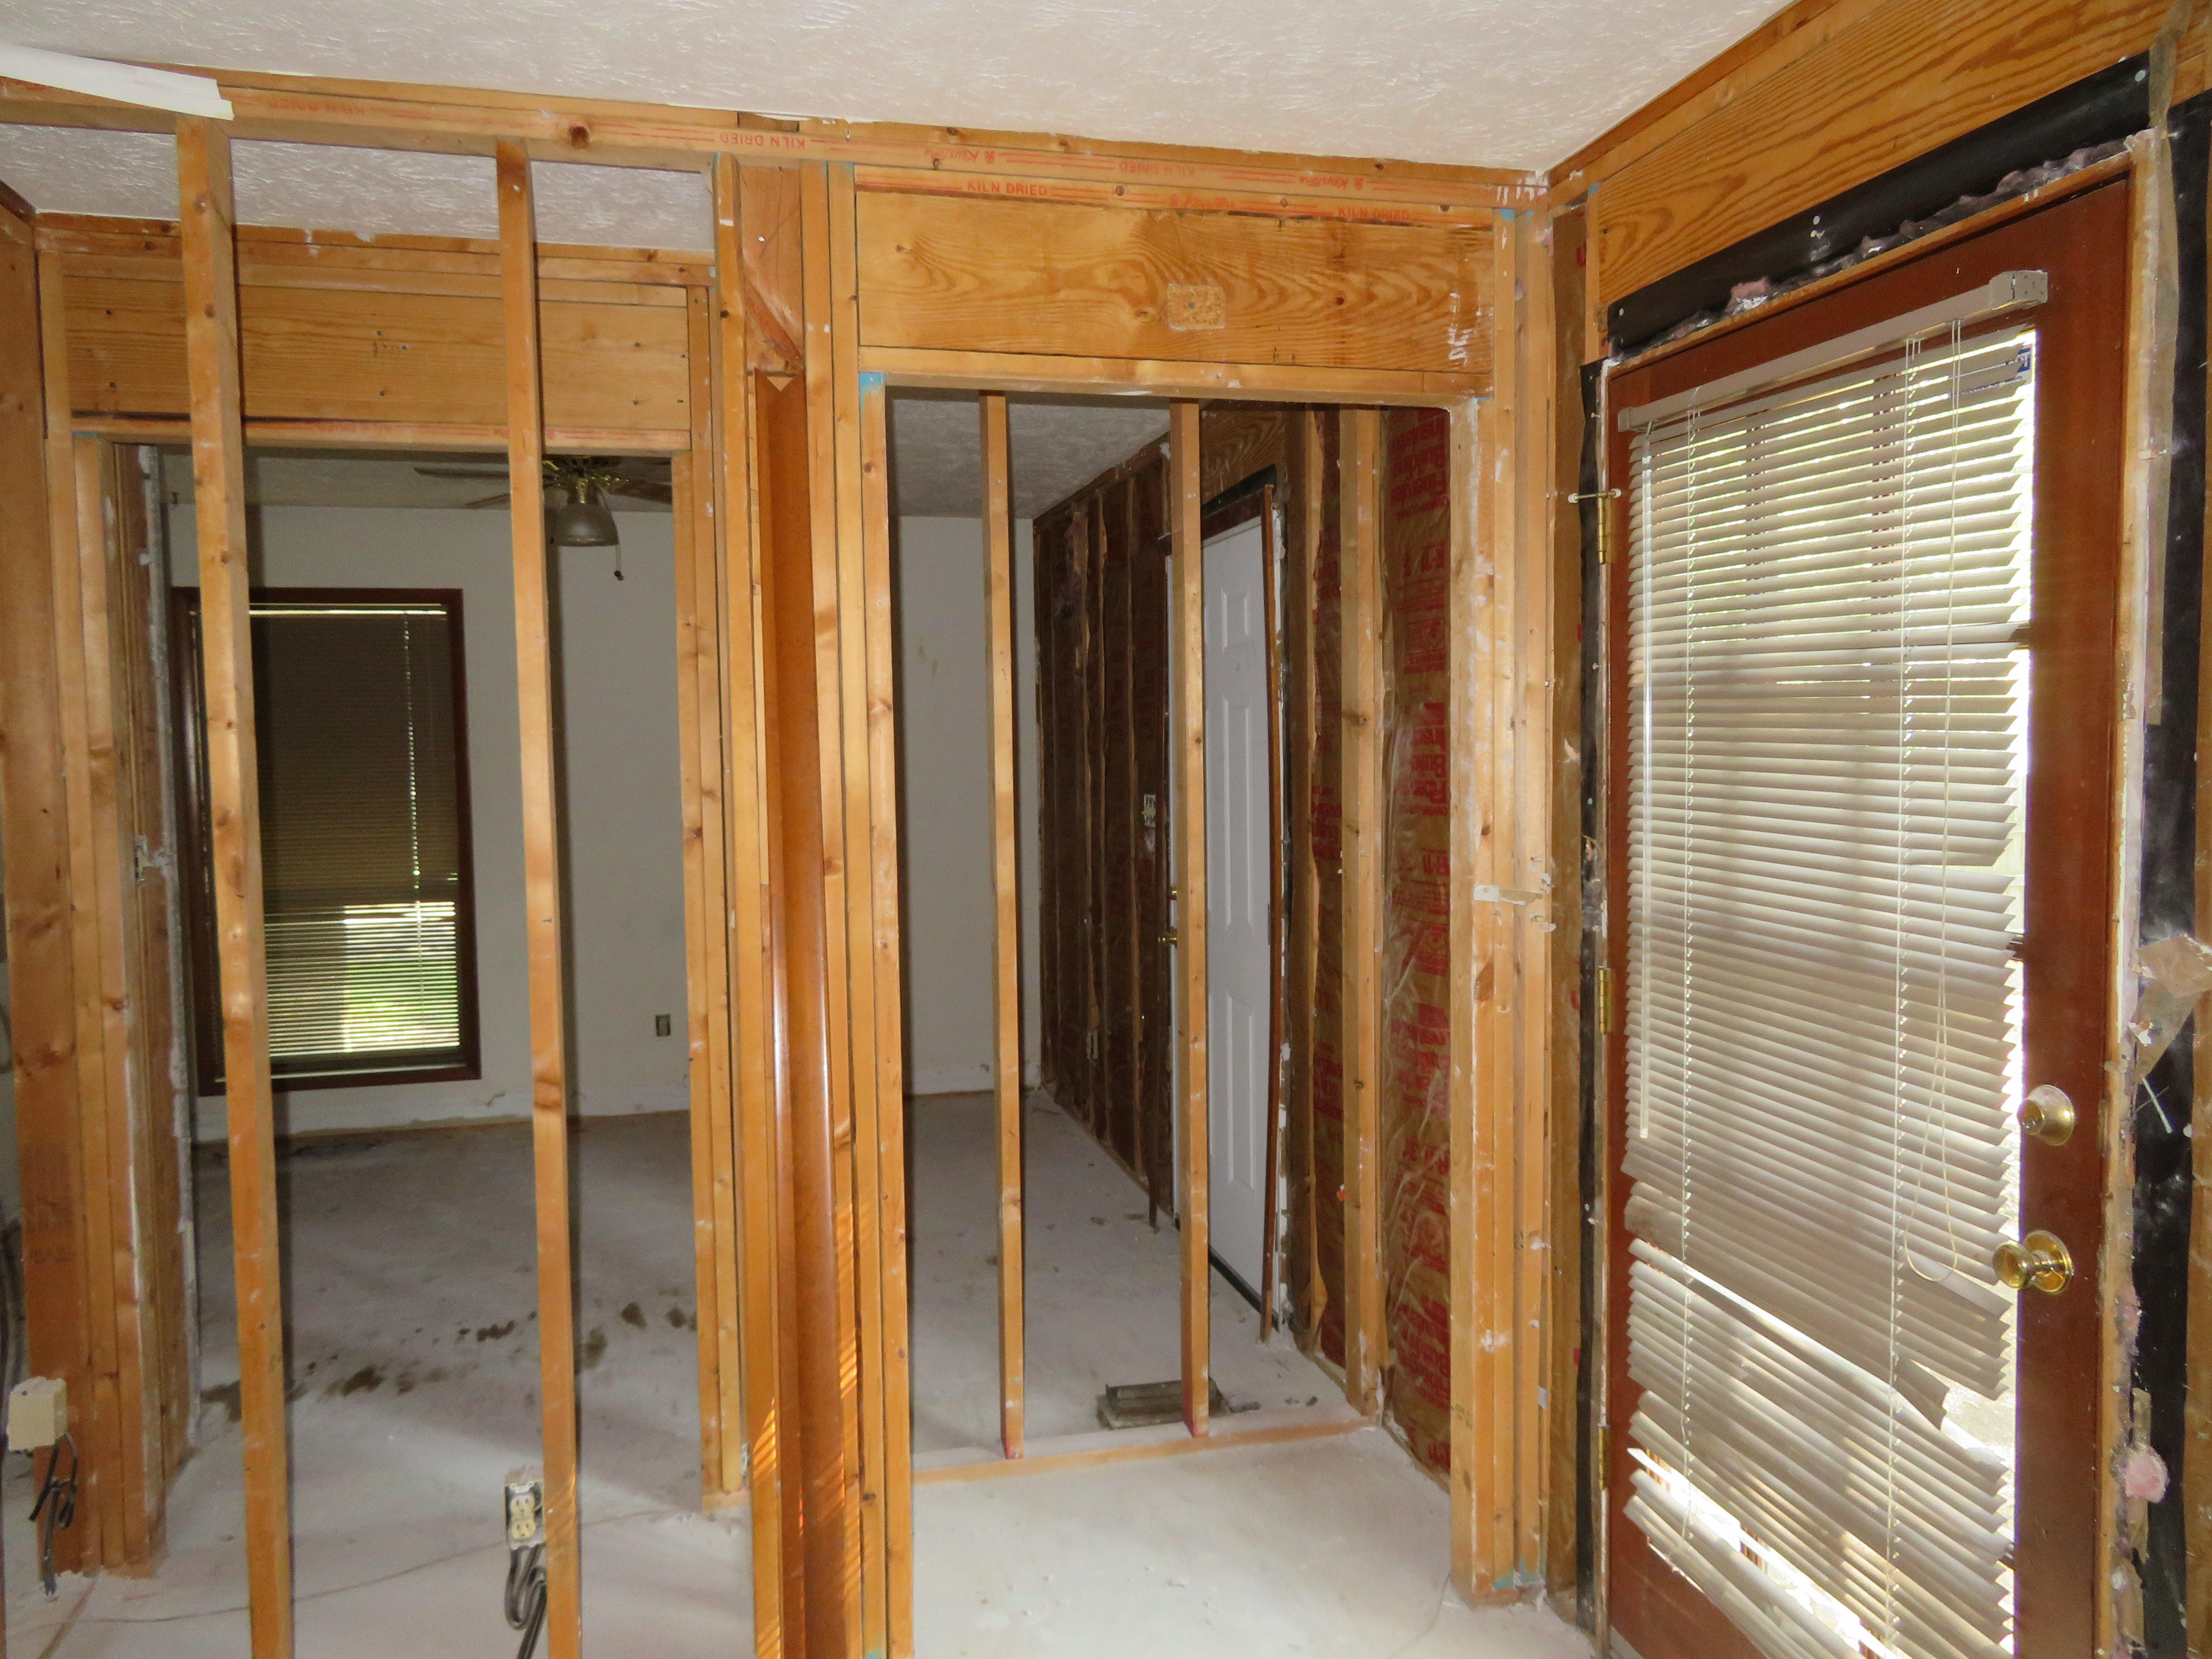
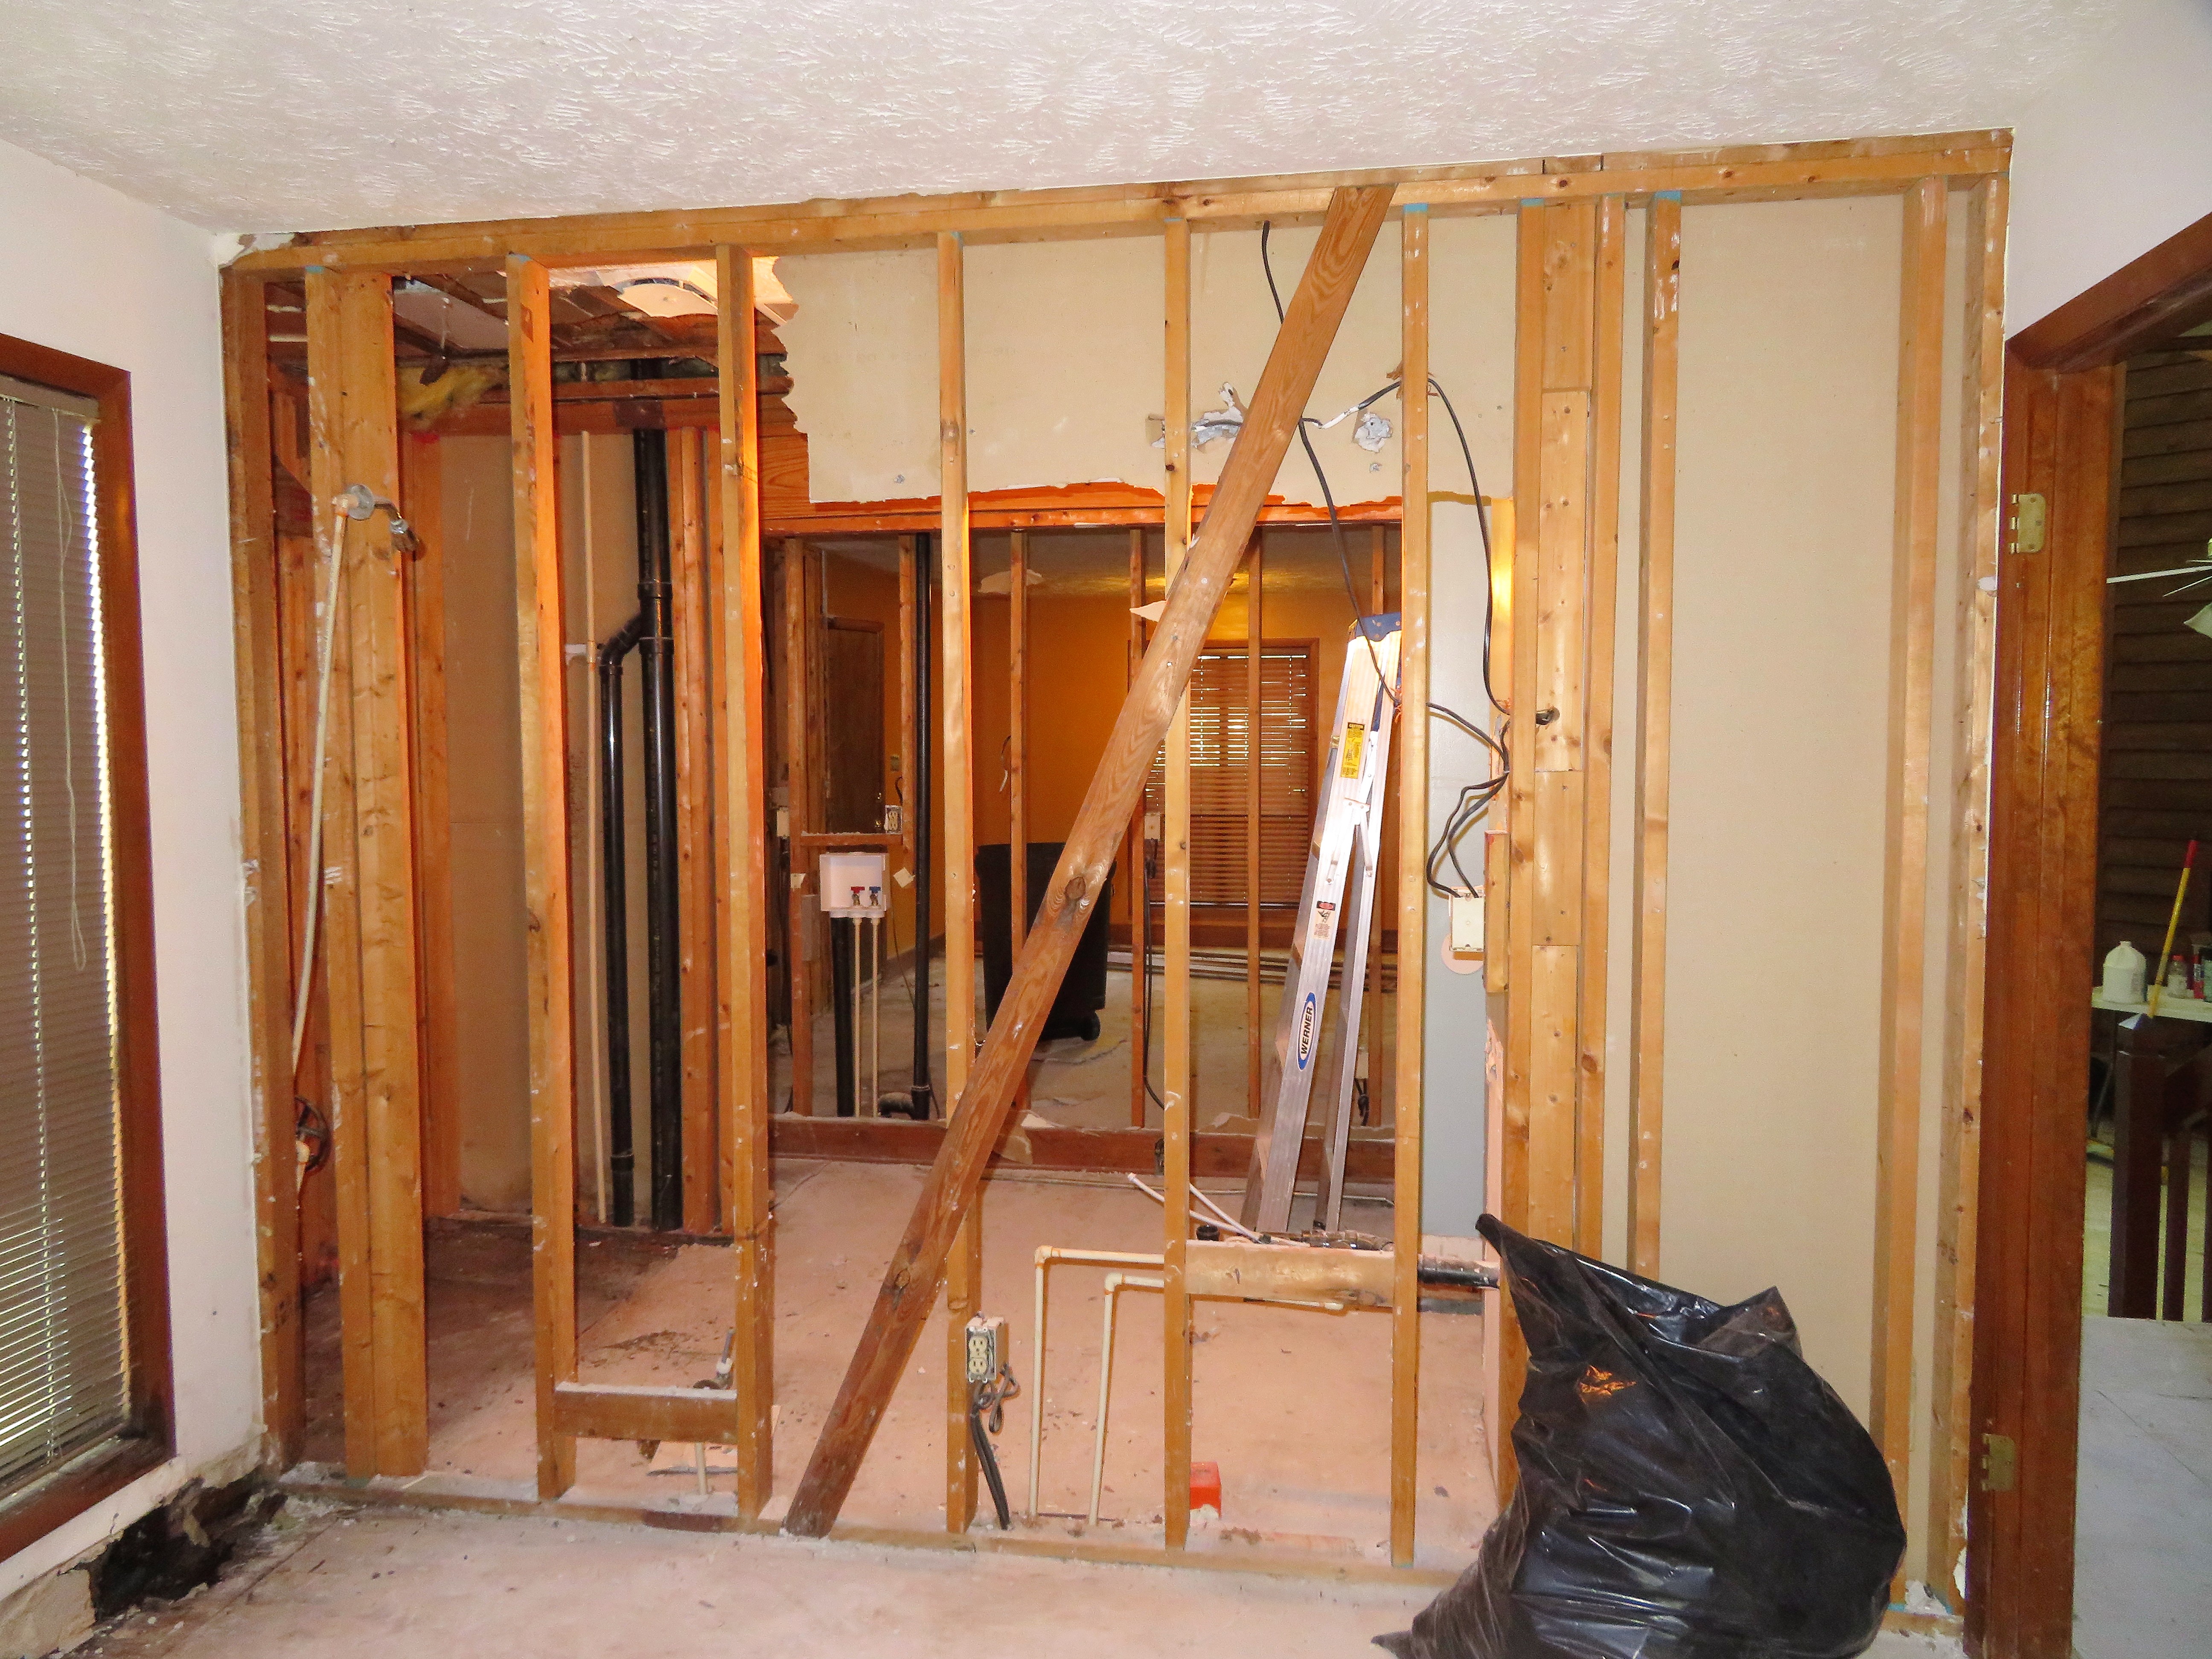
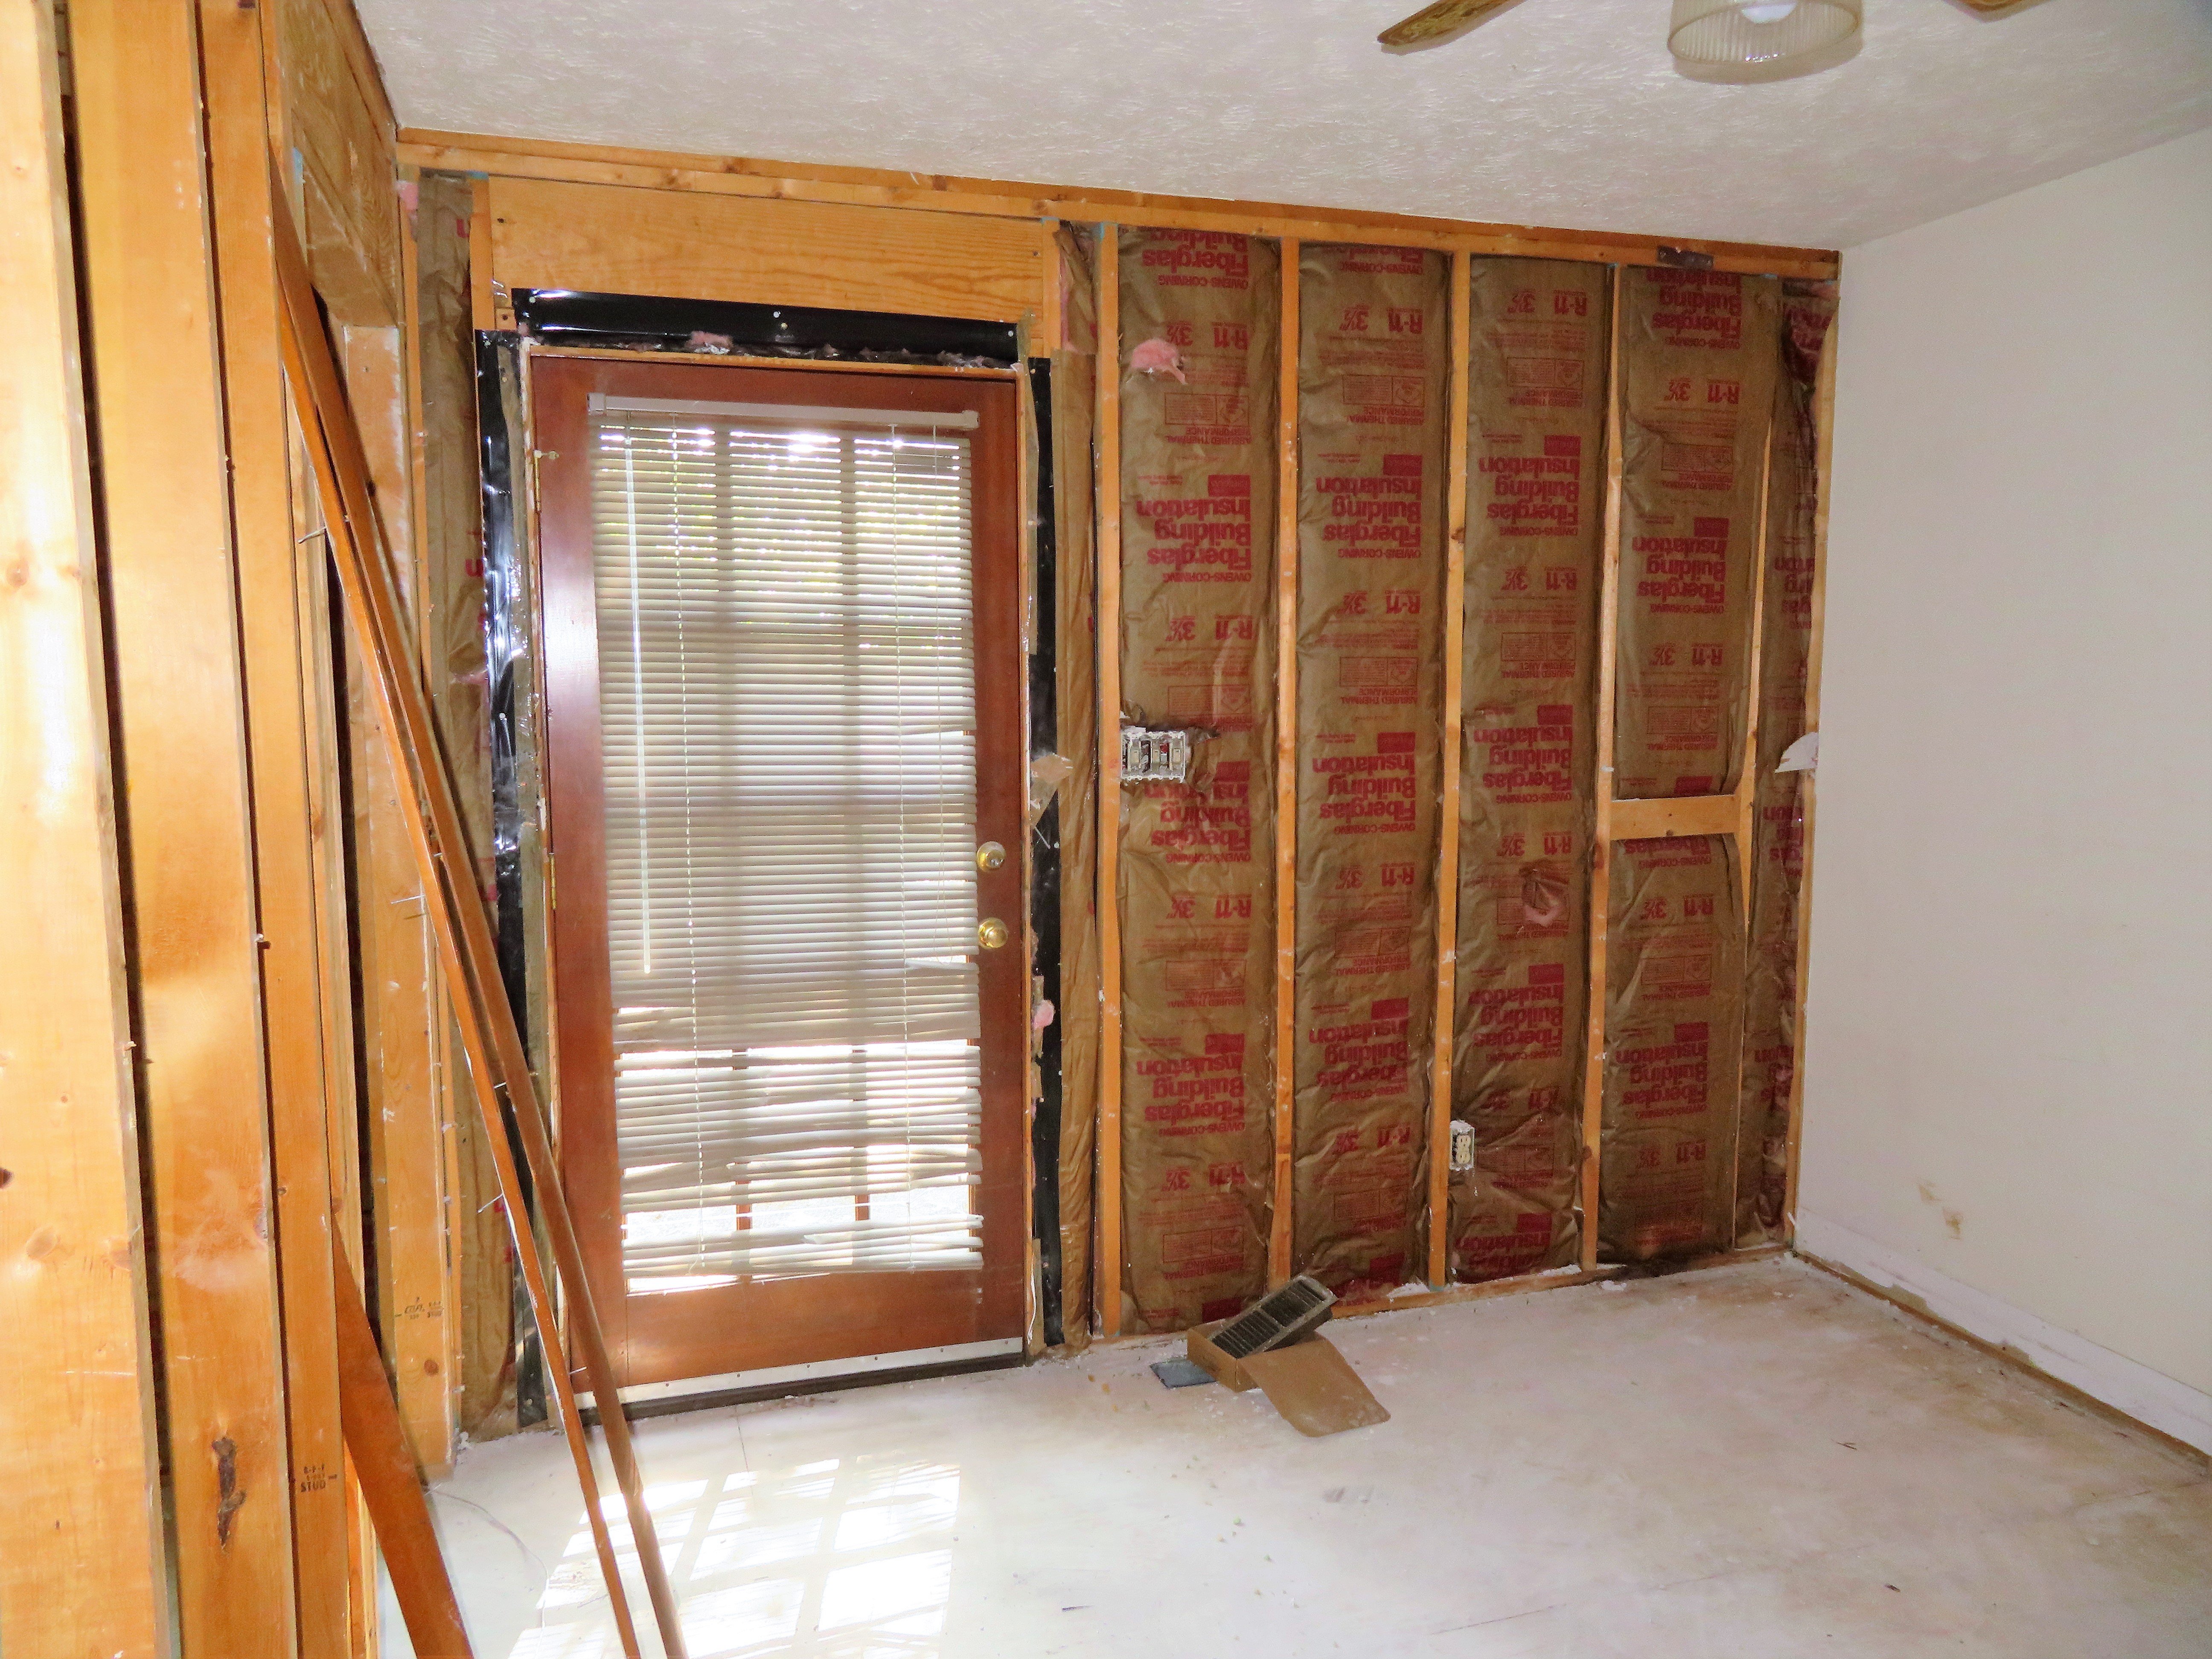
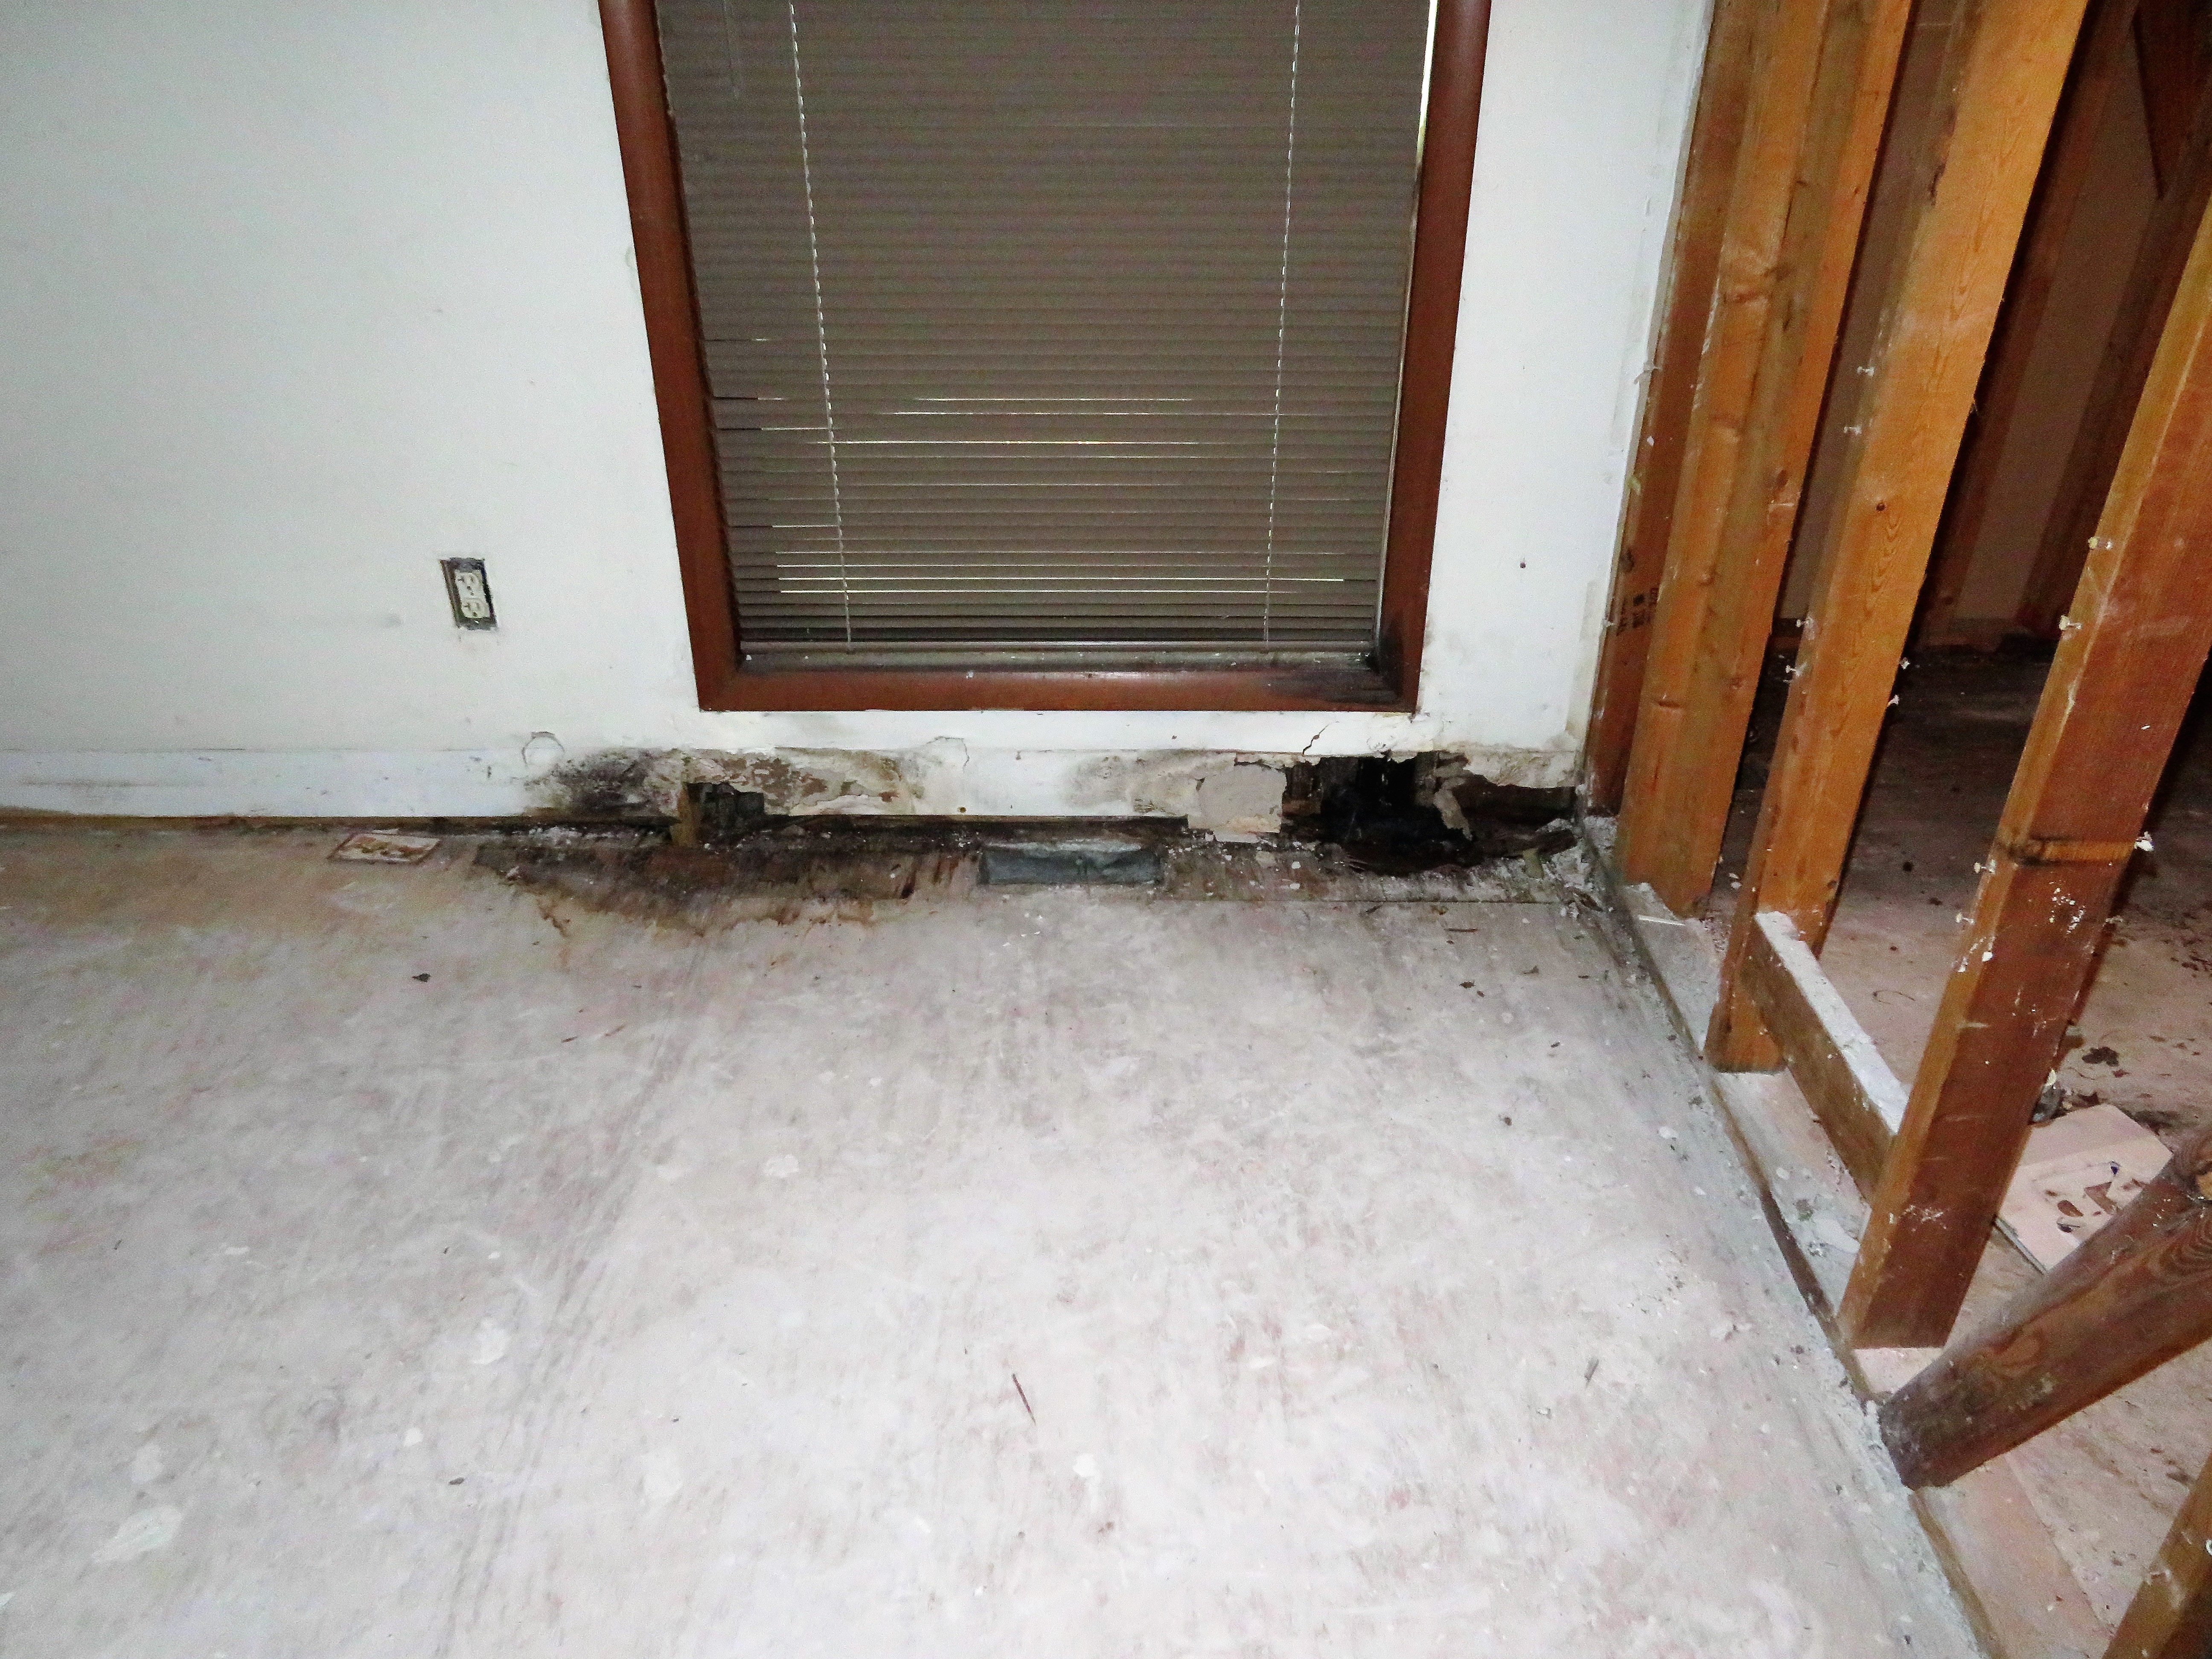
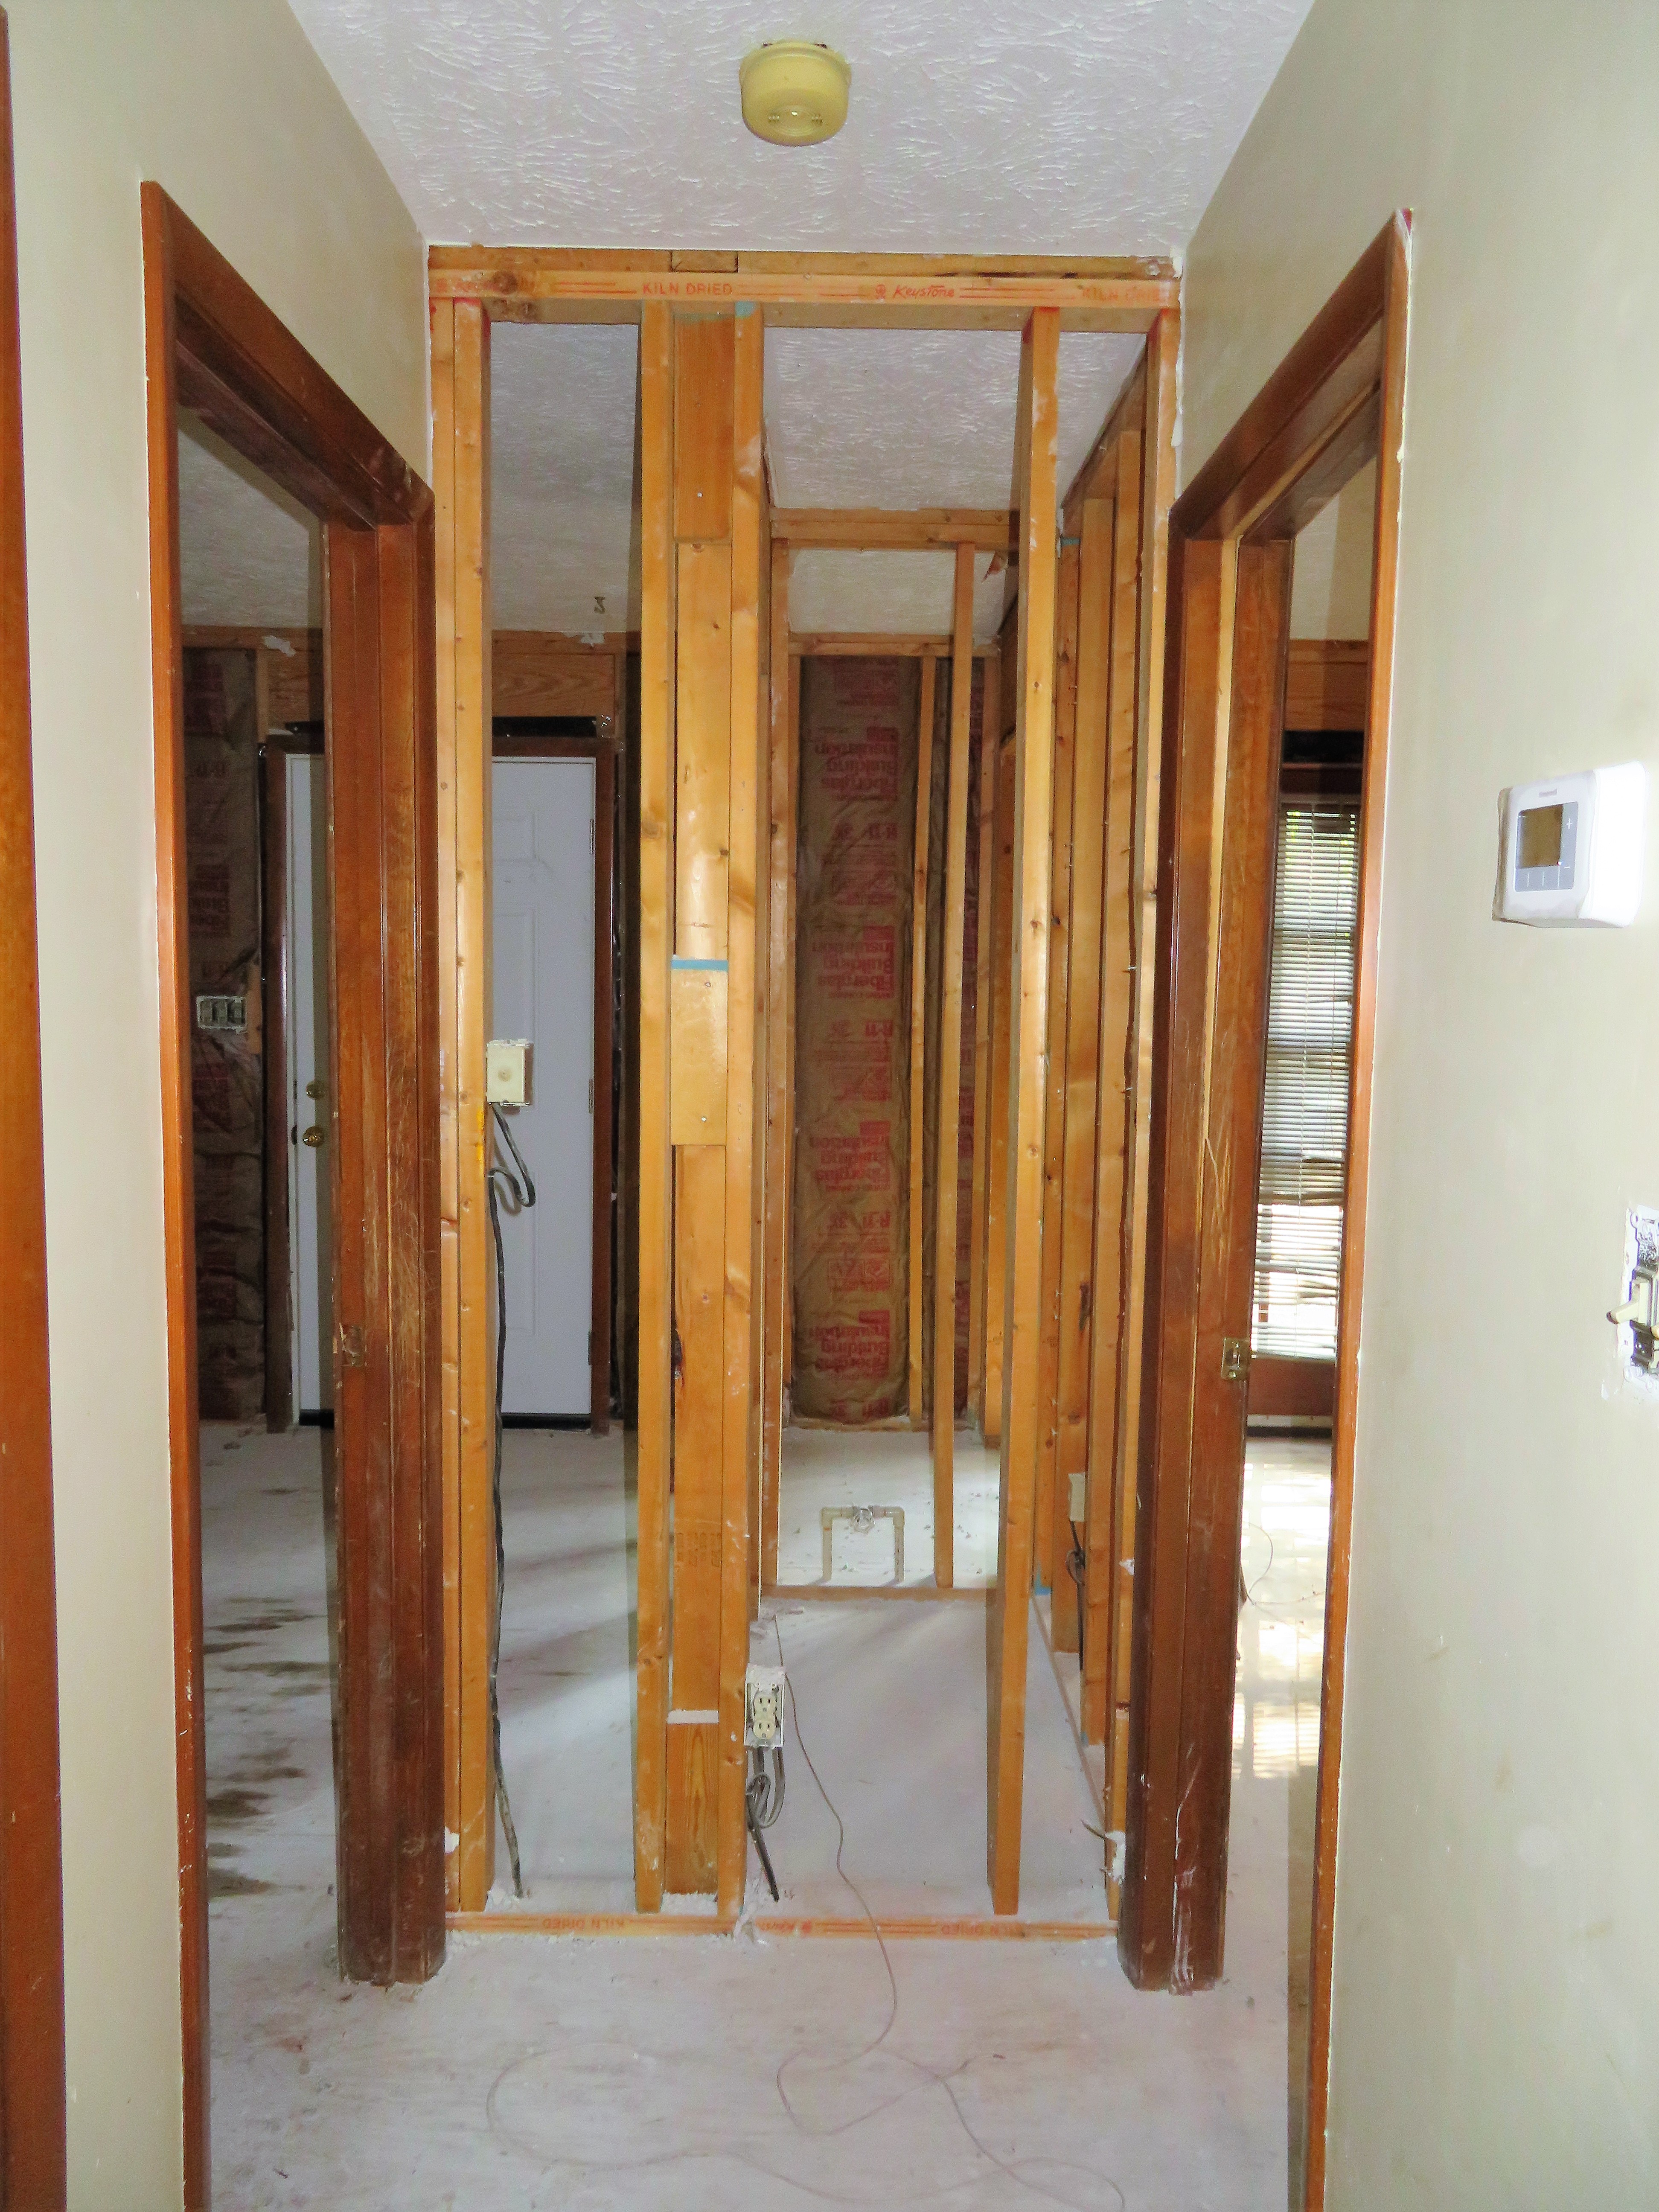
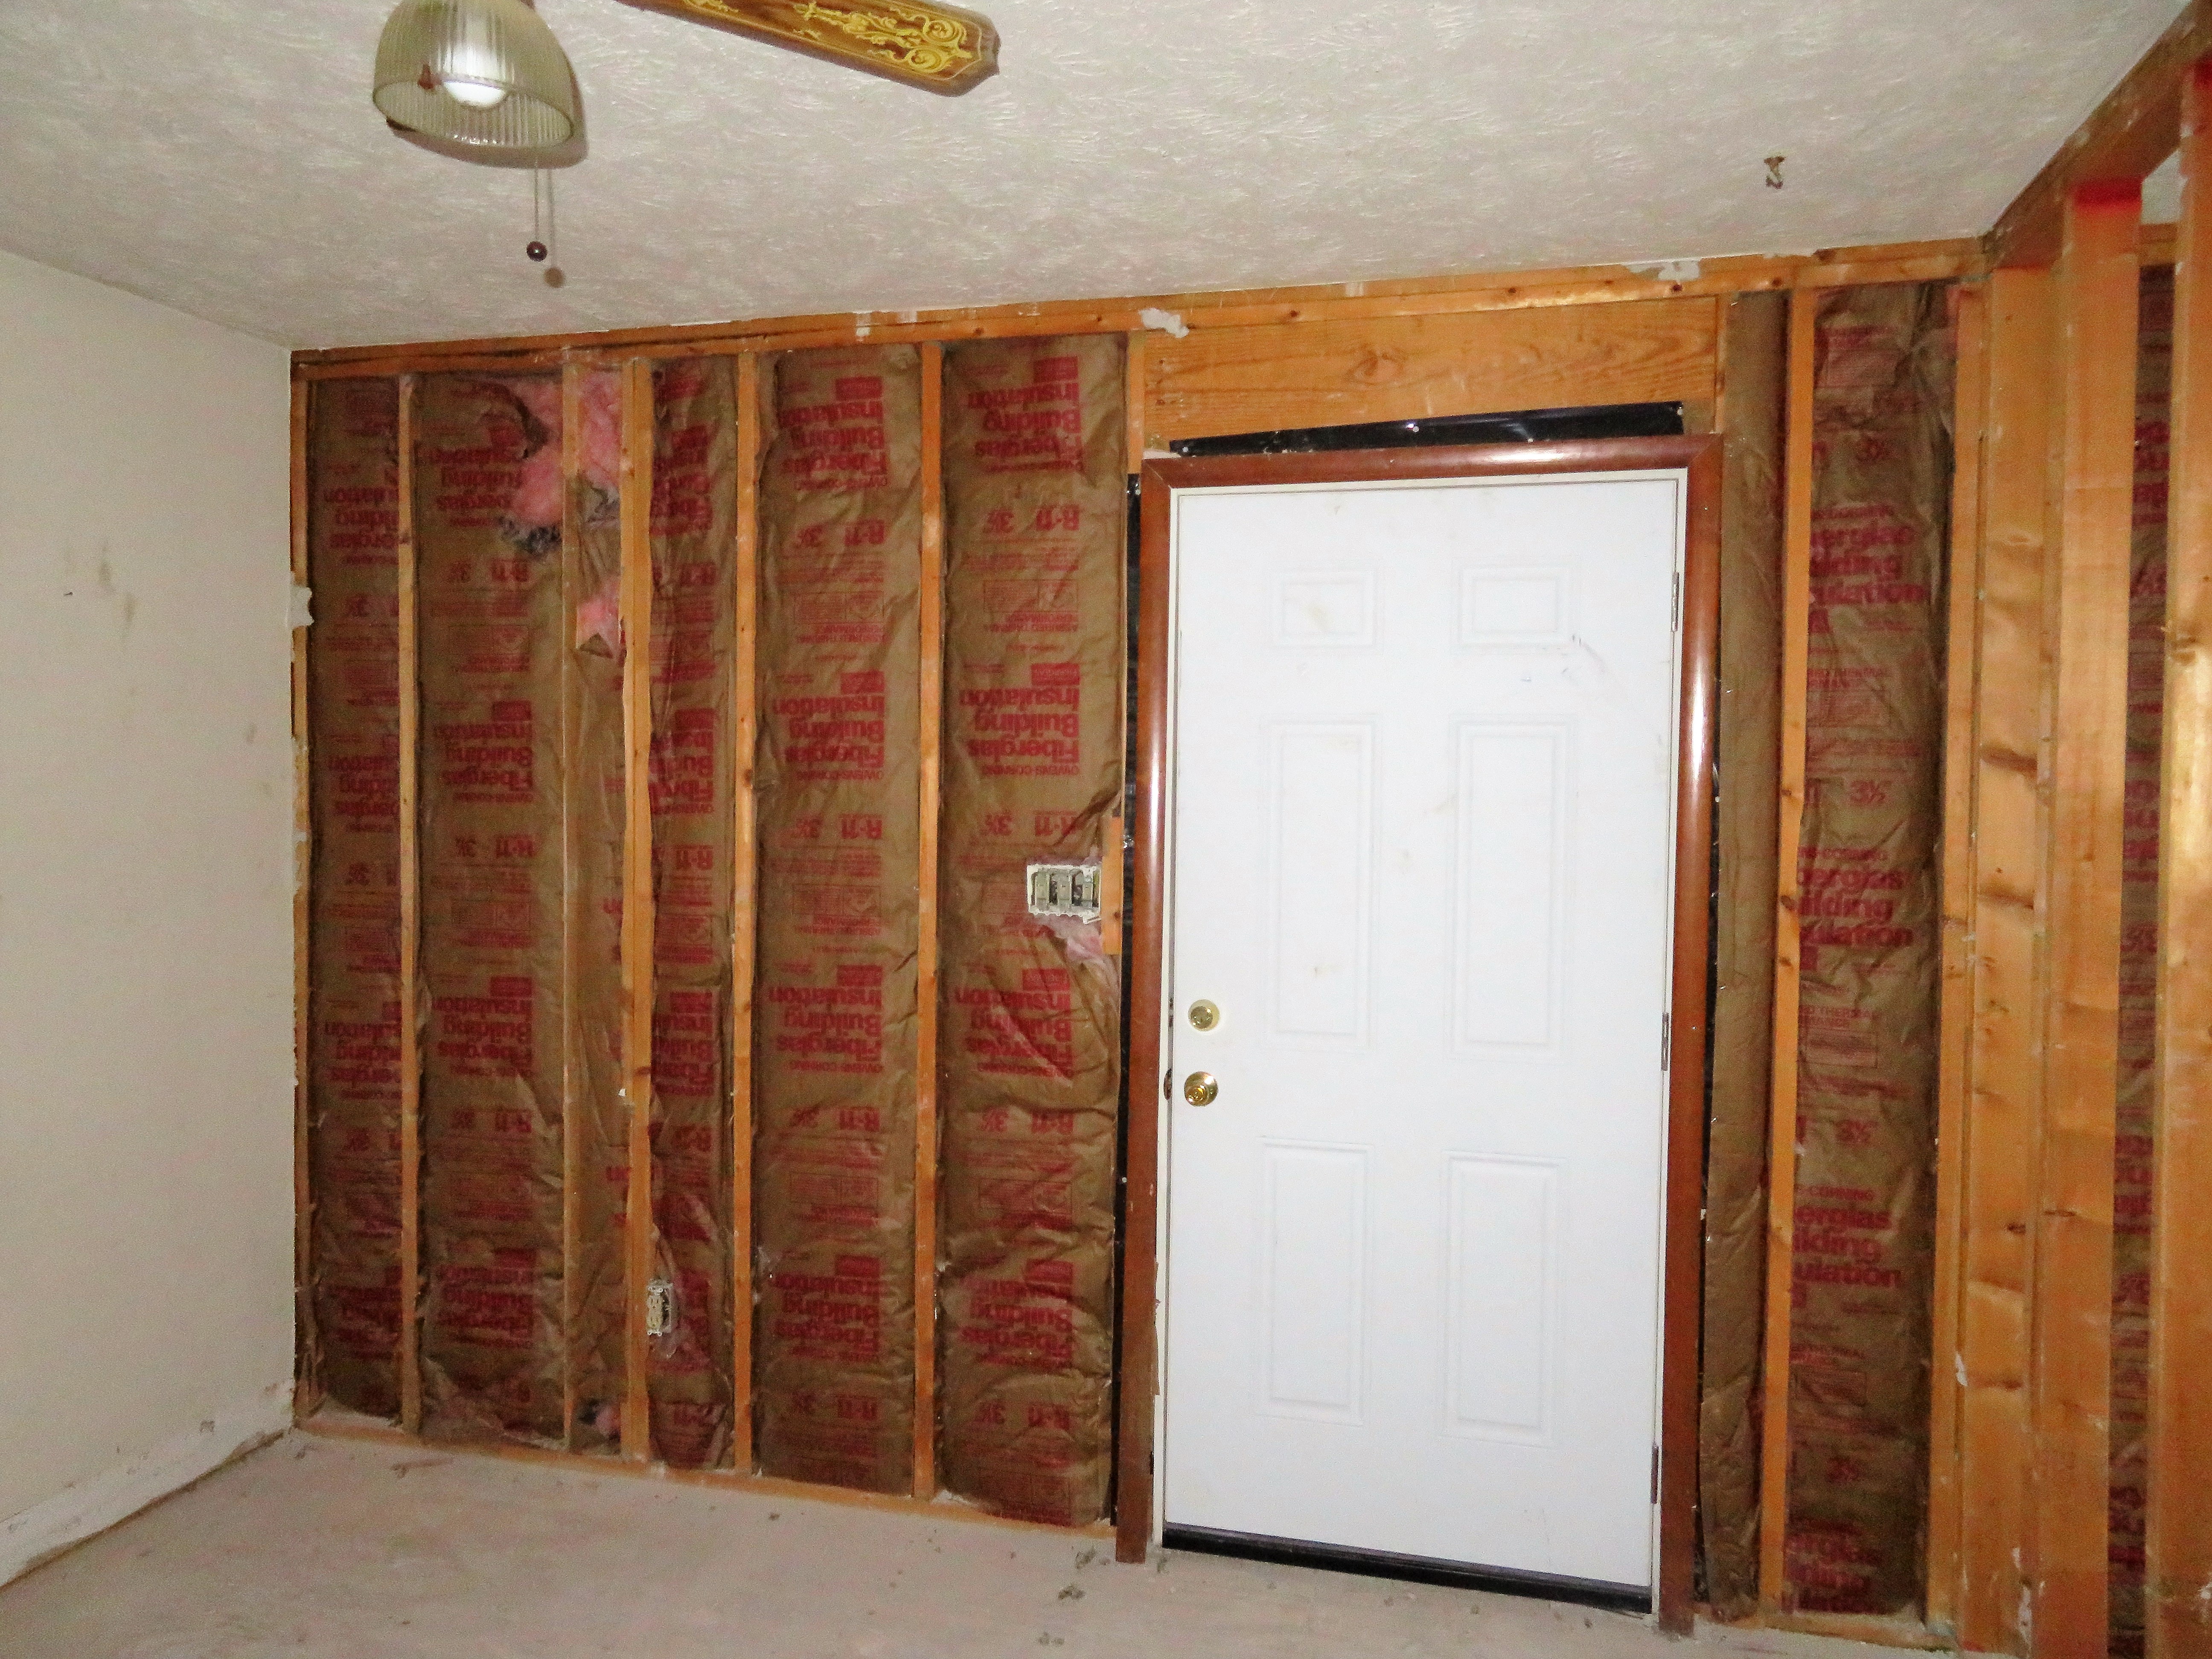
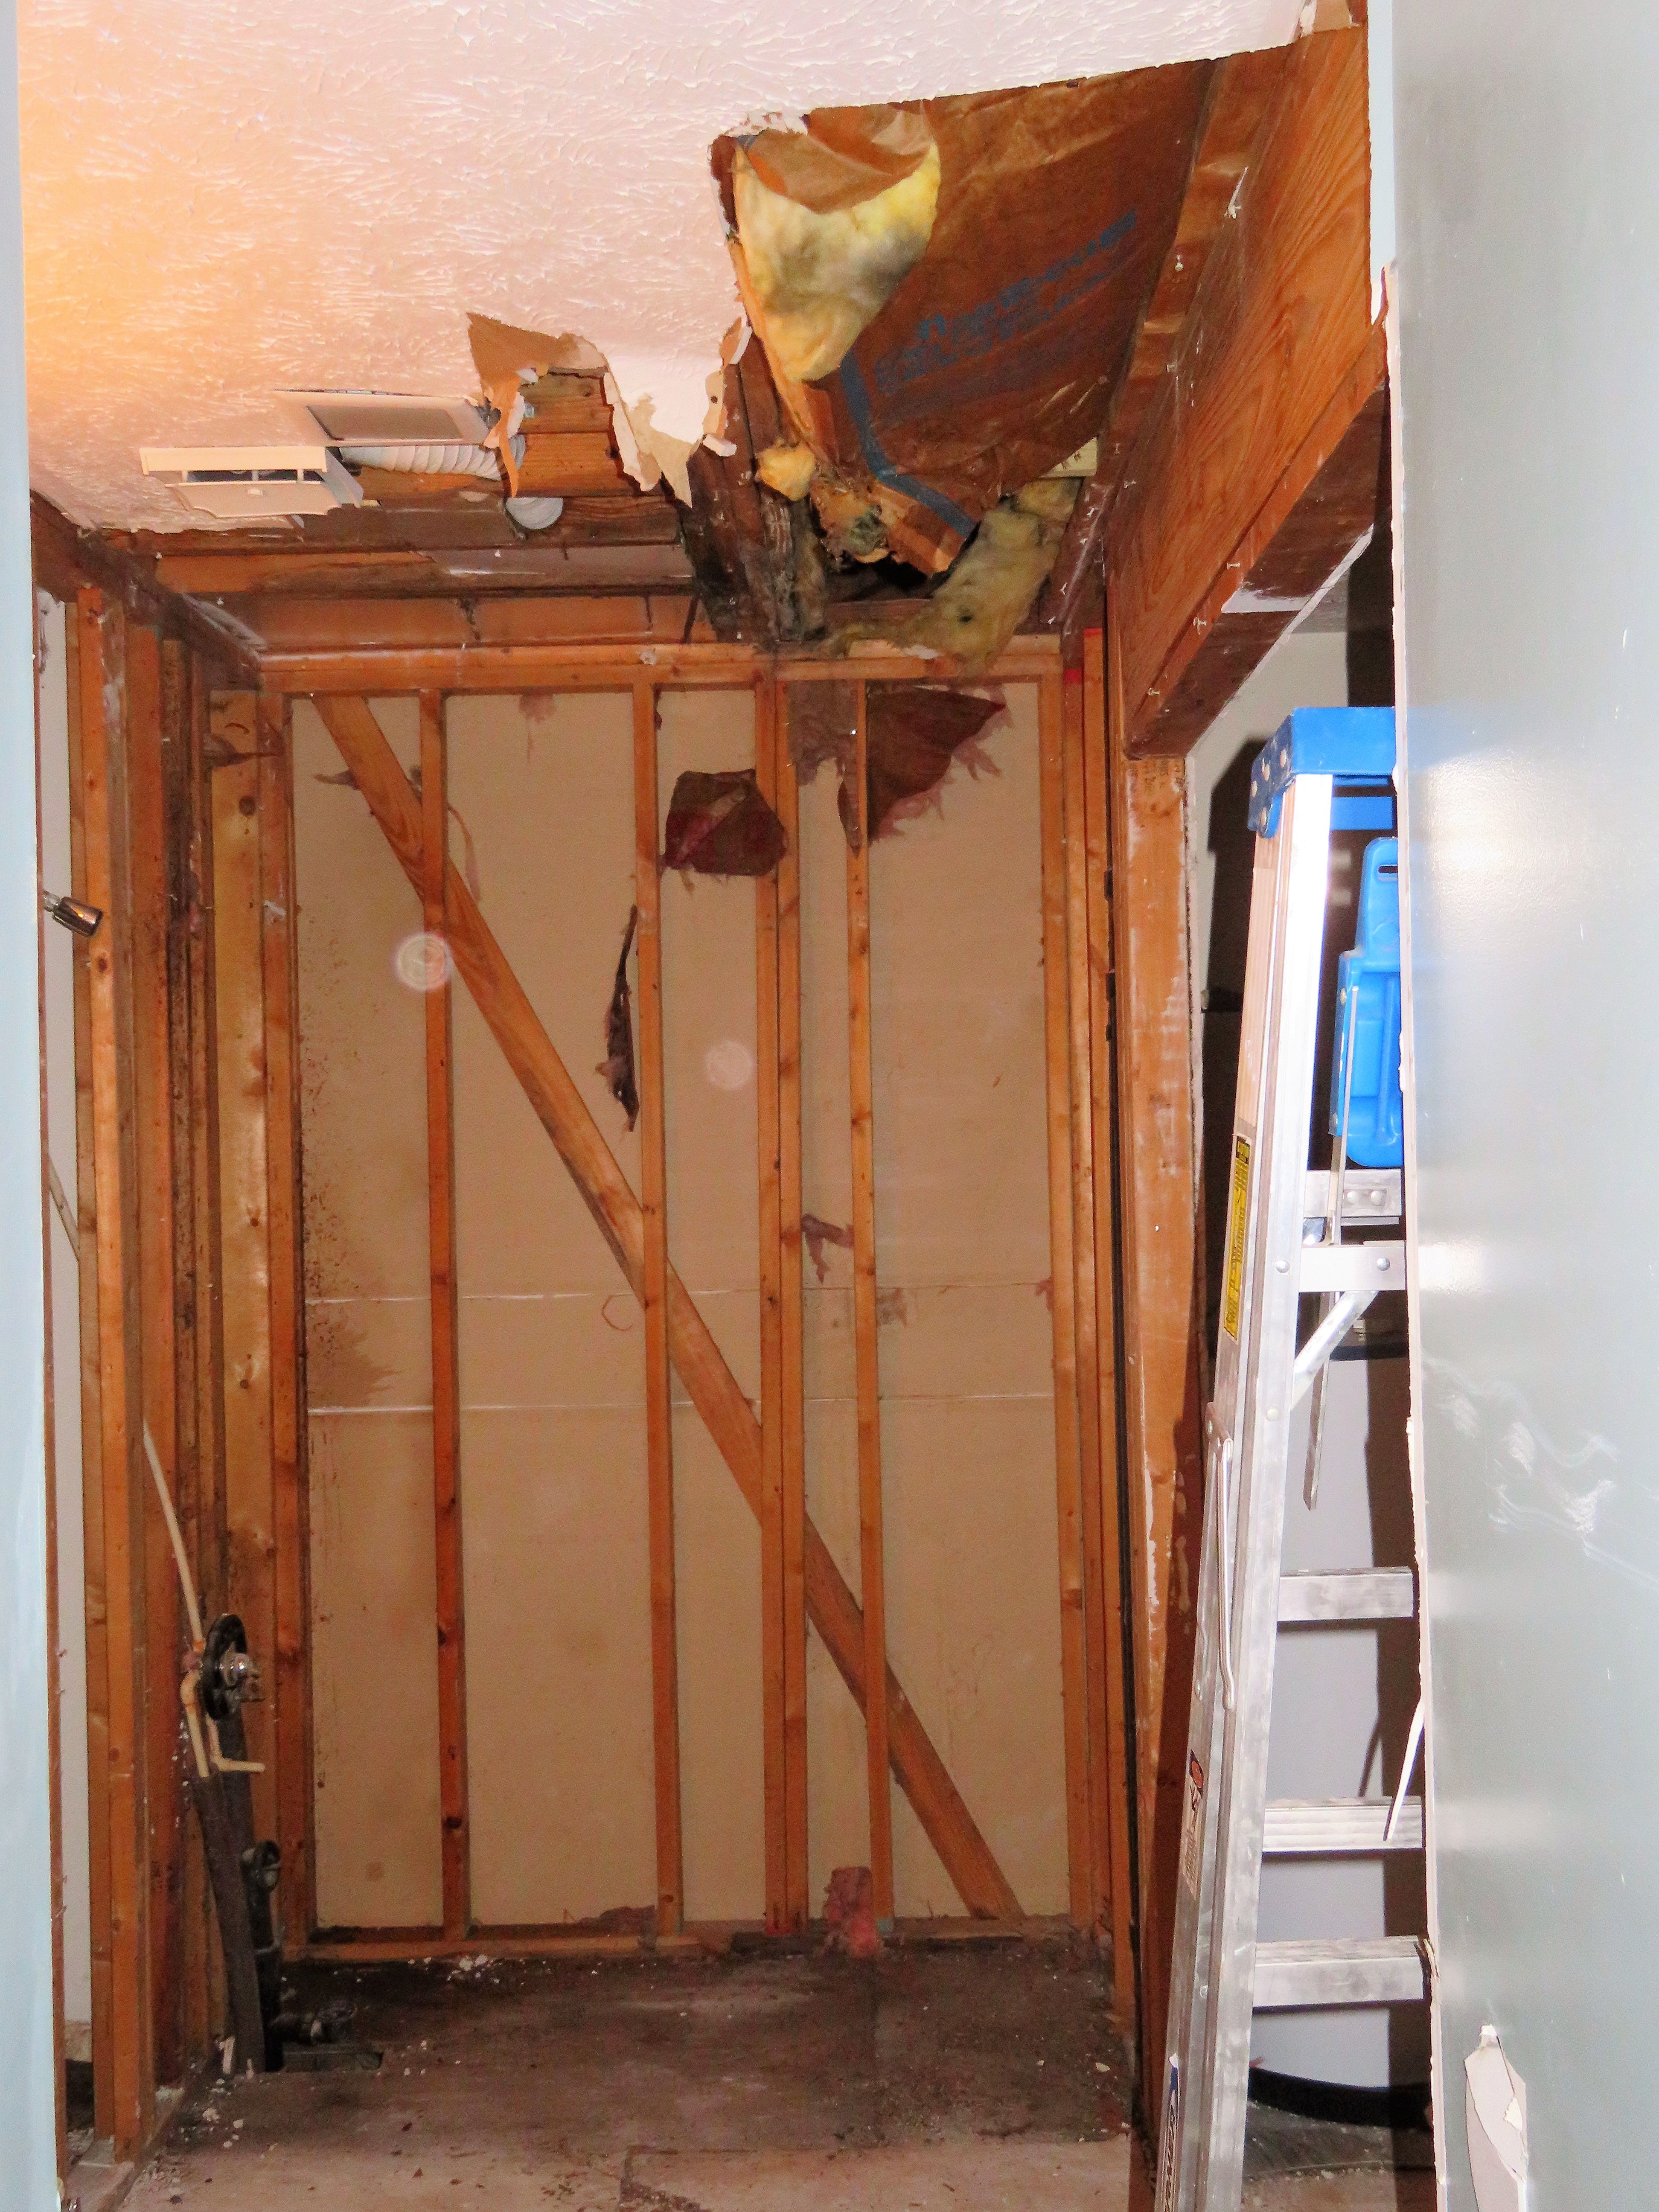
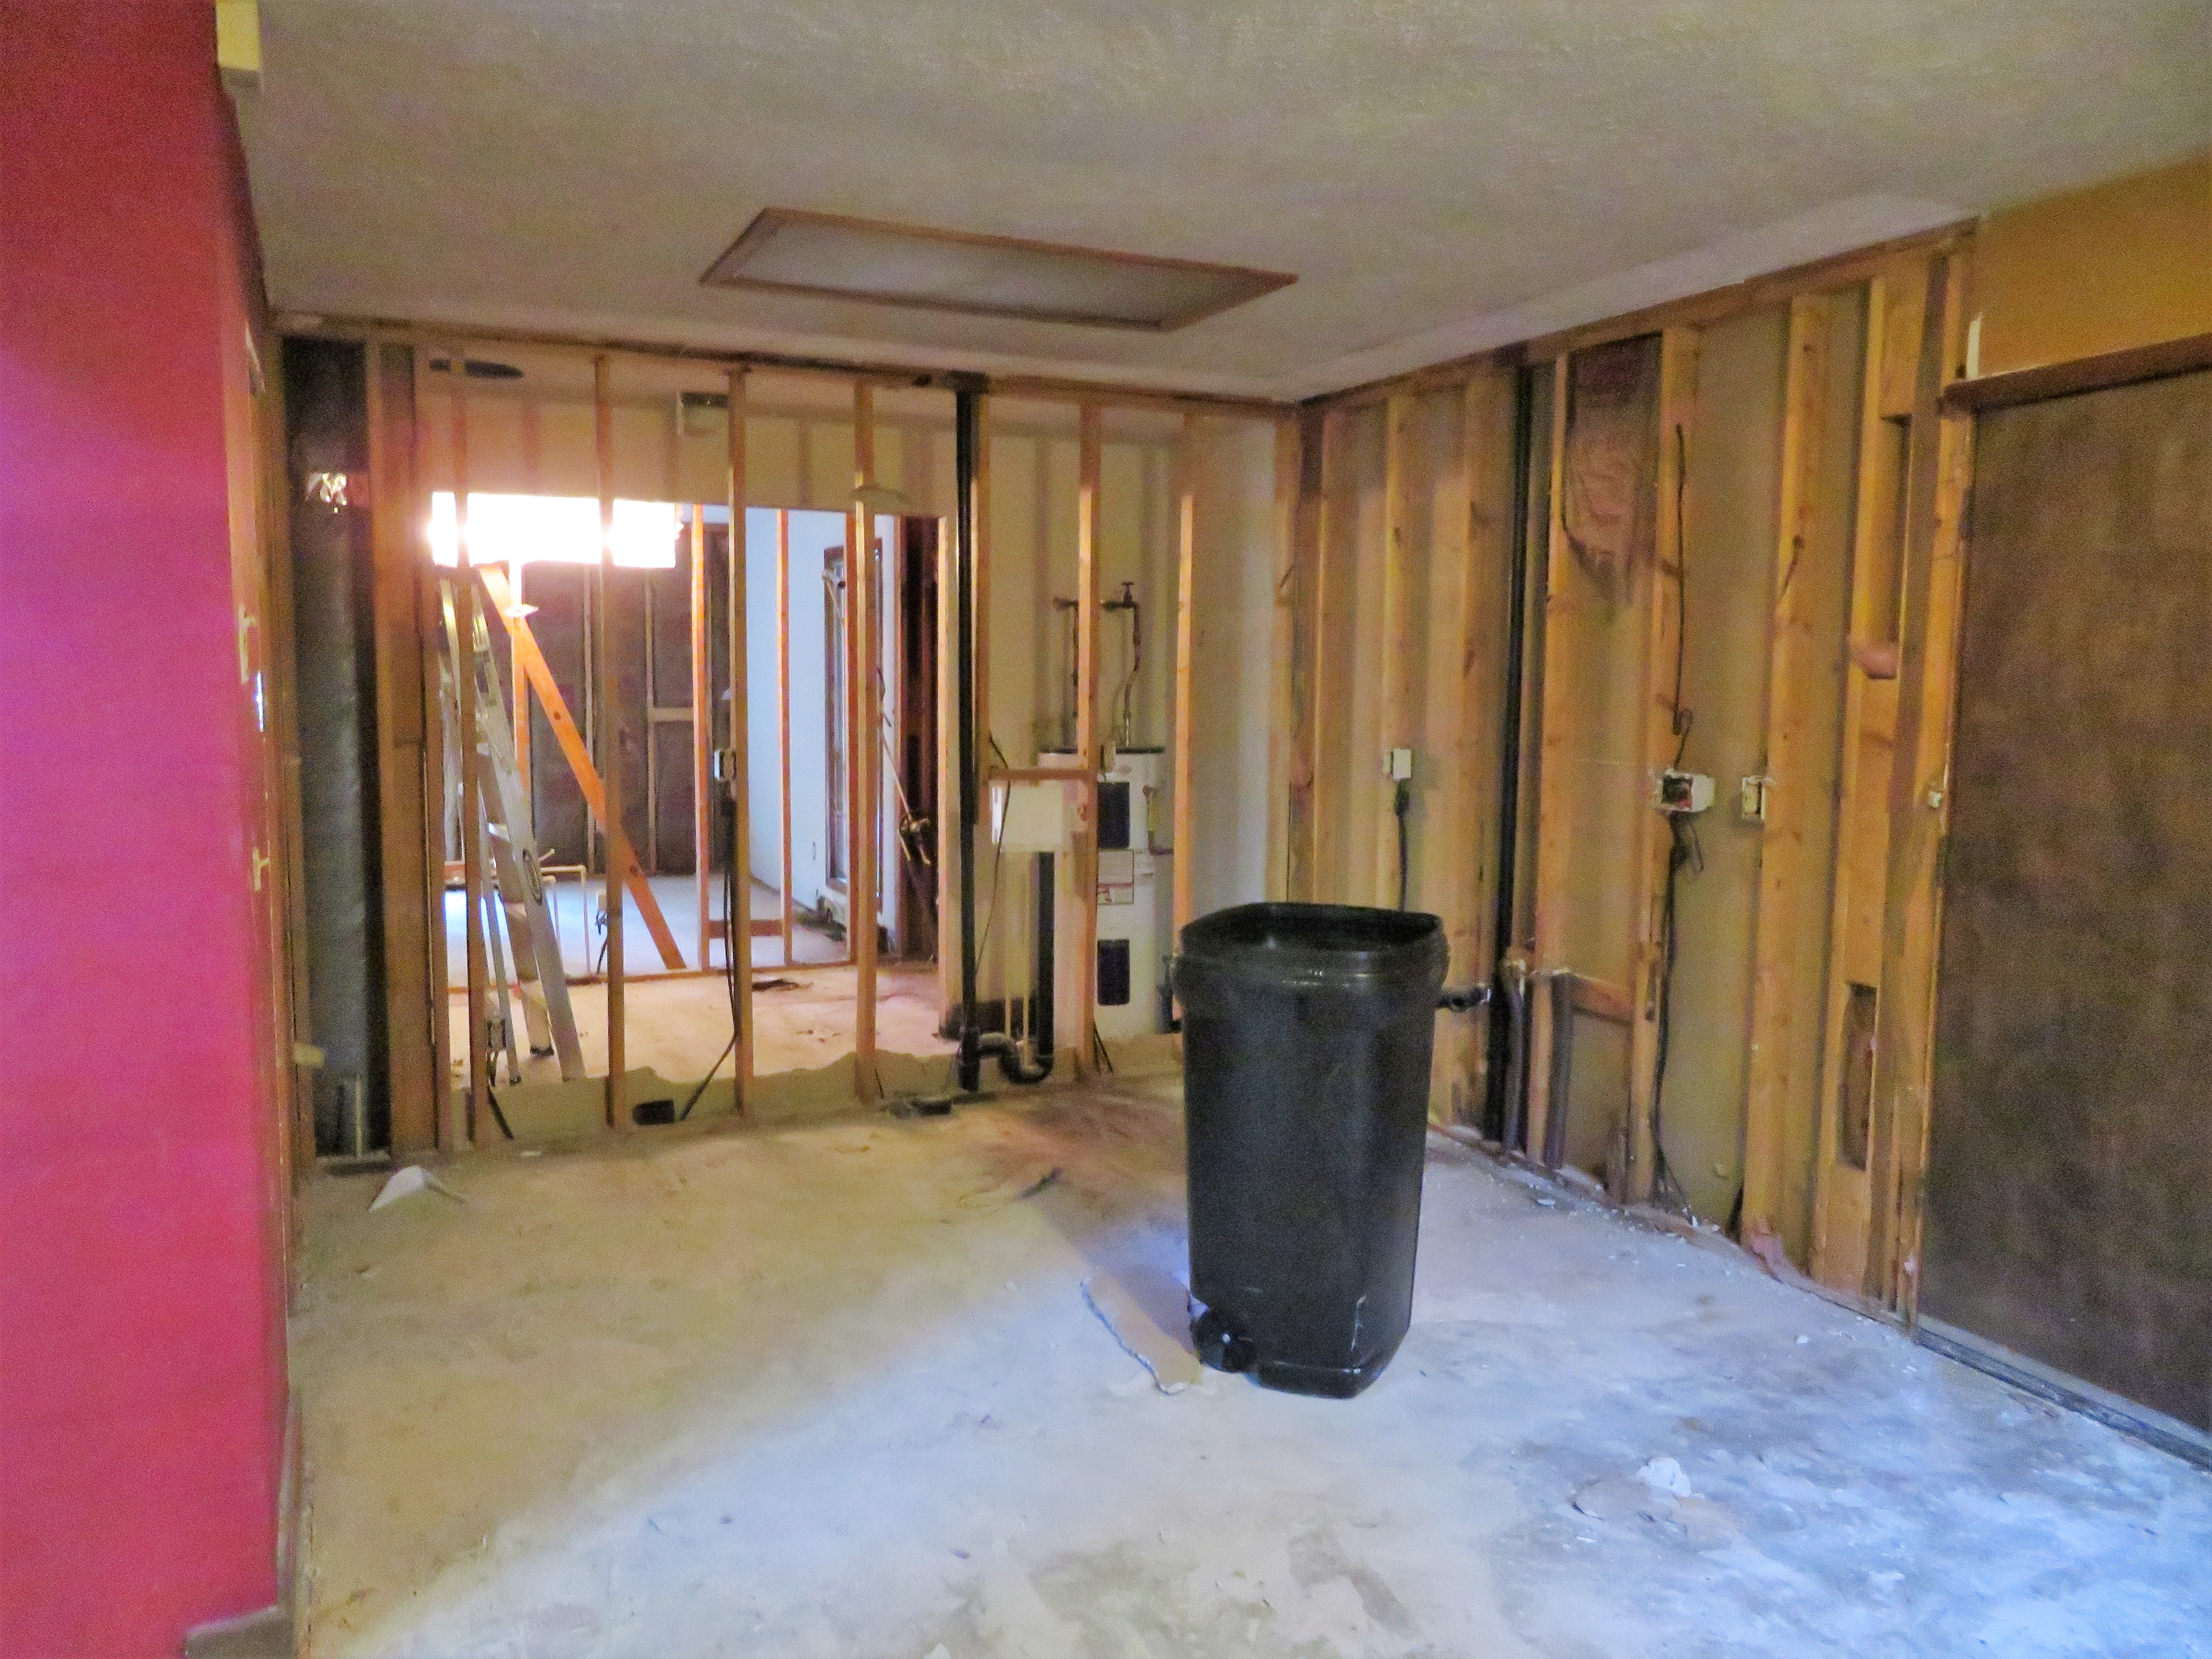
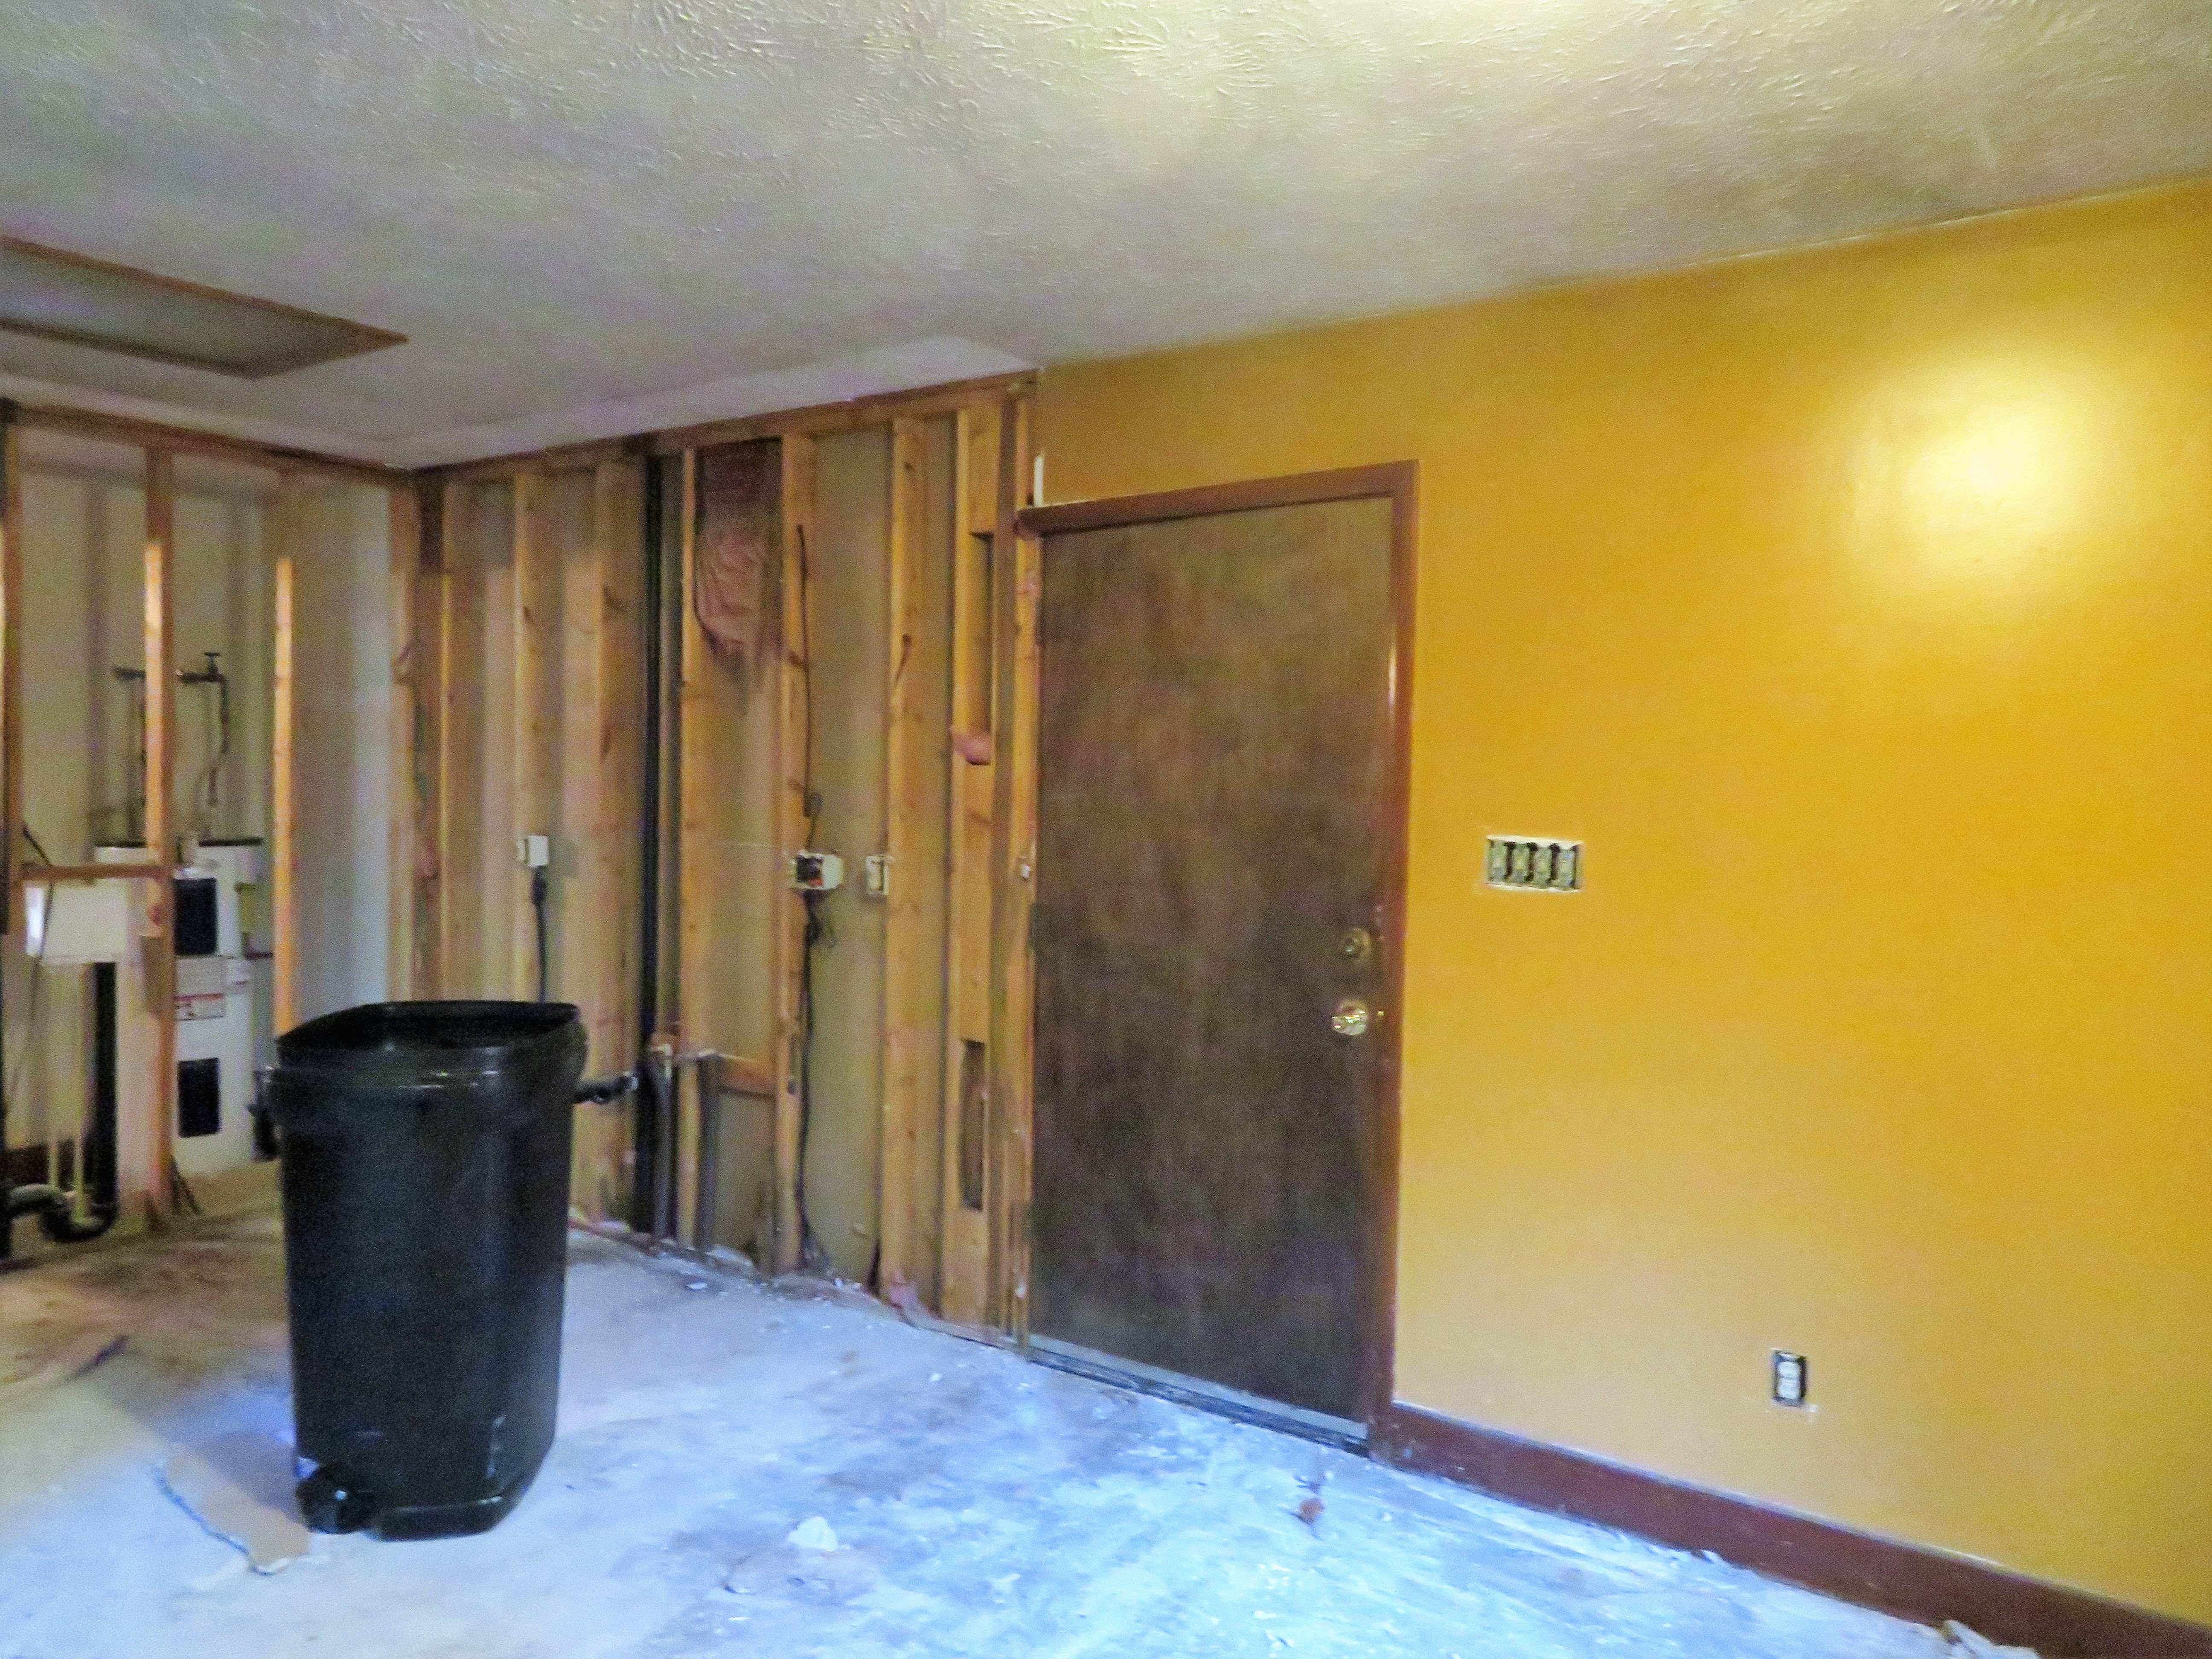
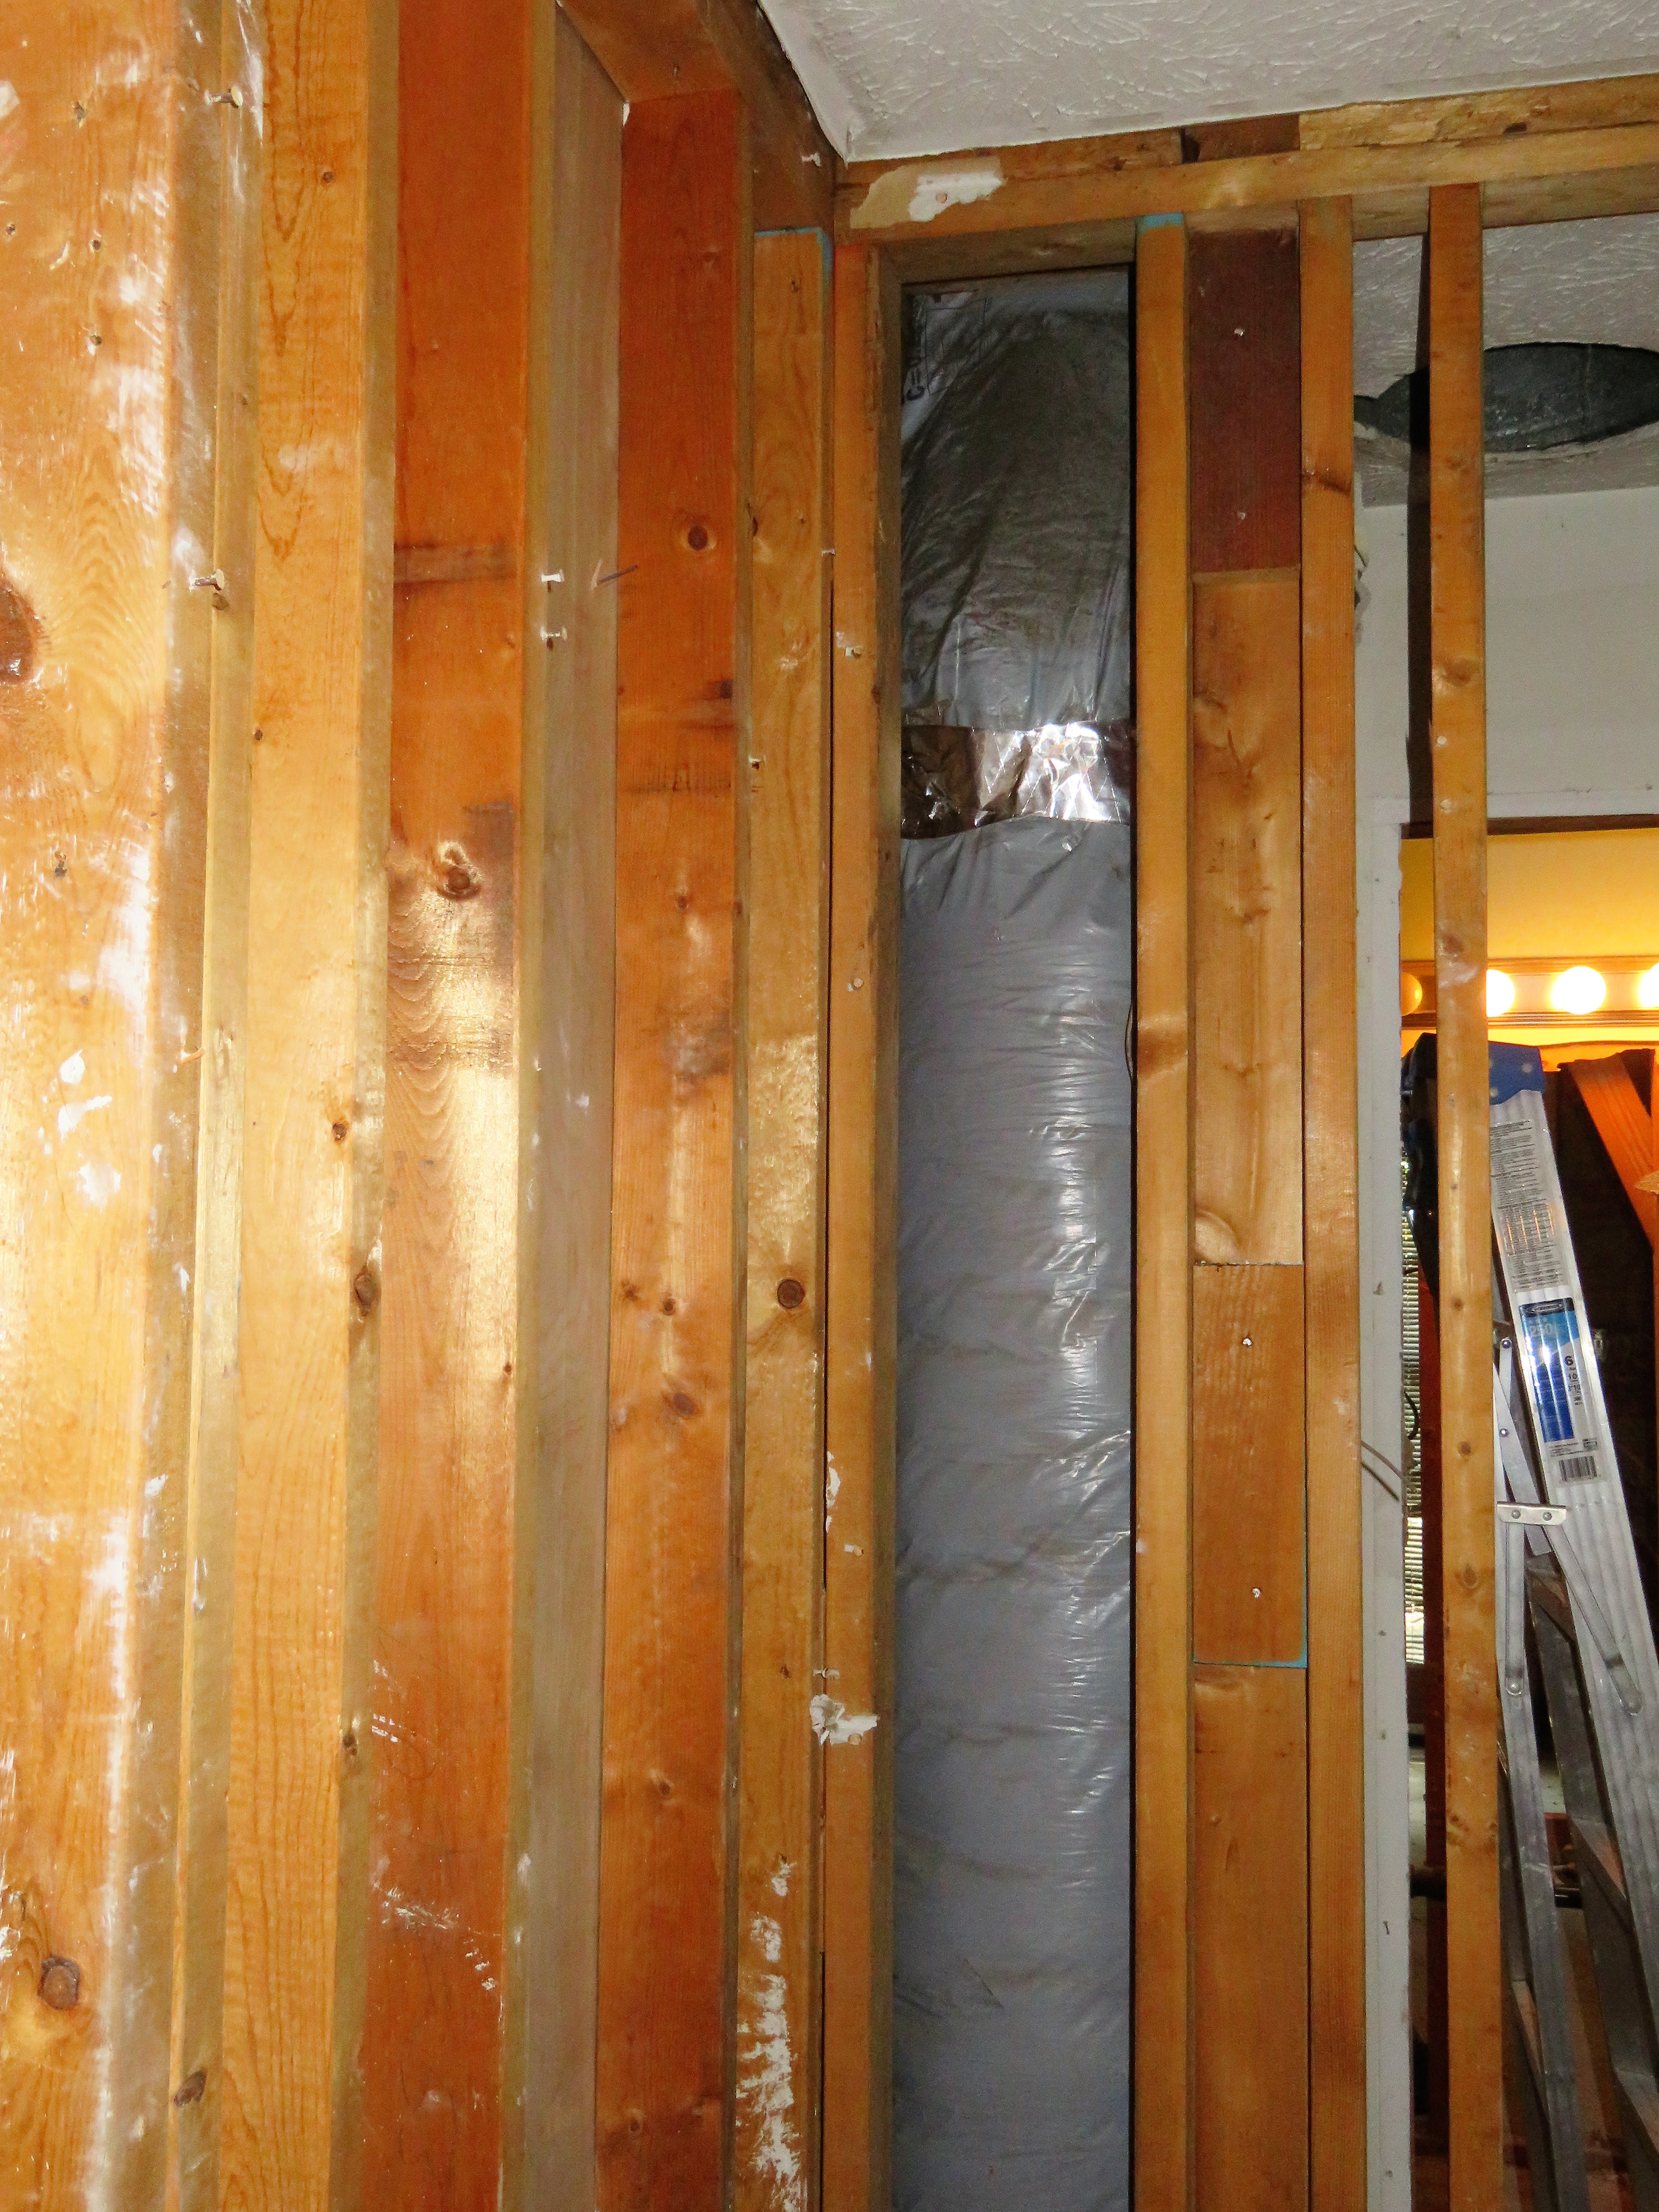
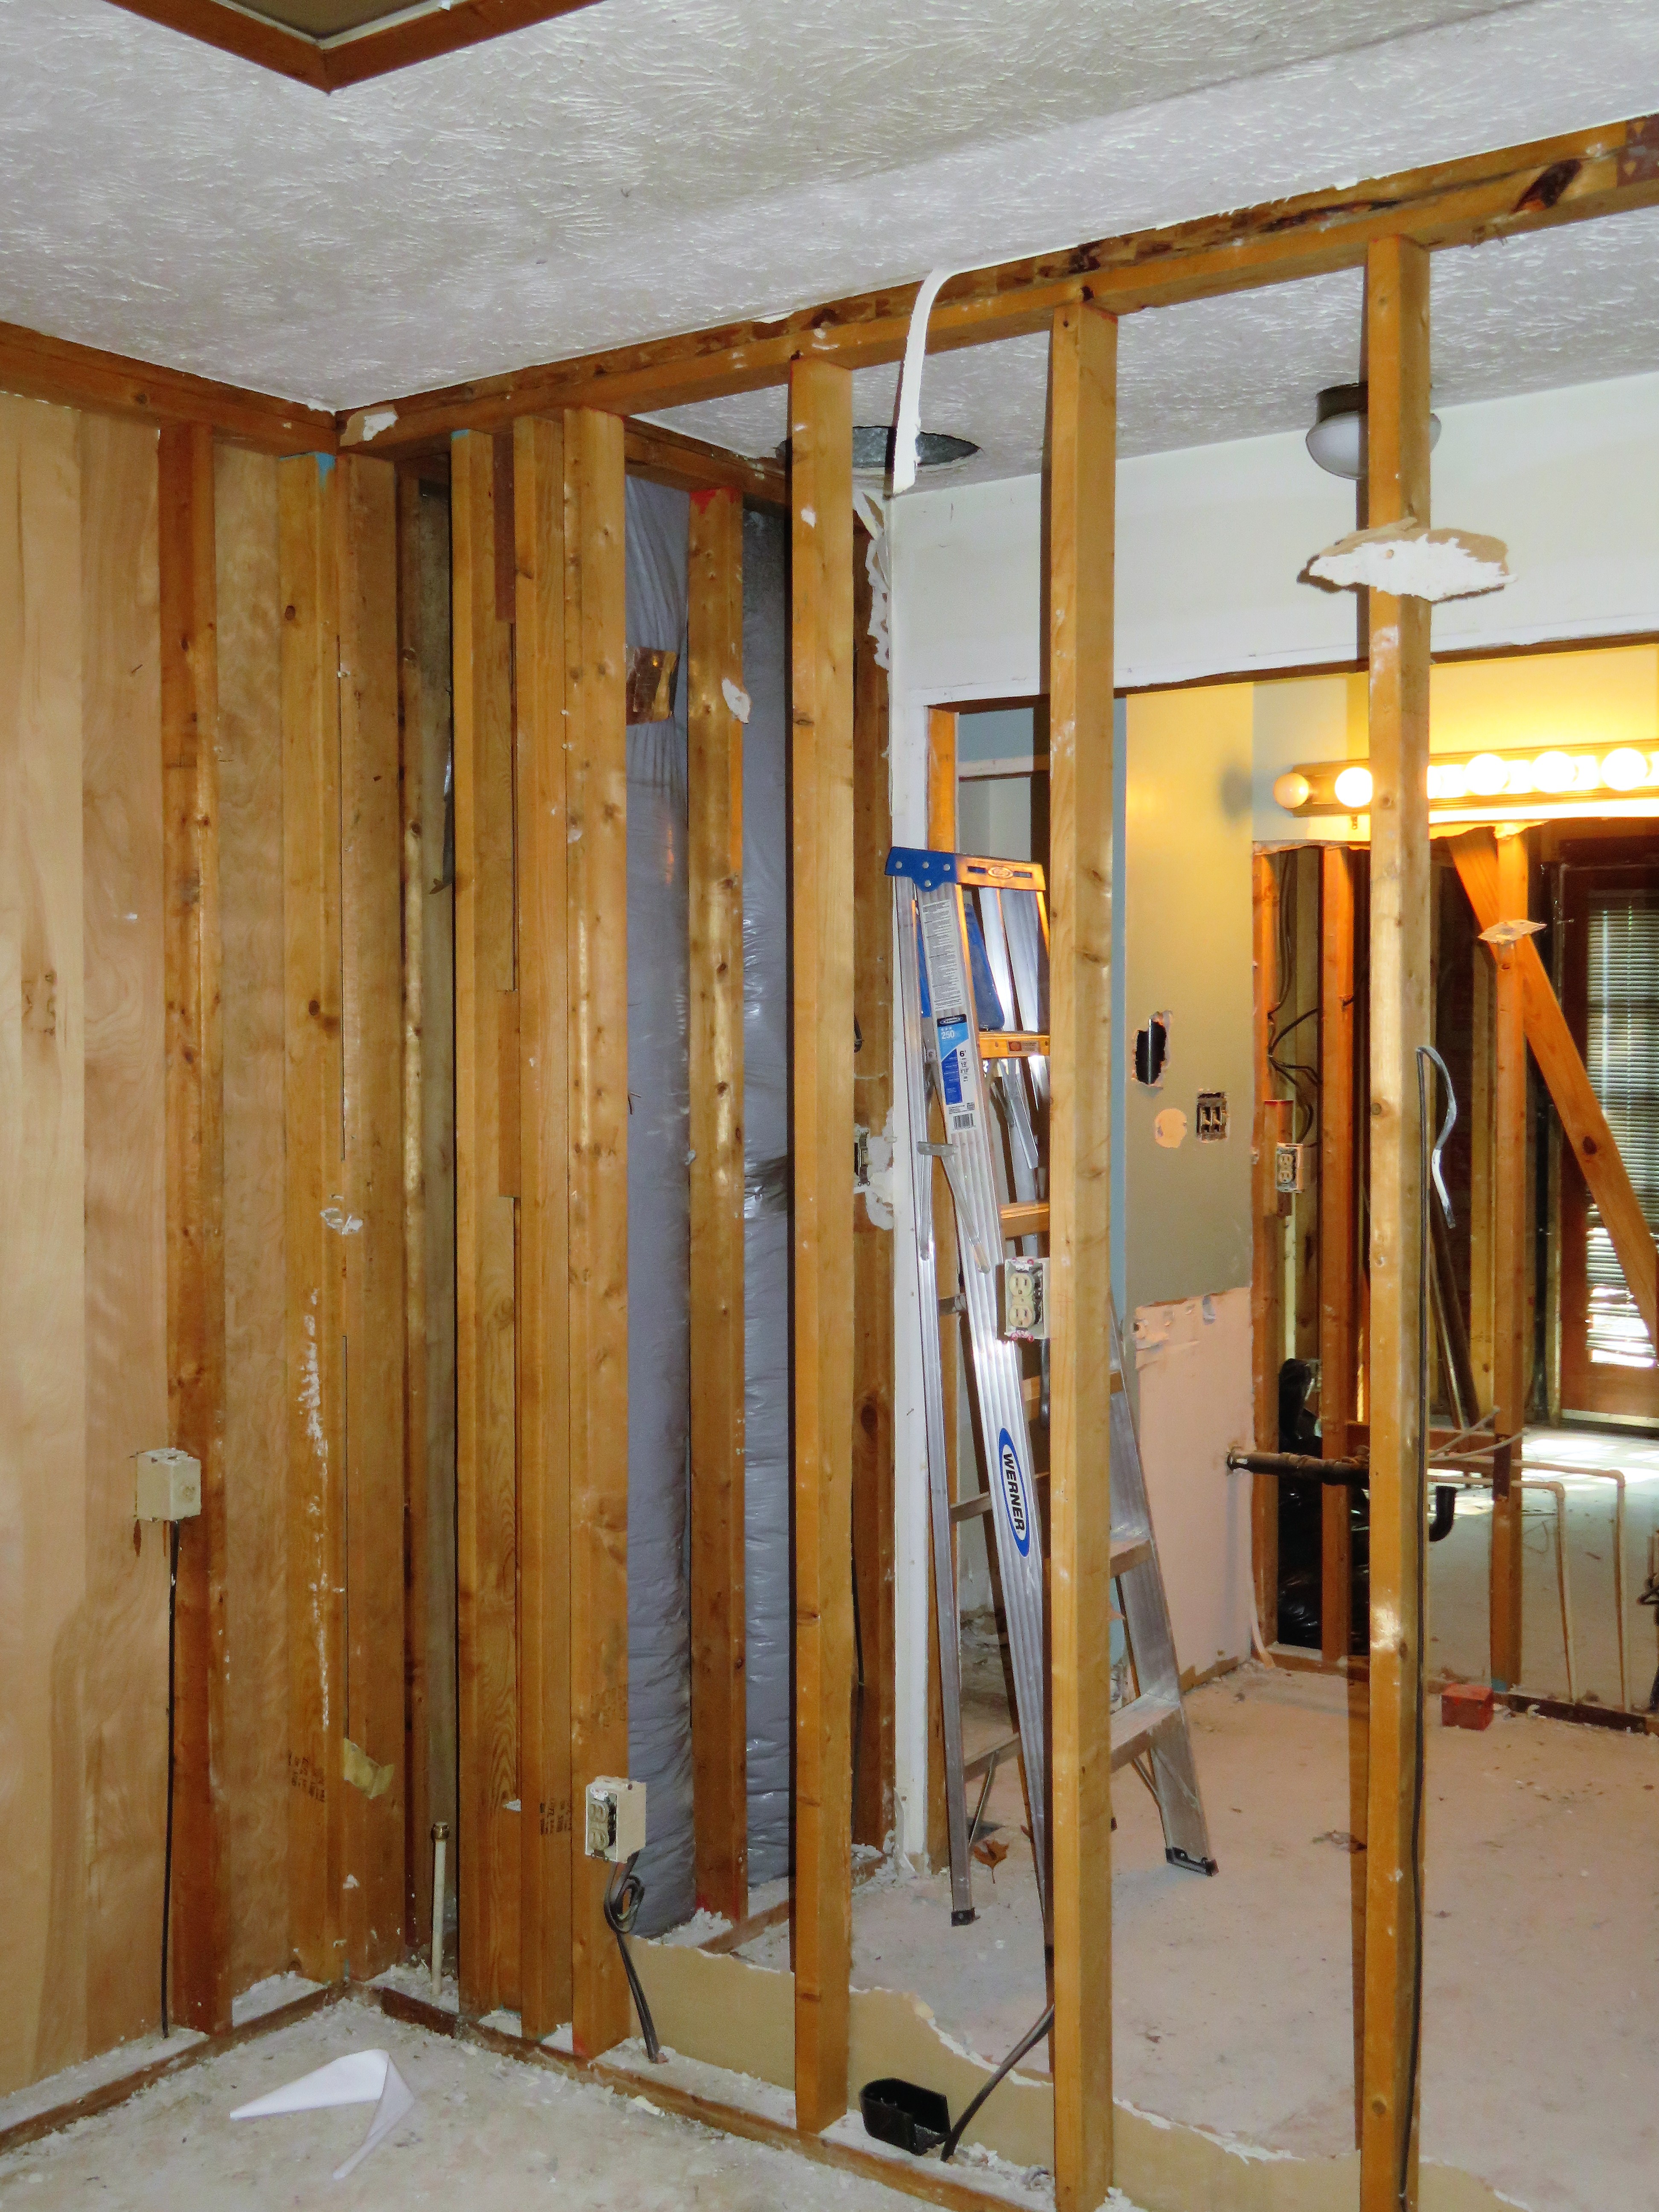
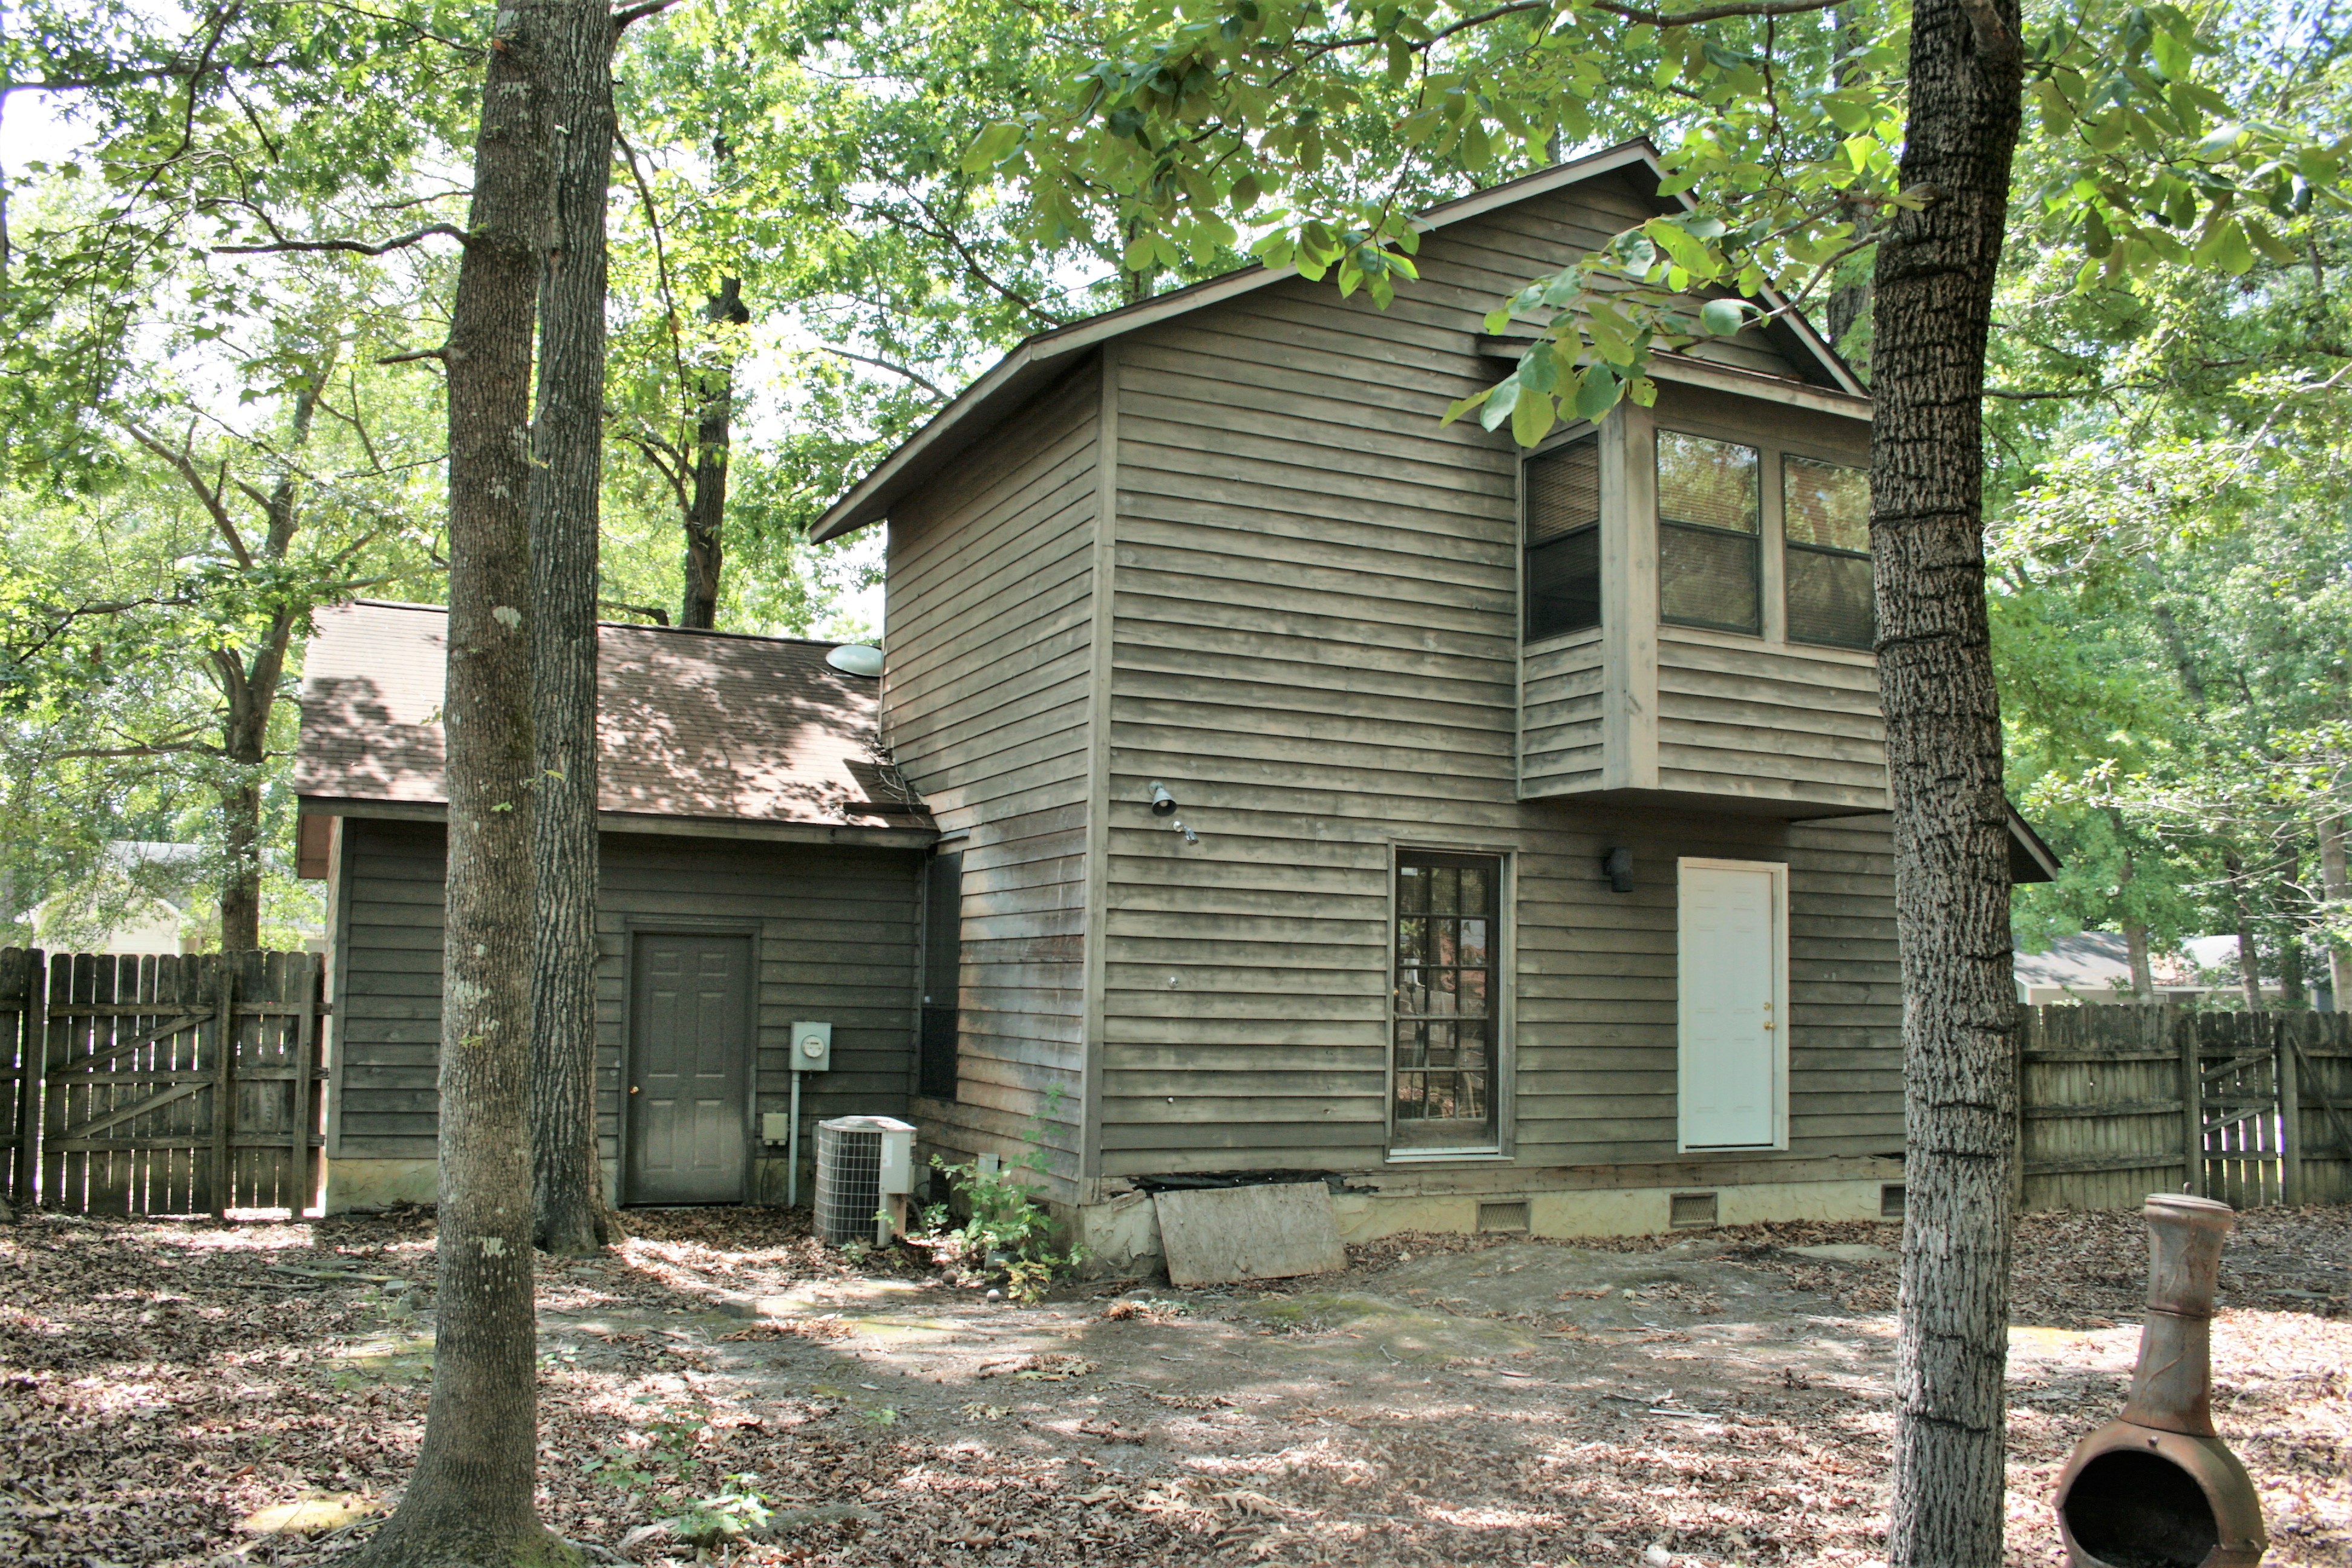
Even in a hot market, we came across a clearly distressed single family home in dire need of some TLC after a failed attempt by DIYer/flipper.

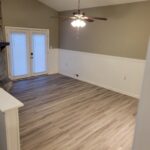
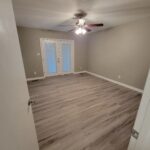
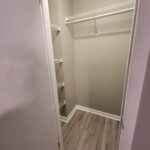
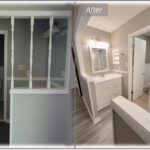
It was very evident by the lengthy list of issues stemming from poor handyman work throughout this house to include: poorly laid laminate flooring, sloppy int/ext painting, uneven flooring, hazardous electrical, and no working HVAC system just to name a few. 

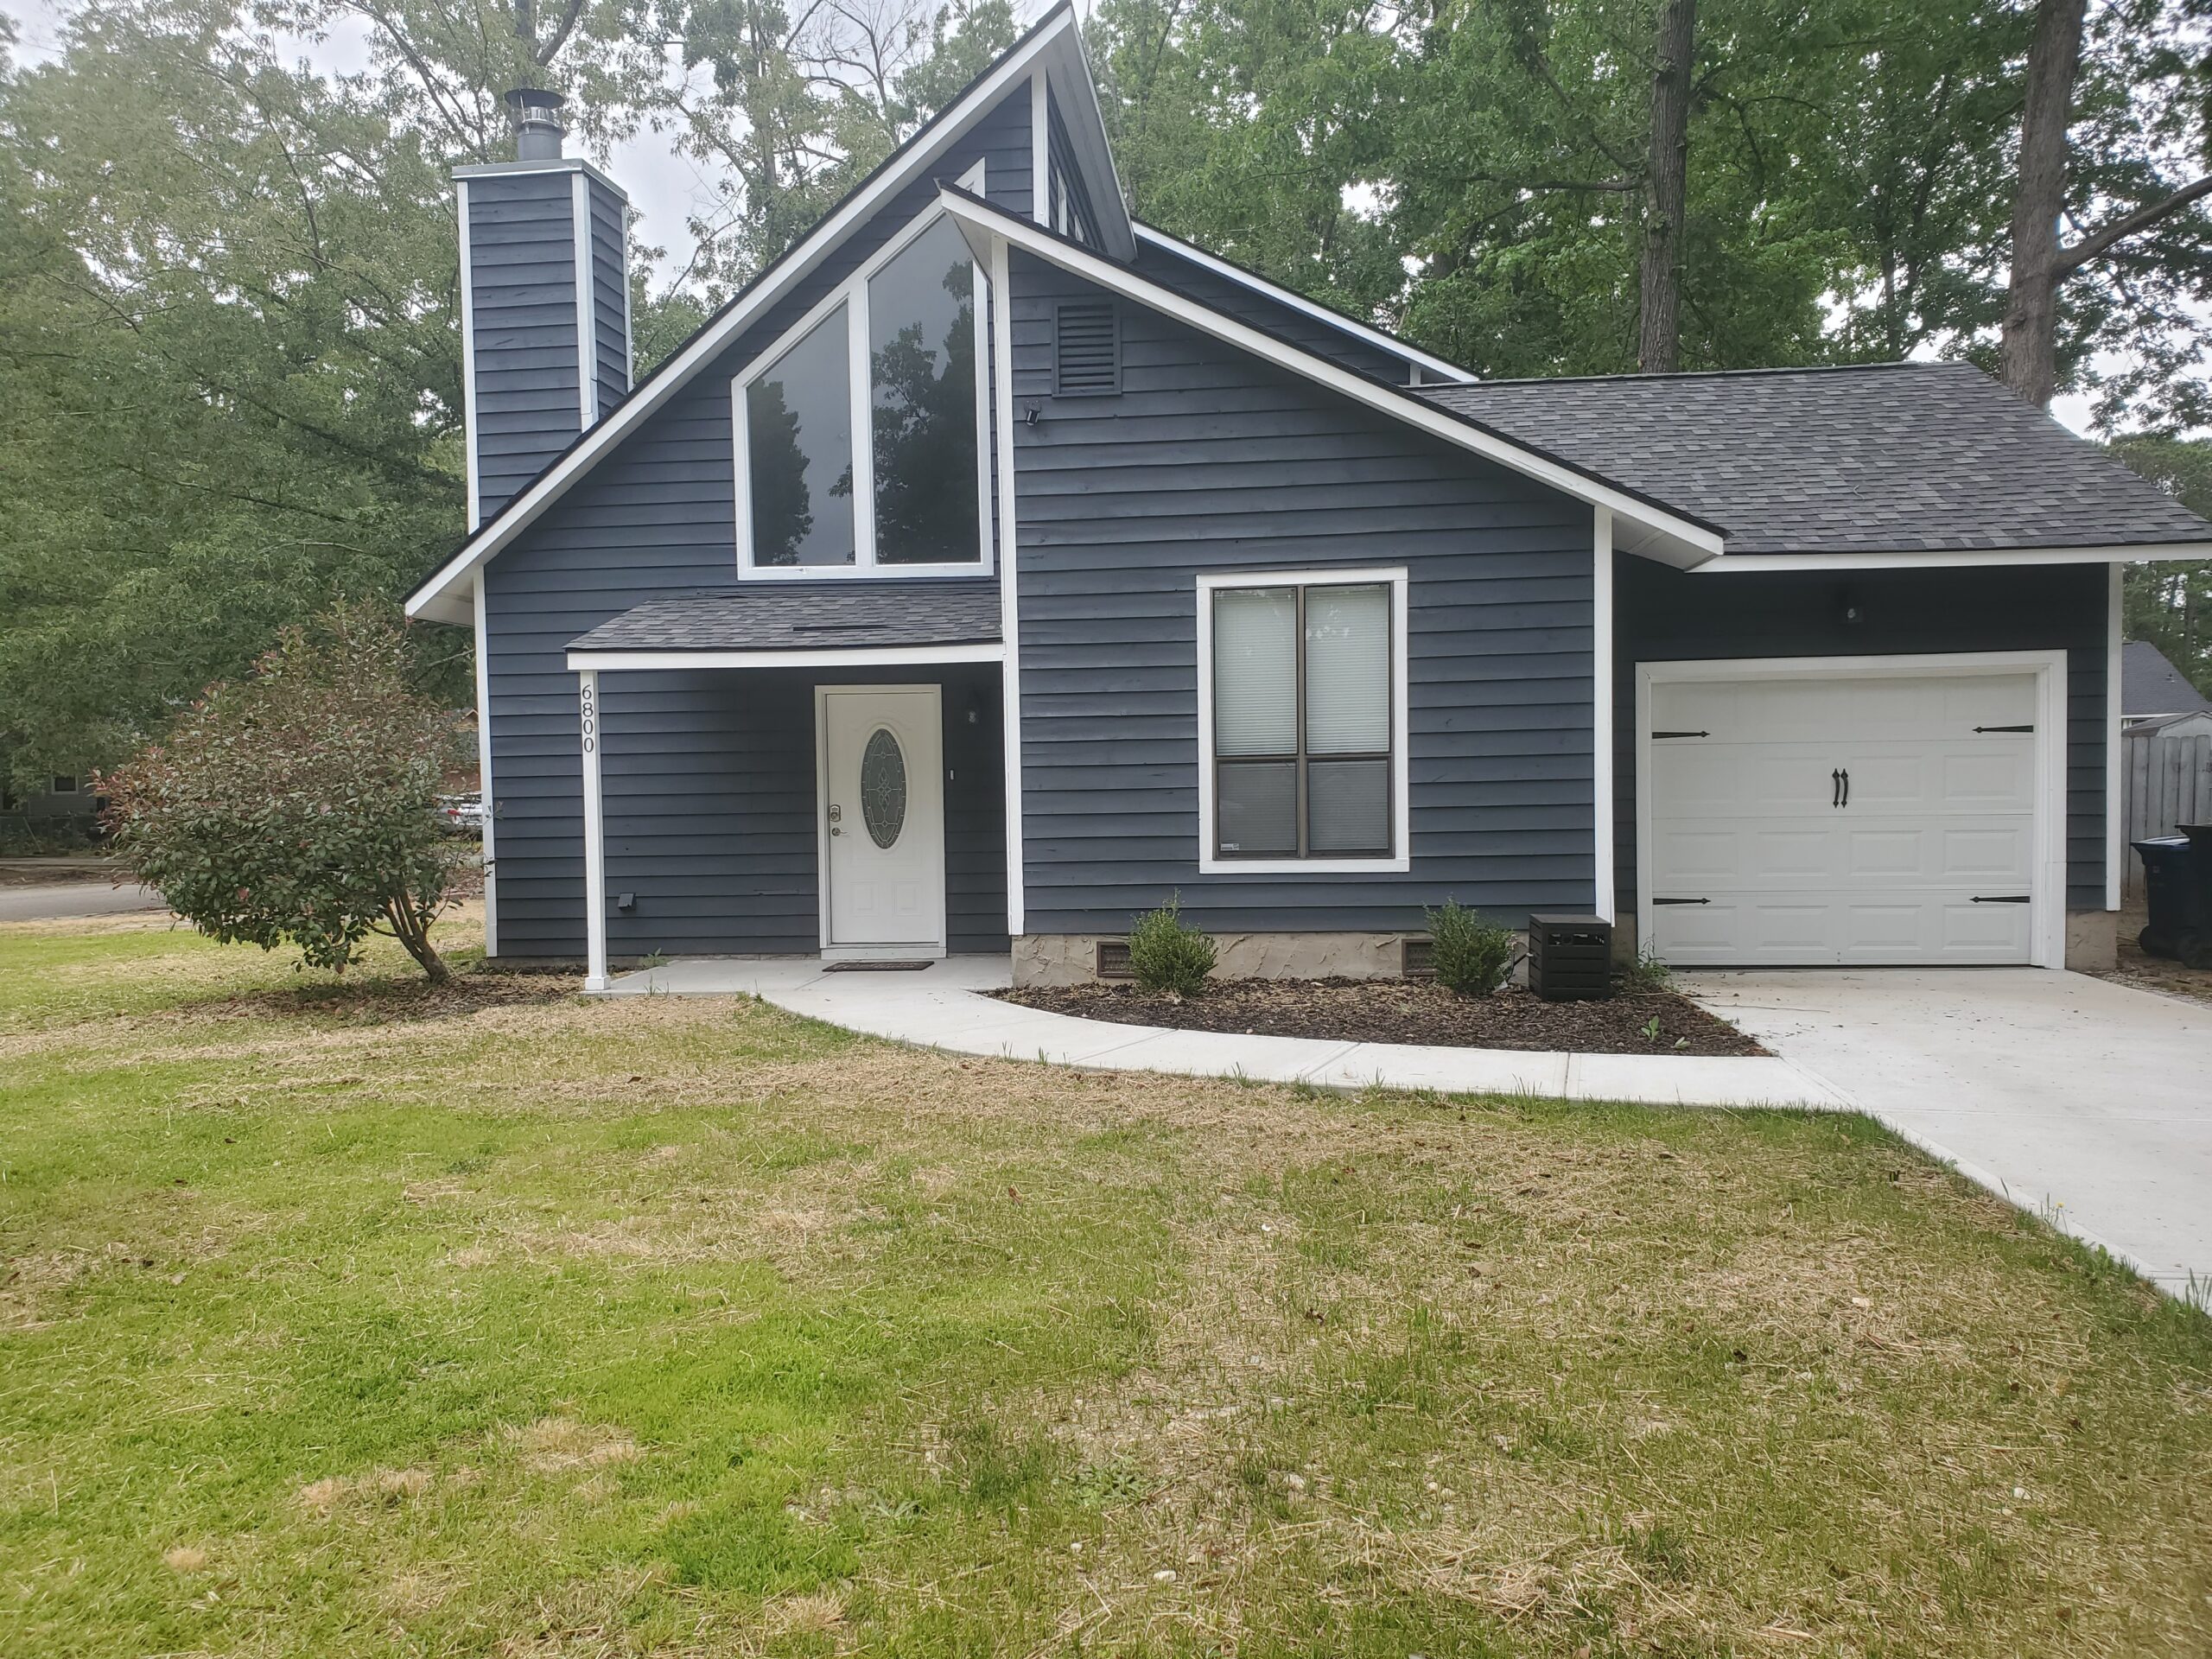
Addingham offered a home with great bones in a great school district ideal for families to be close to the military base and commercial centers in Fayetteville.

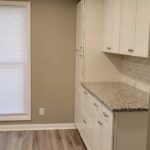
Of course, no NC project is complete without removing a ceiling fan from the kitchen!

  • Single Family Home in a Great School District
  • 3 Bed / 2 Bath; 1400 sq. ft.
  • Fenced-in Backyard
  • Attached Garage

Improvements

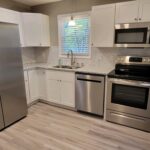
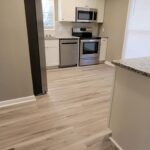
  • Complete HVAC System
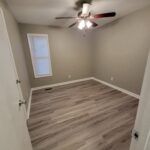
  • LVP
  • Int/Exterior Paint
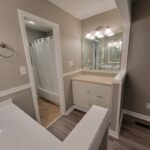
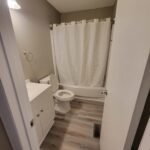
  • New Cabinetry and Vanities
  • Granite Countertops
  • Updated Light Fixtures (Recessed, Fans, Flood Lights, etc.)
  • Electrical wiring to code
  • PEX Plumbing
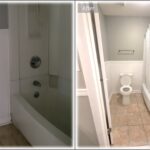
  • Moen/Delta Plumbing Fixtures
  • RING Security System w/ Ext. Cameras

Surprise Real Estate Journeys​

Bidding on investment properties is always tricky, especially in our highly competitive market which benefits heavily from the densest US military base in the continental United States.

We put in the highest and best offer with a slightly over asking offer with no walk-through. We don’t recommend ever bidding blindly on offers, but after reviewing photos and crunching numbers we assessed the risk to low to moderate. Once under contract, we conducted a walk-through and the initial assessment consisted of focusing on new doors, windows, some HVAC, and simply cosmetic work. We knew it was a failed flip right away and expected the worst later.

The Addingham project took longer than our original plan of a 6 week RENO. After approx. 9 weeks of fixing issues likely created by the seller and making all updates, we breathed new life into Addingham as a great house for the next family ready to move in.

Warning Signs of a Flipper Gone Wrong!

Partially completed laminate/hardwood flooring with uneven sub-floor. Watch out for big peaks and valleys in sub-floors, this will almost always destroy the life of any flooring material.

Broken HVAC, Summer in the South, and No Power During Diligence. While under contract, due diligence affords the buyer to assess the property for any major issues to address prior to close. The seller had all utilities off with no way of assessing water, electrical, or other mechanicals. Utilities are required to be on as defined by any contract.

However, in these situations, you must ask your…”Do I risk losing the deal/prolong the process over something simple like turning on the utilities.” Get them to turn the utilities, inspect the property then submit a breakdown of issues with a proposal to amend the agreed upon purchase price. 


Electrical wiring, monkey fists of electrical tape, no junction boxes. In these instances, hire a licensed and insured electrician. building code does not permit wiring/junction points to be outside of a junction box. Hire the electrician to save your asset from going up in smoke. 

The Appraisal.

No BRRRR is complete without a cash-out REFI. When using the BRRRR method, the refinance is critical in continuing the process for the next project. We made sure everything was wired tight with Addingham before initiating the process to escape our Fix/Flip Loan used for the acquisition of Addingham. 

Our market research indicated the surrounding area met all of the criteria we desire: stable housing, high demand, abundance of recent sales/rentals, mixture of distressed/updated properties, all with similar square footage.

The only negative on our appraisal came in the form of our square footage, about 100 sq. ft smaller than advertised at the purchase. Always do your measurements! We missed out on almost $15K which translated into almost $11,000 on the cash-out refinance! Ouch! 

Not every deal is a home-run, but luckily the rental market is strong to provide enough cash flow to pull out all invested funds within the first 2 years.

The cash-out refinance on this deal is being rolled into our next project. An off market SUBTO/Owner-financing deal with a major renovation. Check back in the spring for the southern colonial on Rehoboth!
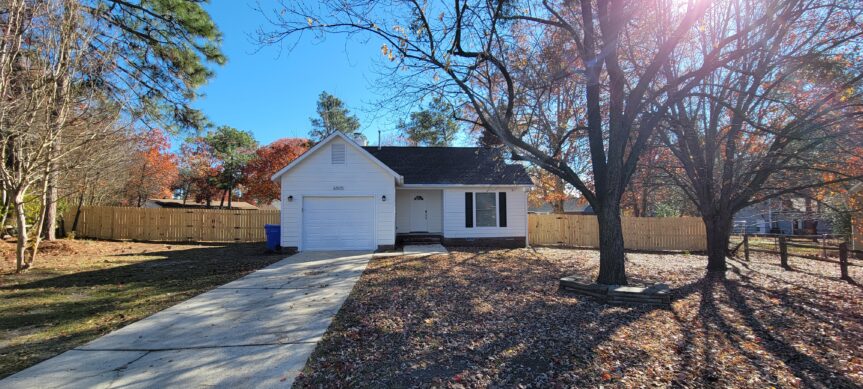
Candlewood Pre-Foreclosure

The Candlewood Project was an exciting adventure in which we took on a troubled and neglected house, and with time and tons of energy we turned into a pretty cool home to live in.  

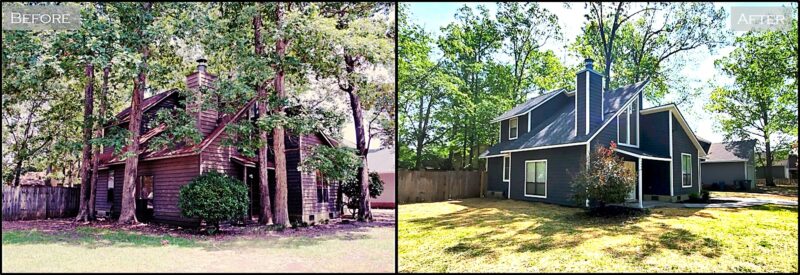
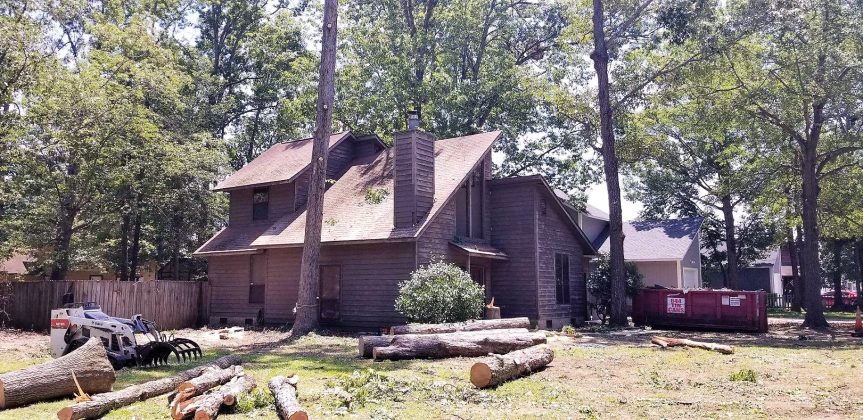
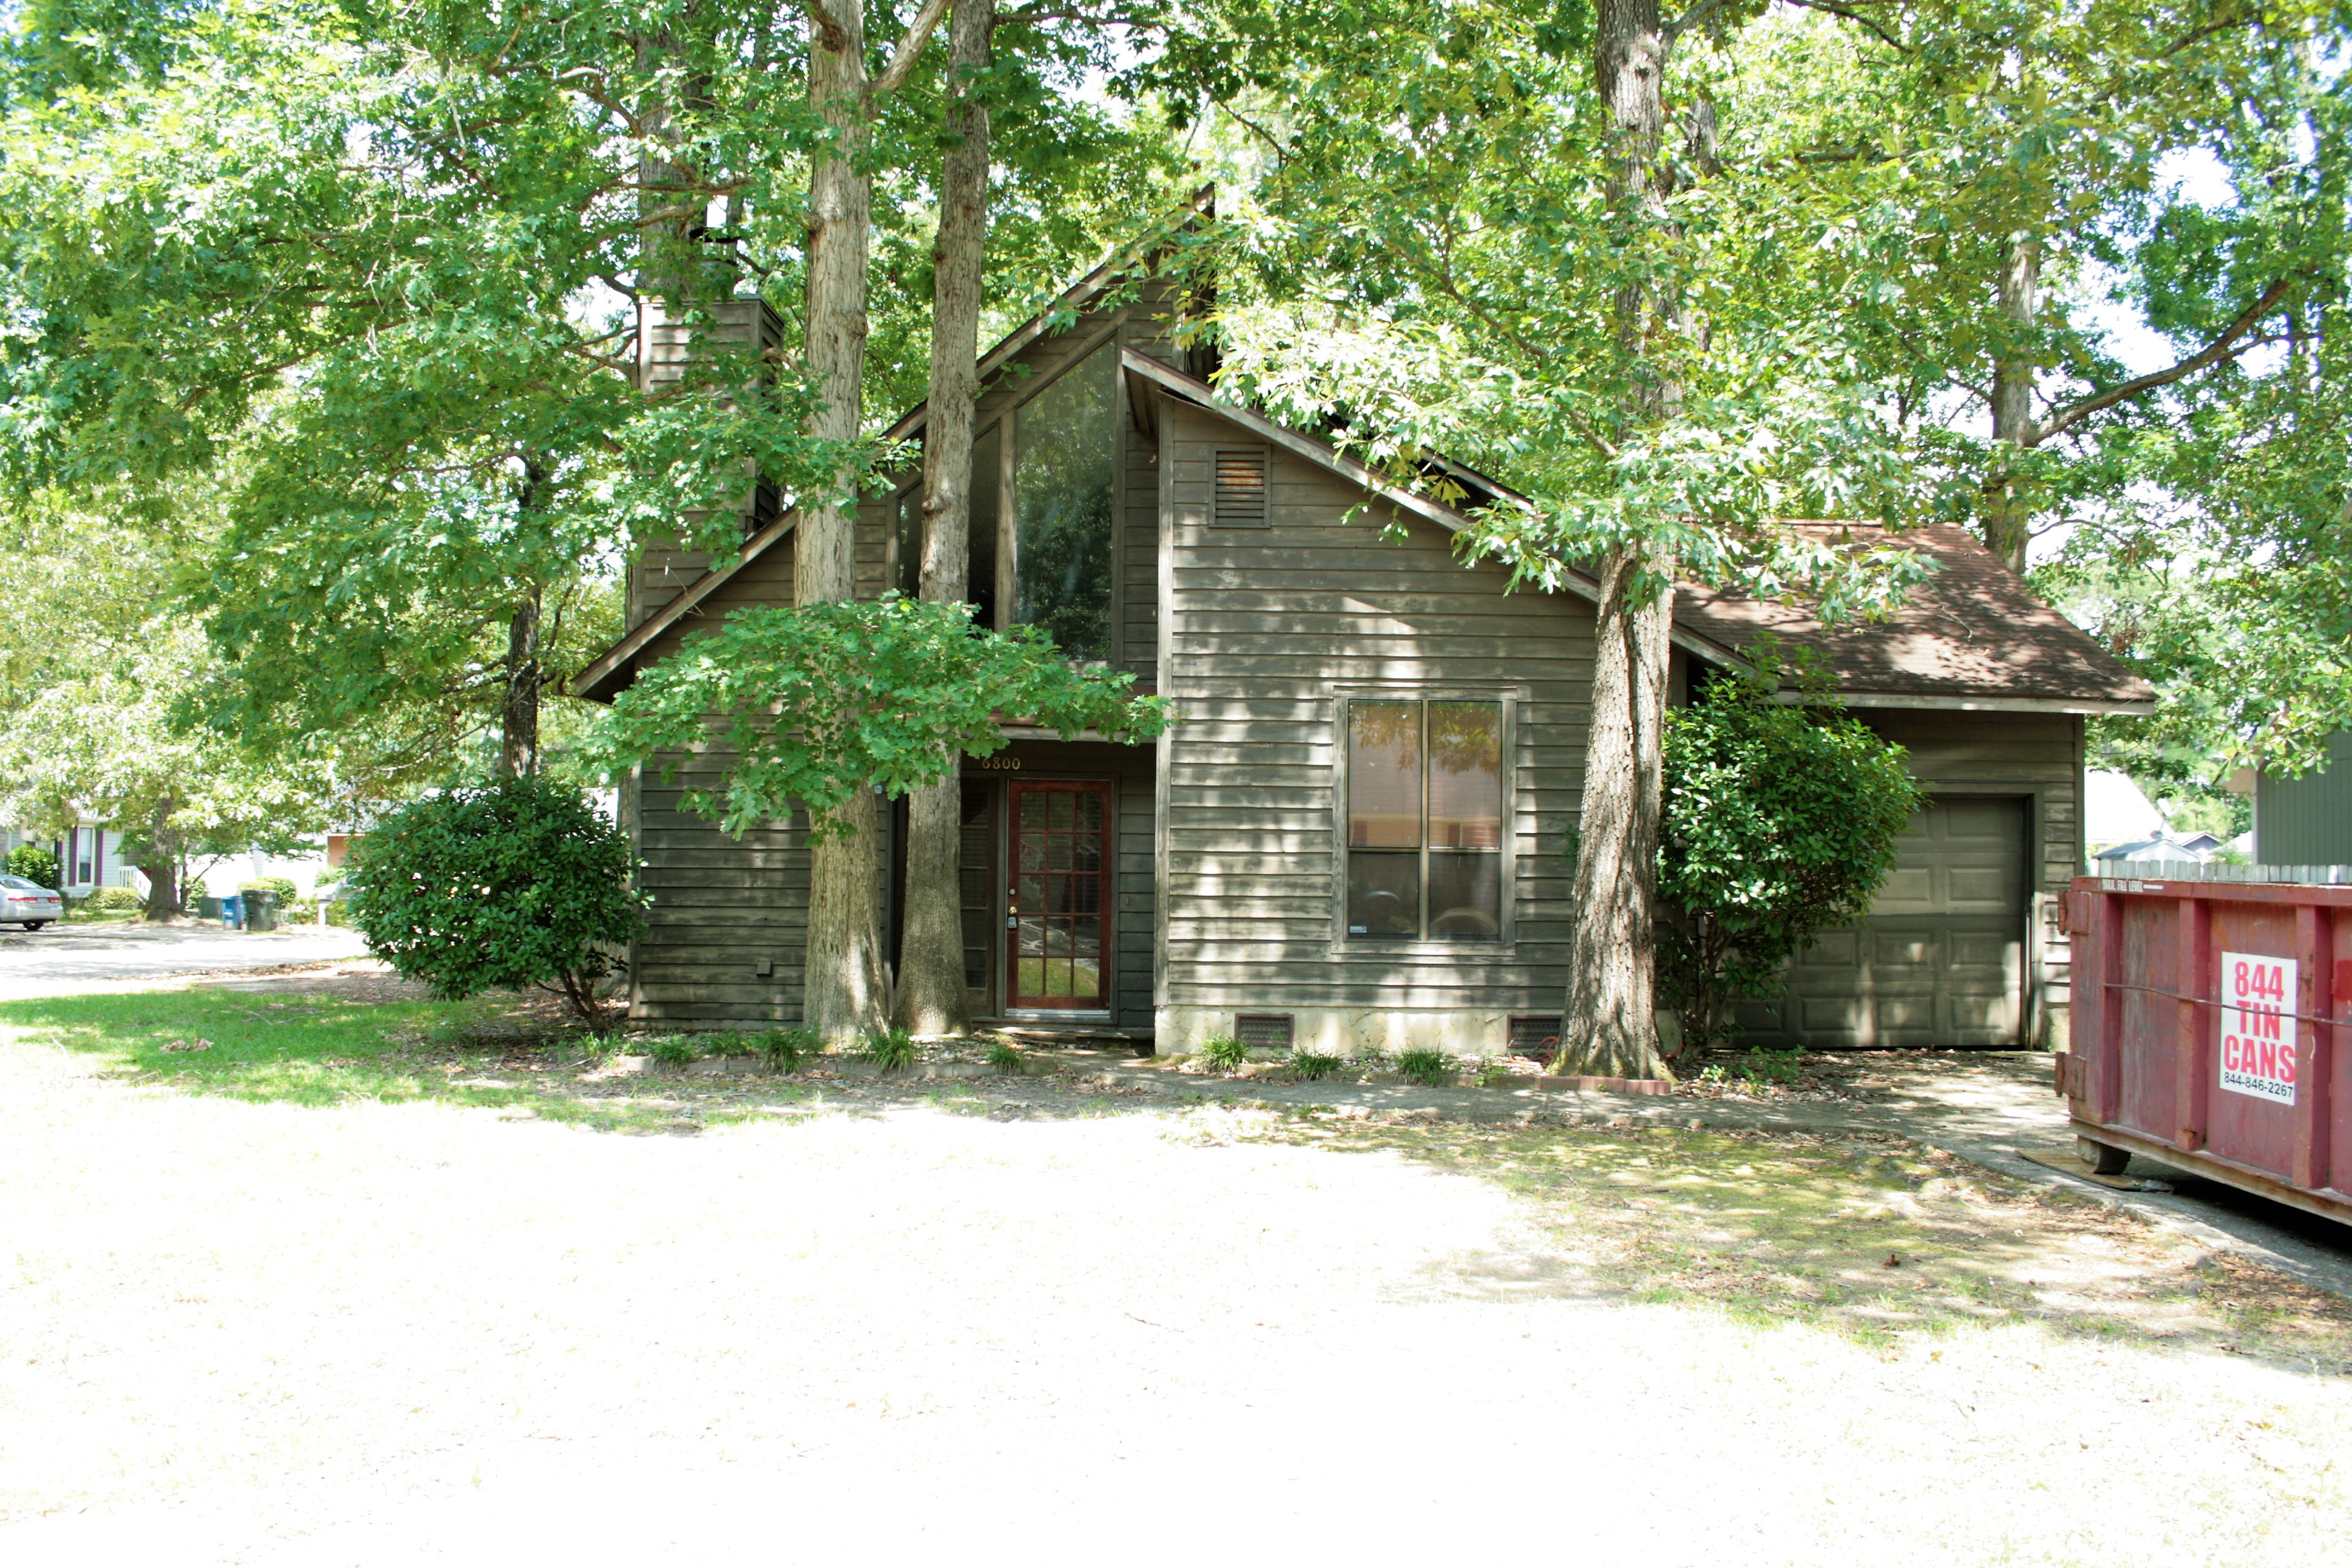
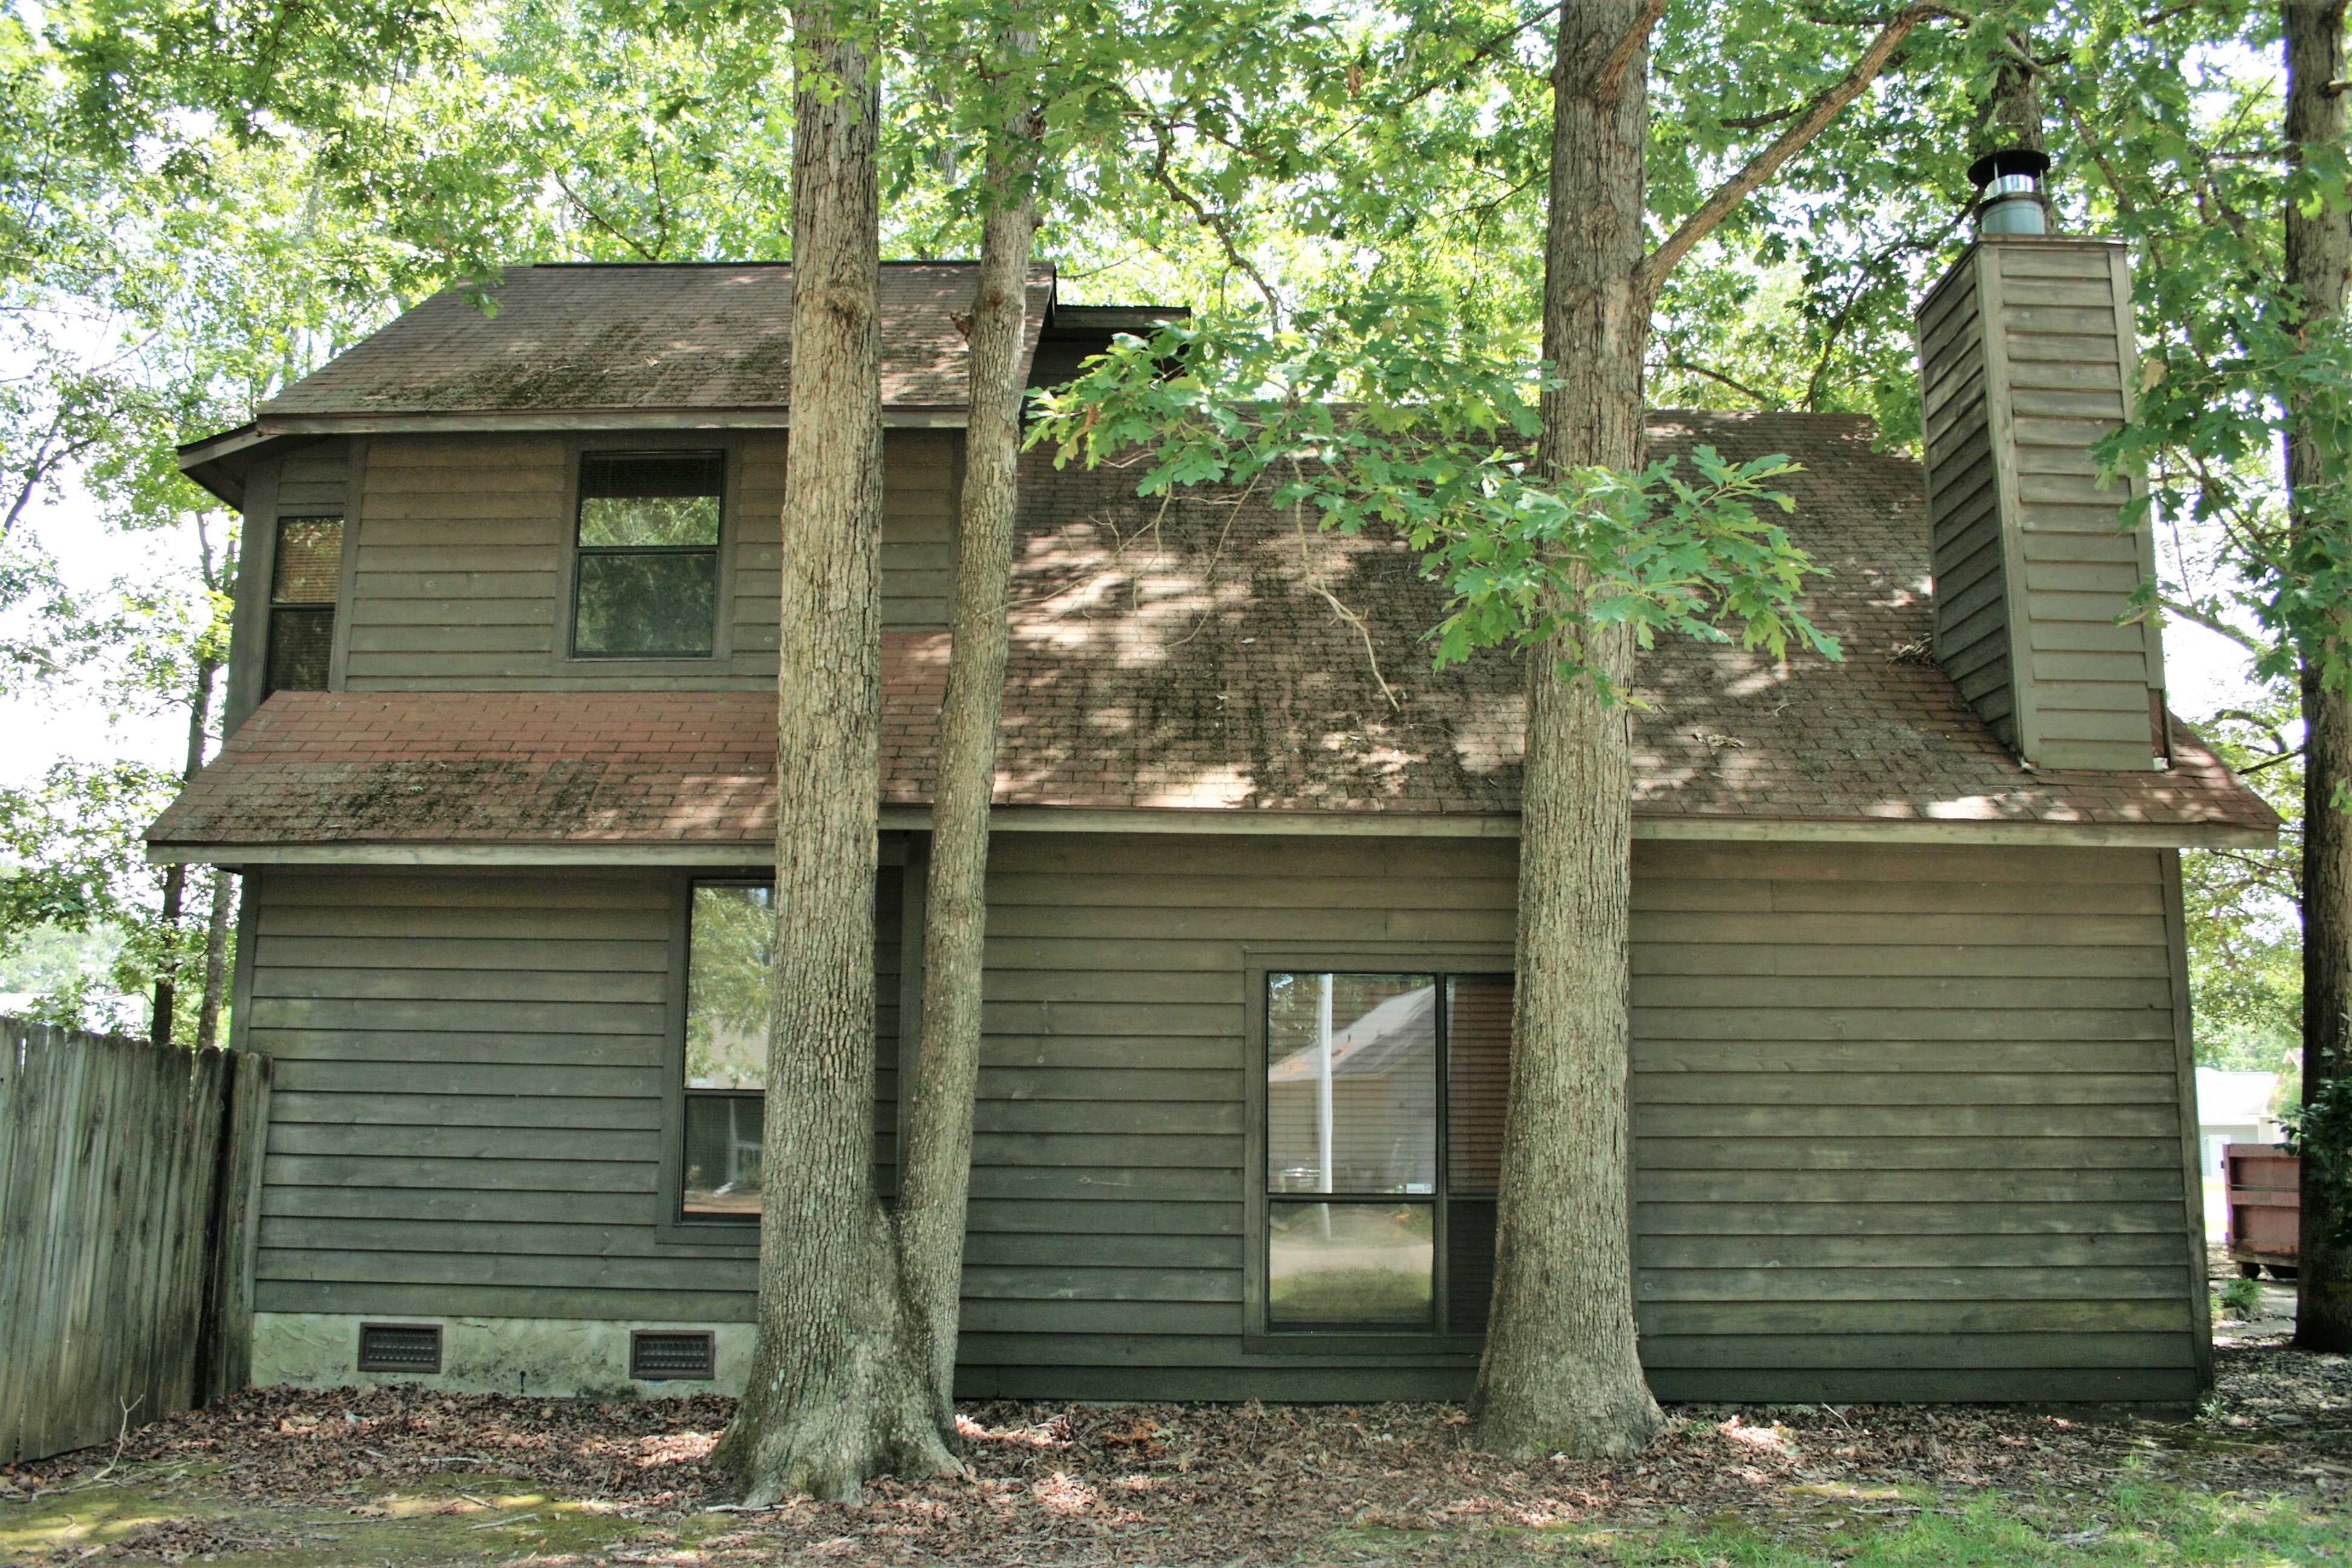
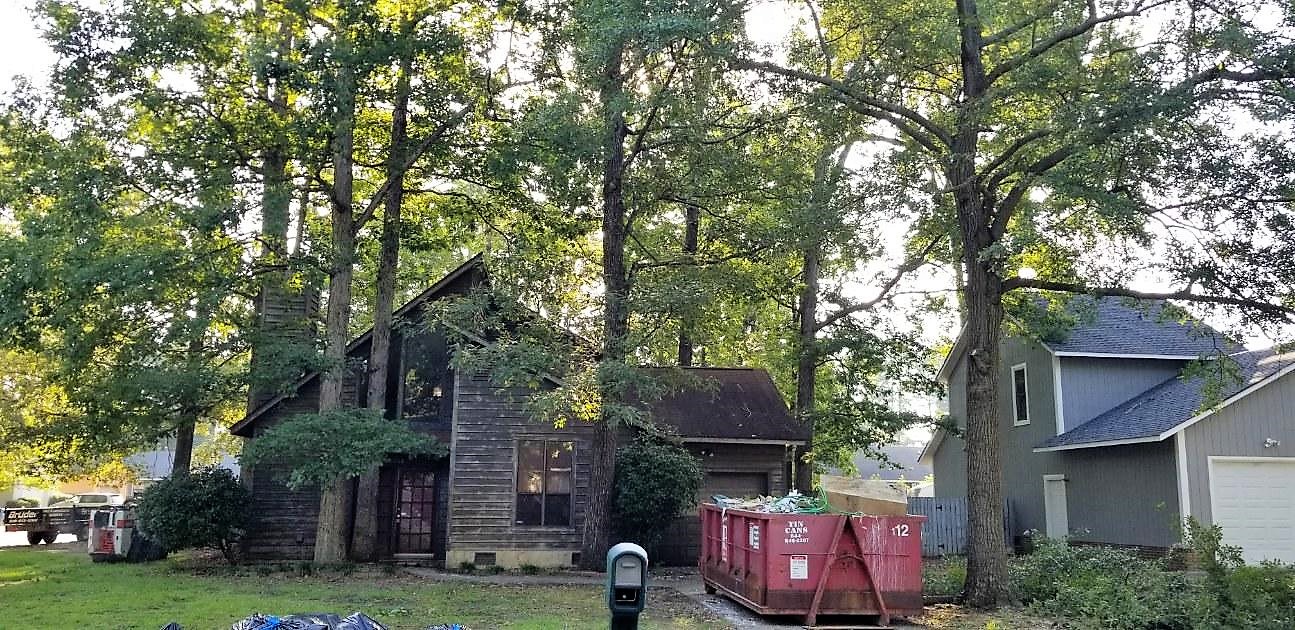
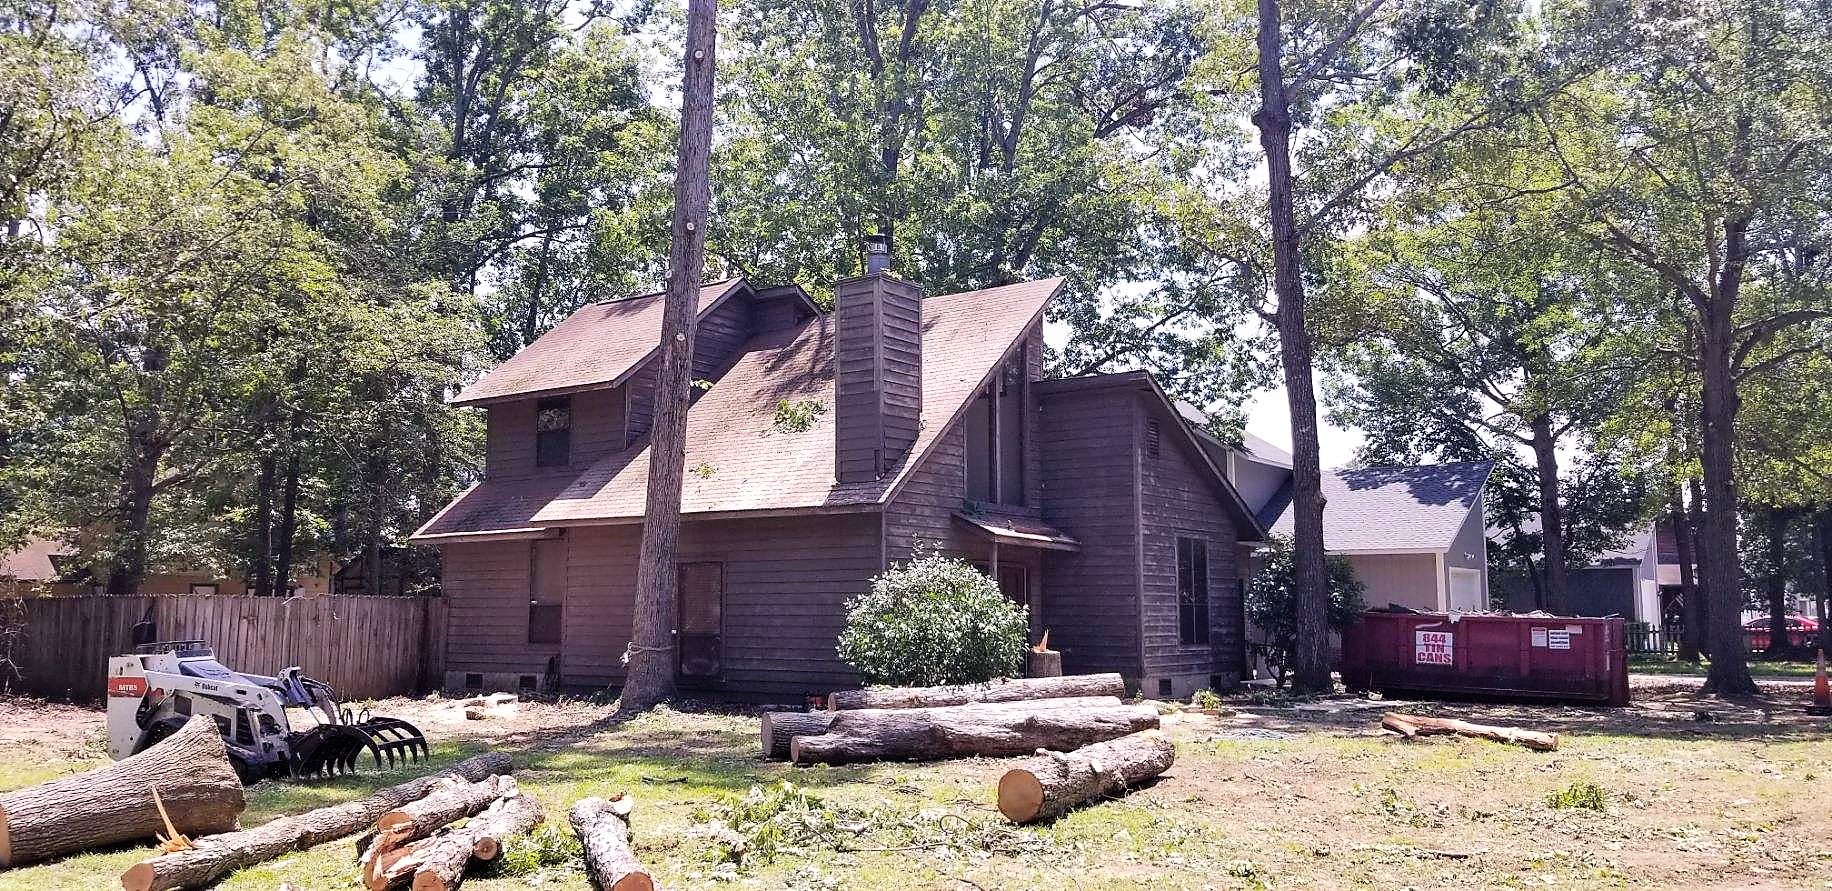
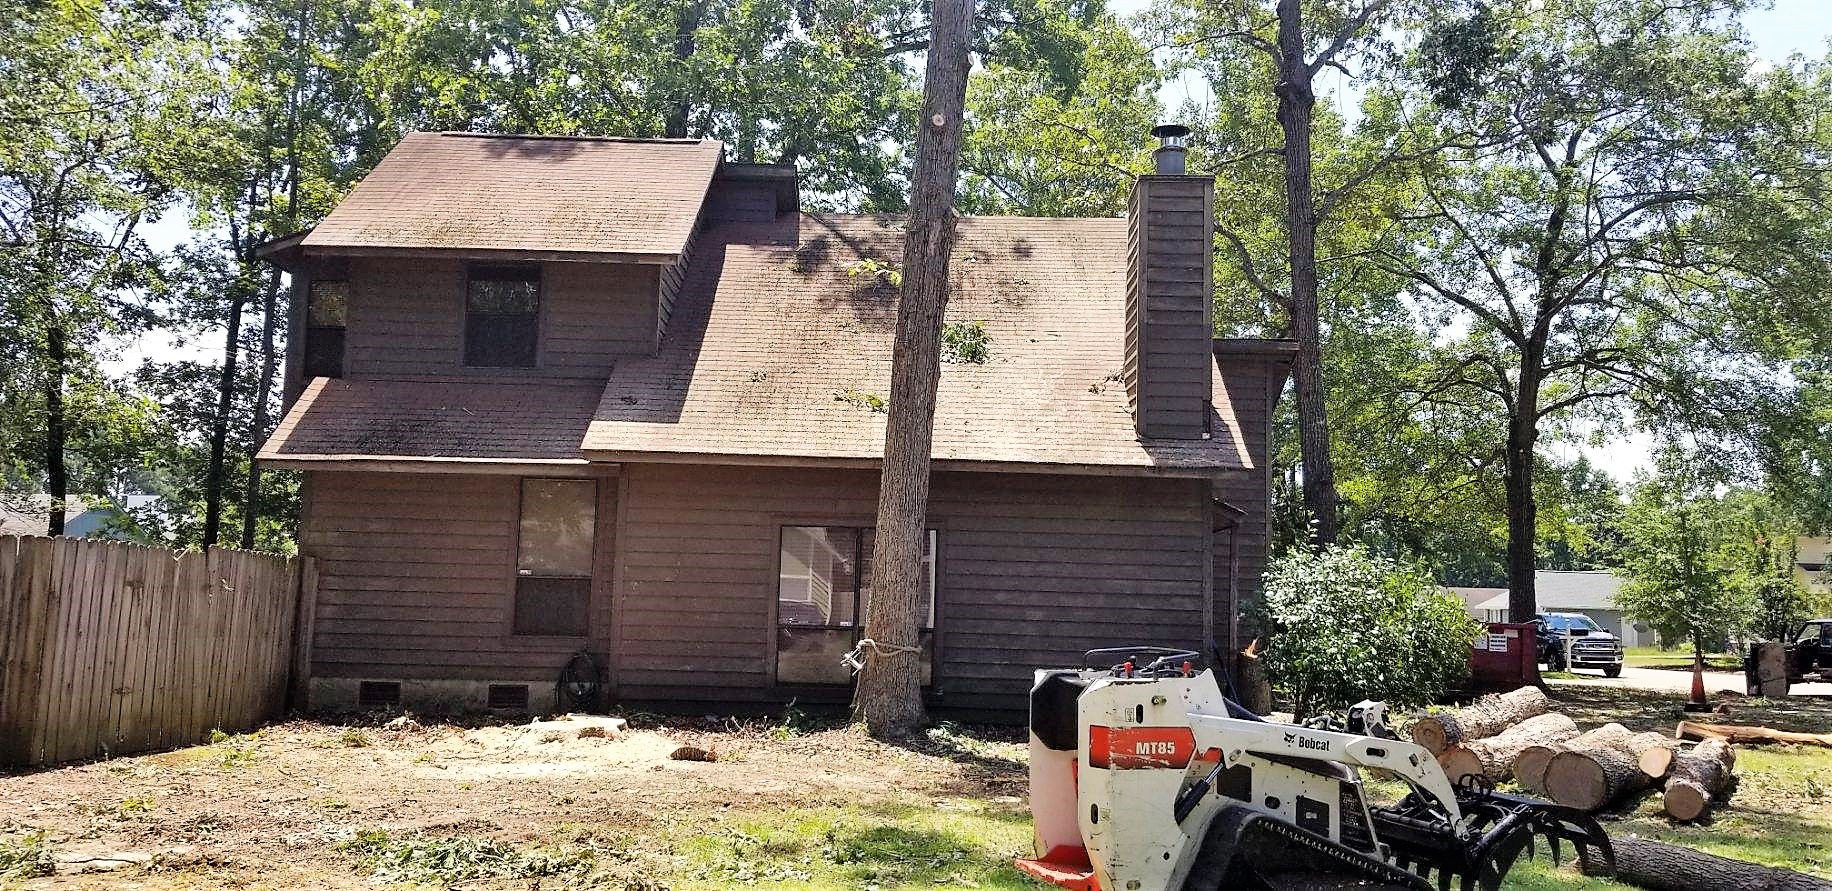
Front Exterior: Starting with the exterior, we first identified the hazard of 5 rather large Oak trees residing nearly on top of the house…they had to go!  Next we new the roof was either the original or well overdue for a replacement…thanks to a great local Sandhills NC crew – 3 Bros Roofing – it was done in a day and looks great.  Next we had a deteriorated driveway, sidewalk and need for front and rear patios…bring on the concrete! 
Front Exterior

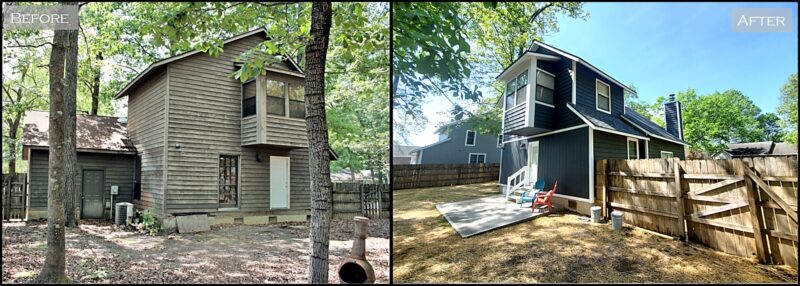
The next much needed item was just general improvements of doors, windows, and cedar board/trim replacements. Originally there were two bedrooms with exterior doors and now stairs/porch. We then had an exposed crawlspace with a random board covering the entrance. We closed off the doors, and put in one exterior door off the new hallway. We add the concrete patio and slab in front of the crawlspace to reduce water and debris from pooling near the house. We chose Hardy panel over replacement cedar due to the price difference and provide a change in the overall appearance. During the process we improved the light fixtures and added a security camera for the back yard. Currently, we have a plan to do exterior paint in the spring, but overall the exterior is sealed up and ready to go!

CandlewoodRearExt
Rear Exterior

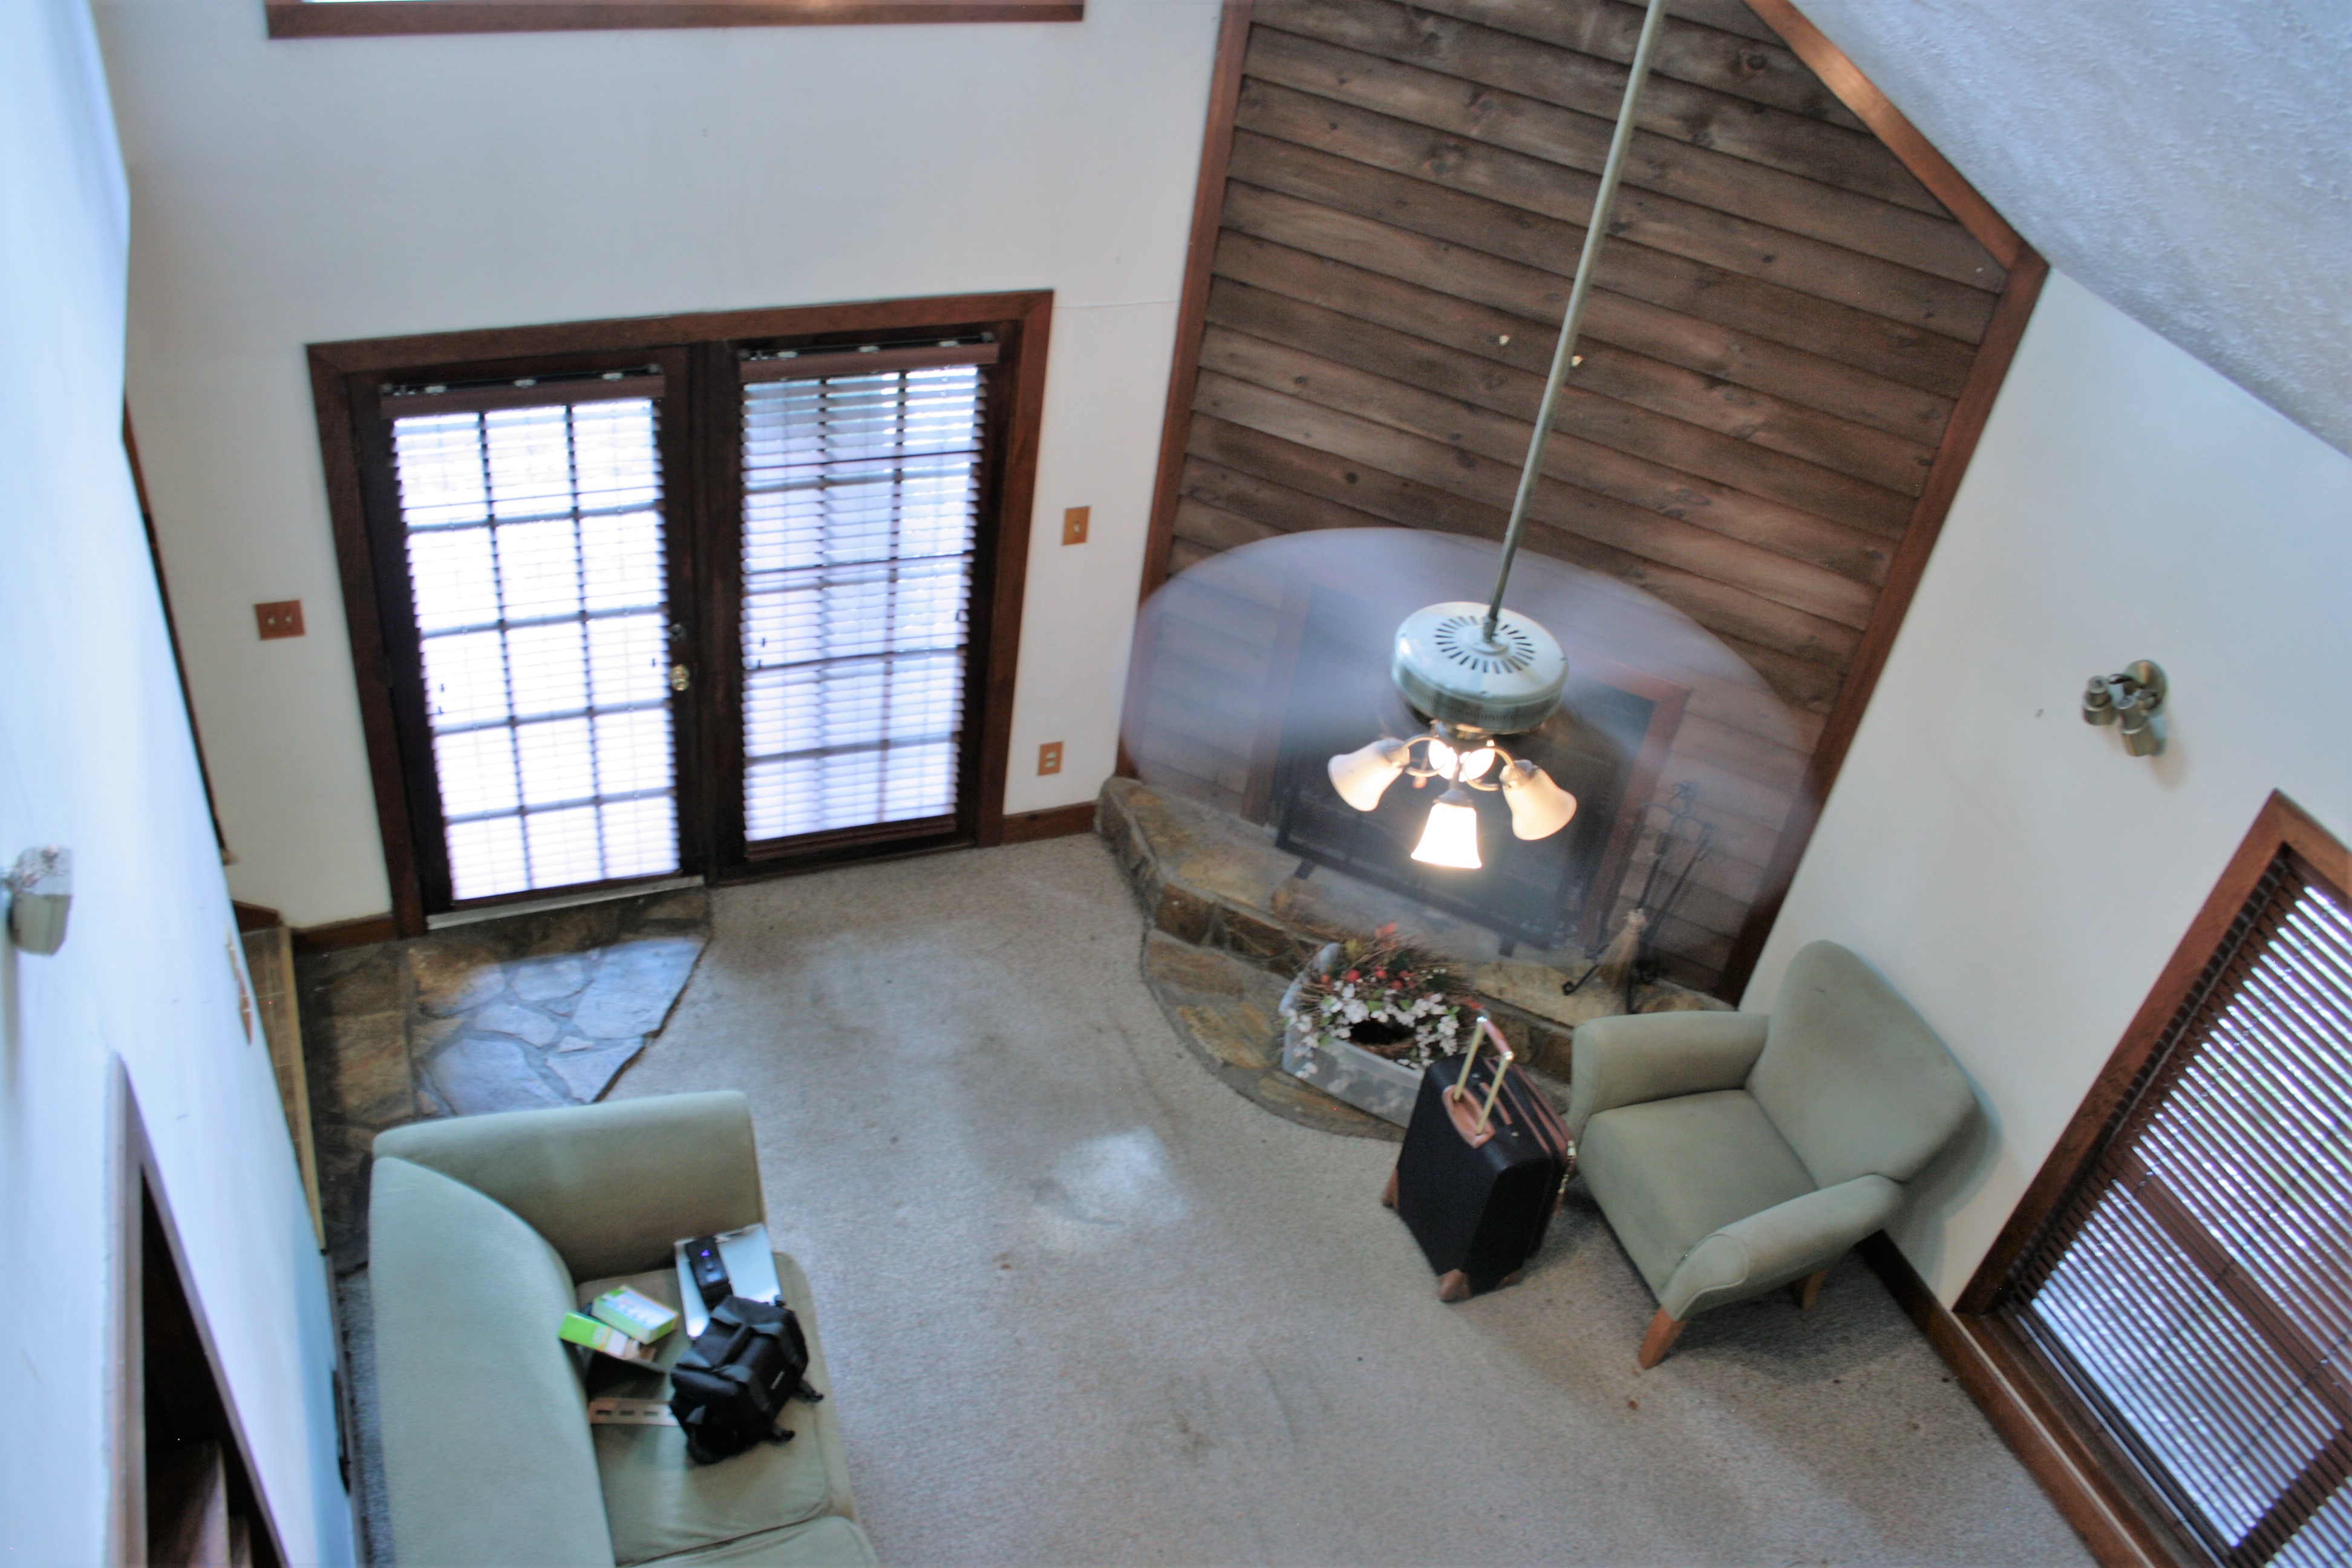
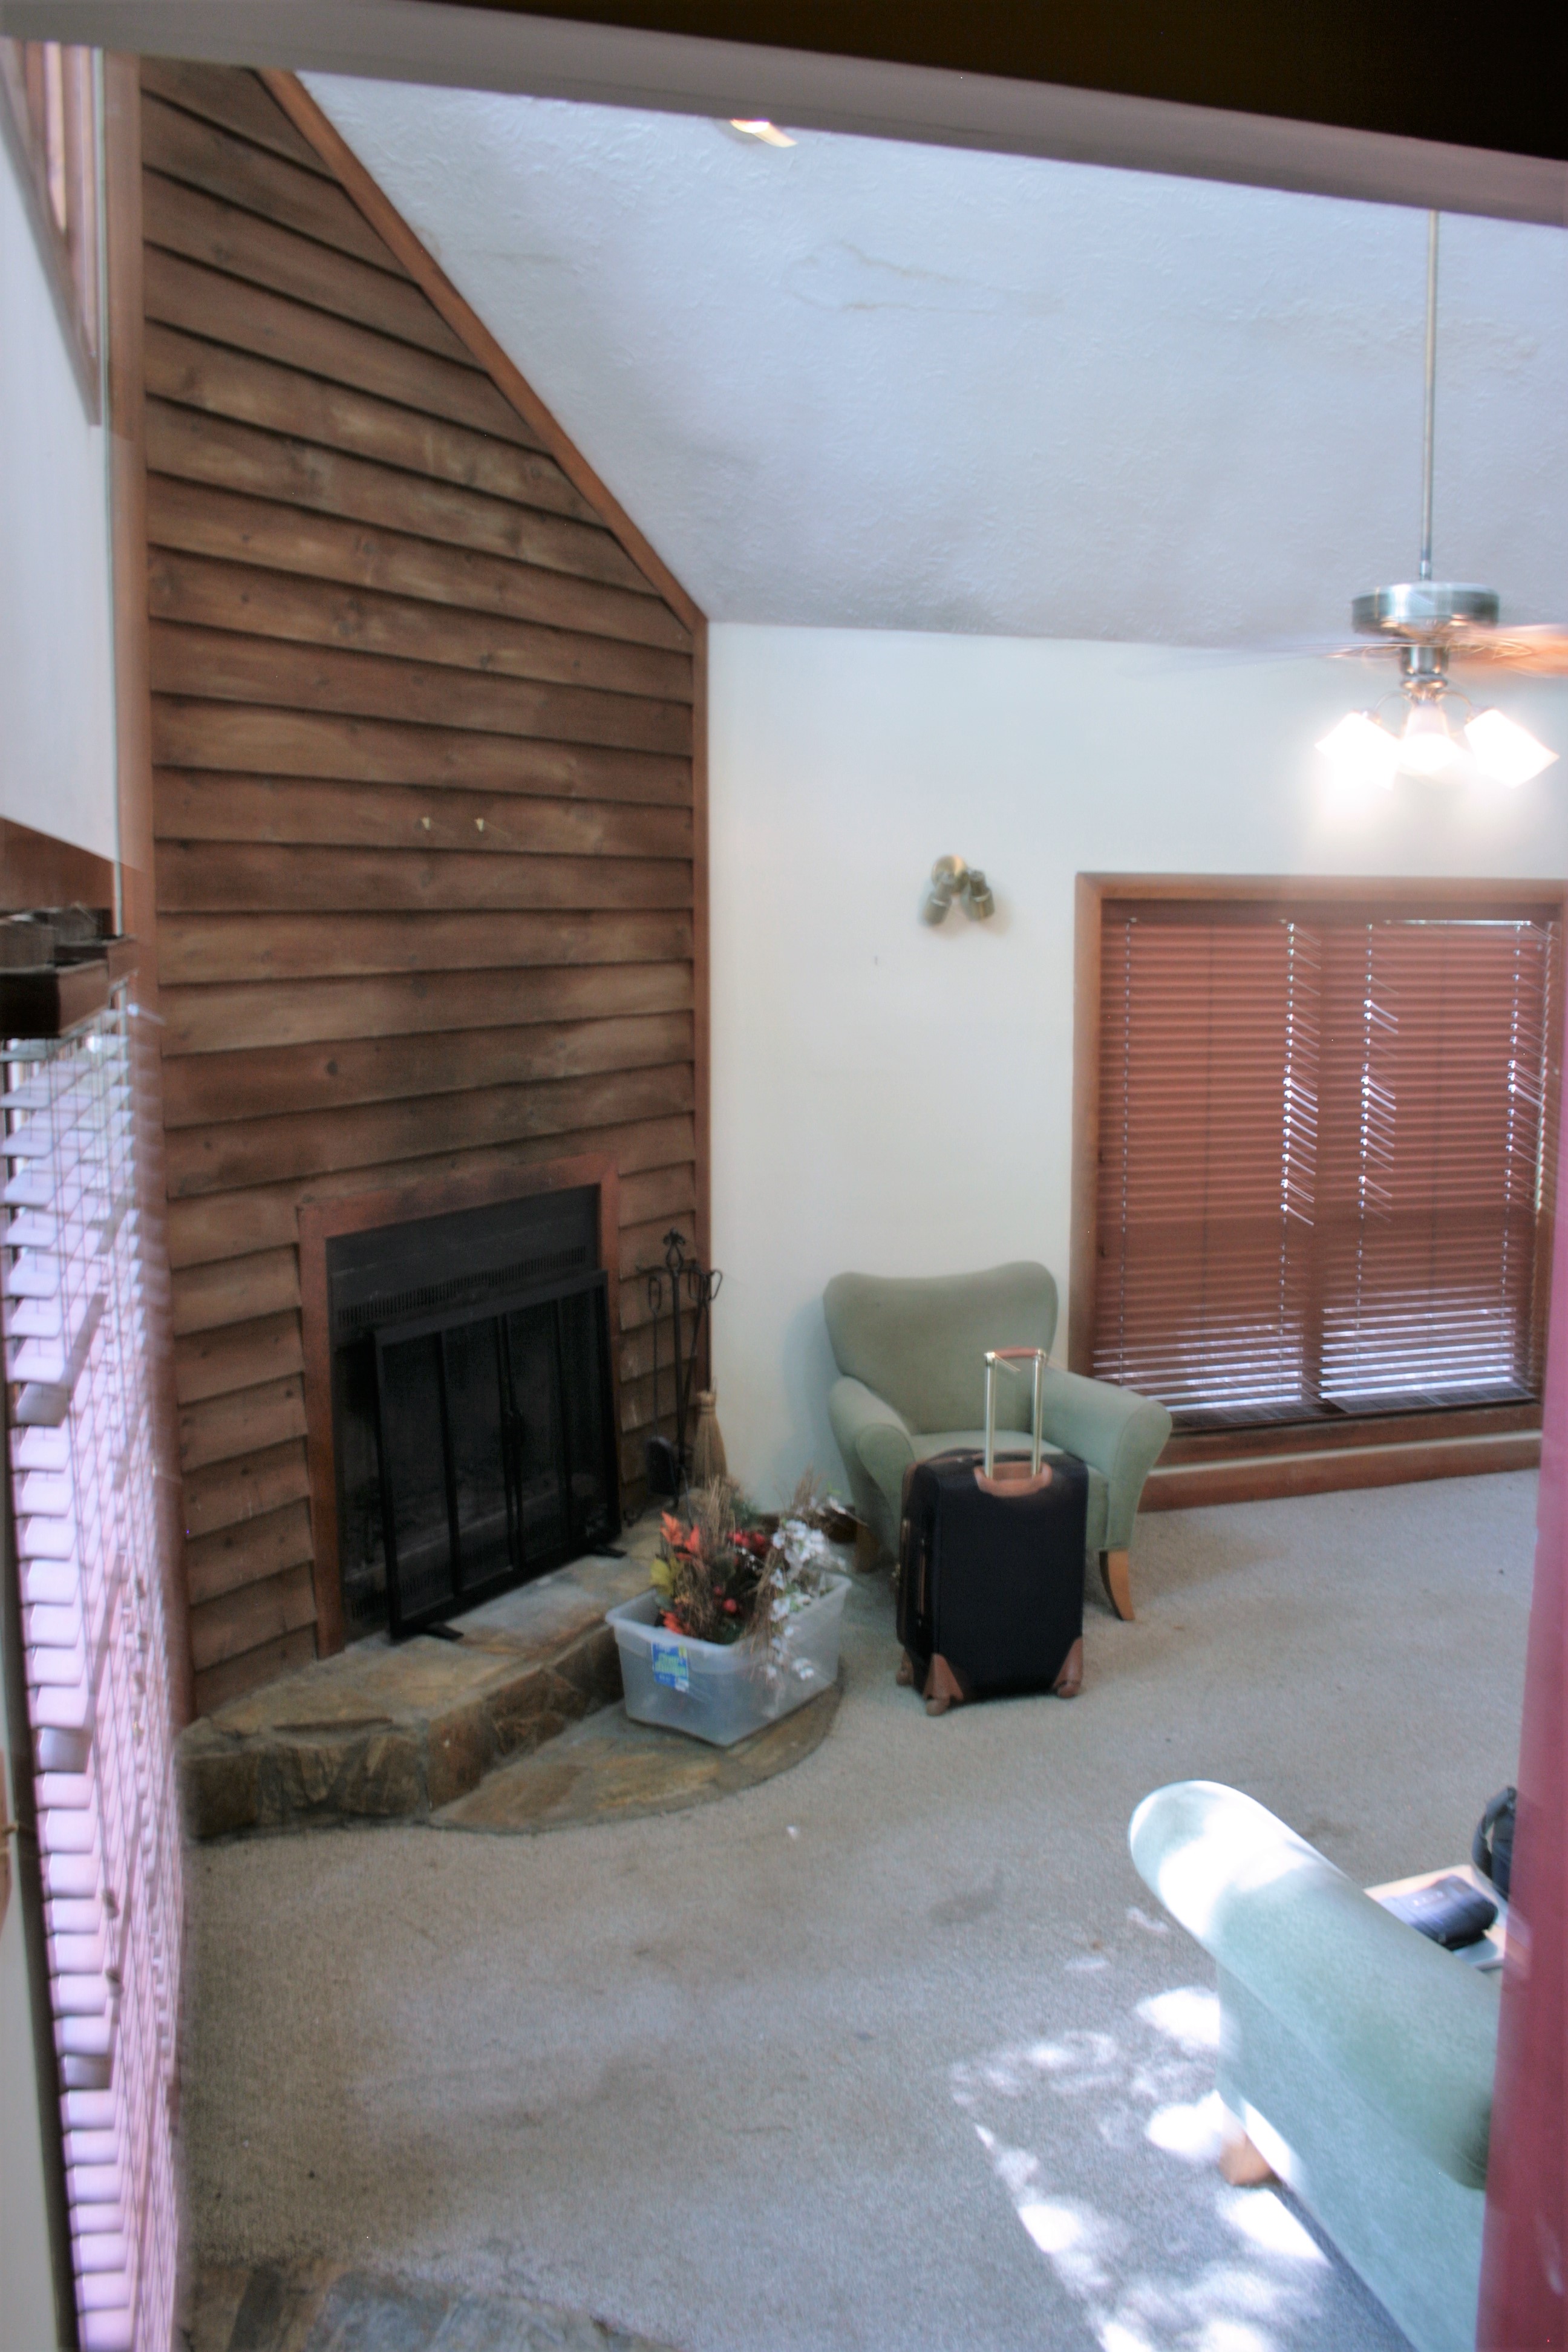
Living Room: For the living room, we removed the carpet and replaced it with Luxury Vinyl Planks (LVP). The faux double front door was replaced with a single front door with an oval window cutout. After those major improvements, we updated light fixtures and applied fresh coats of paint to the fire place, built-ins, walls, ceiling, and trim.

Before and After
Living Room

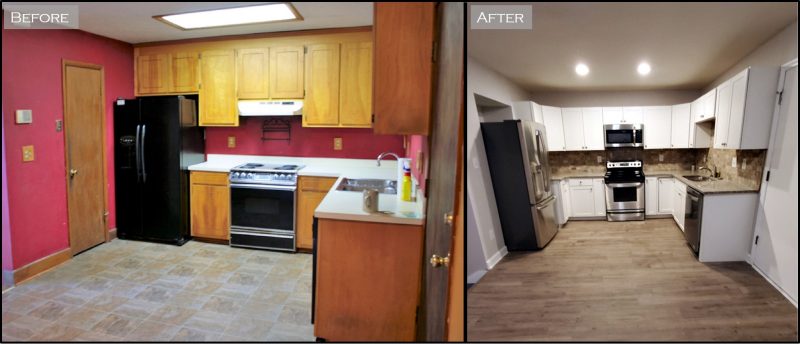
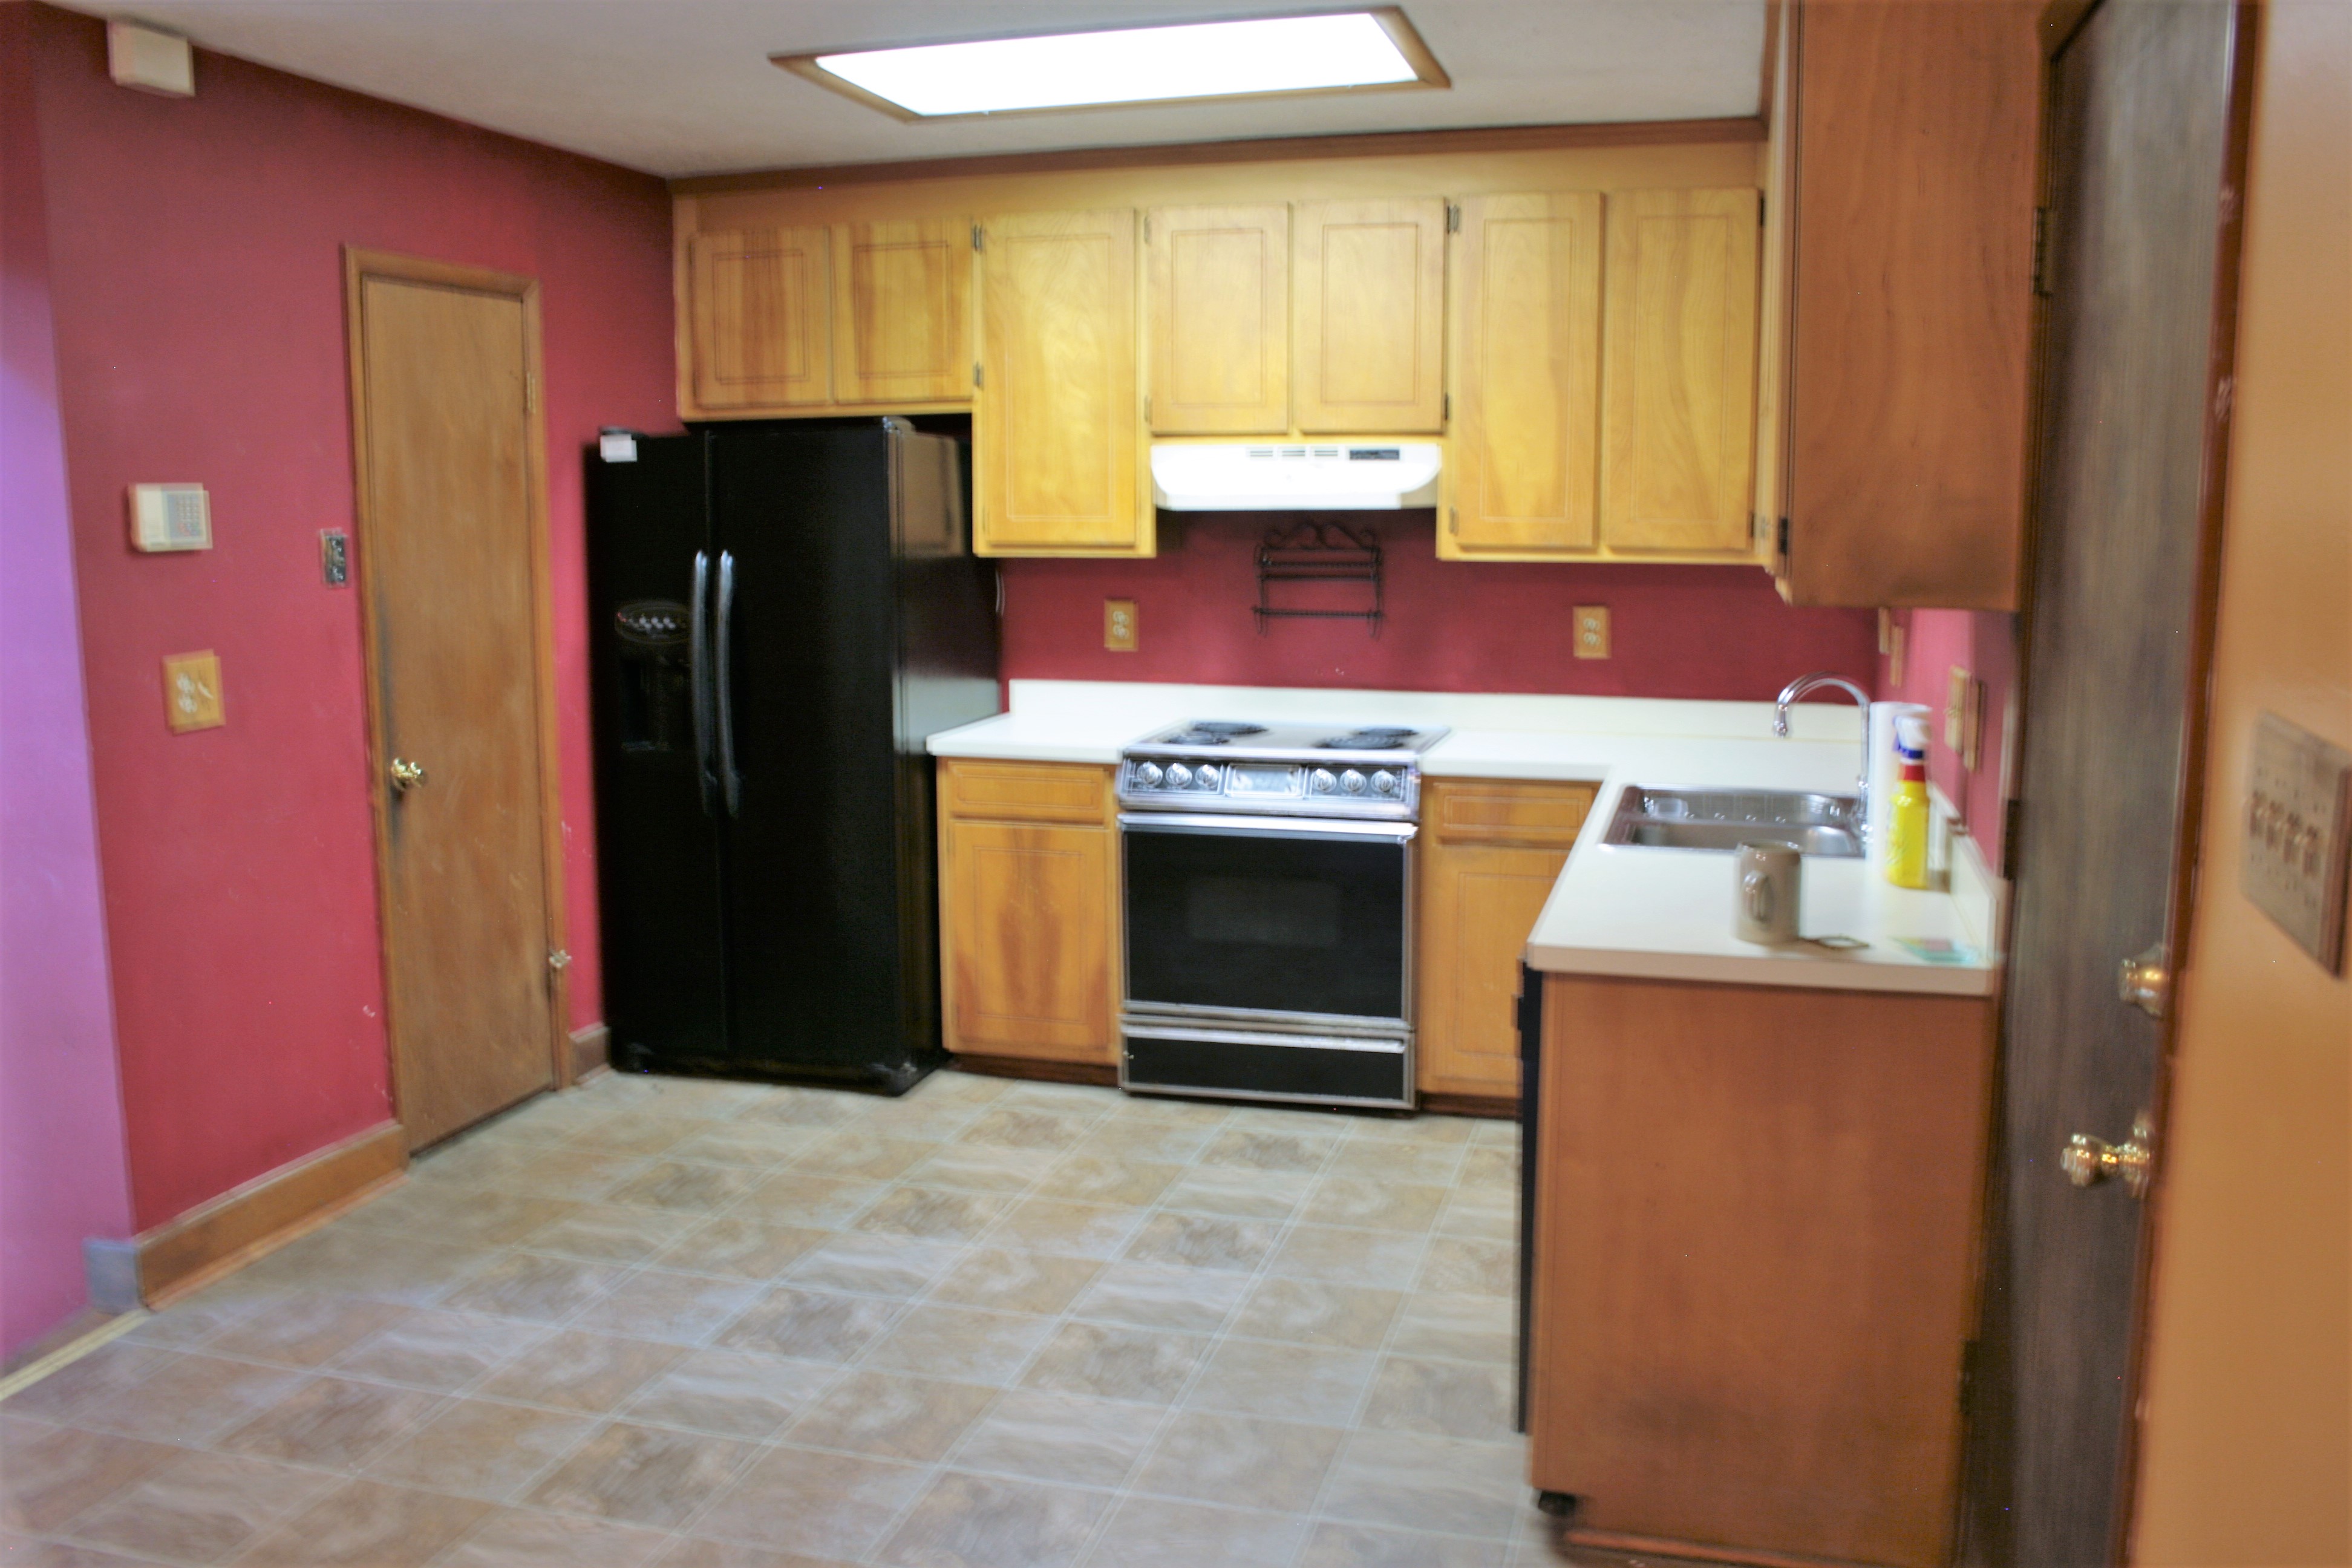
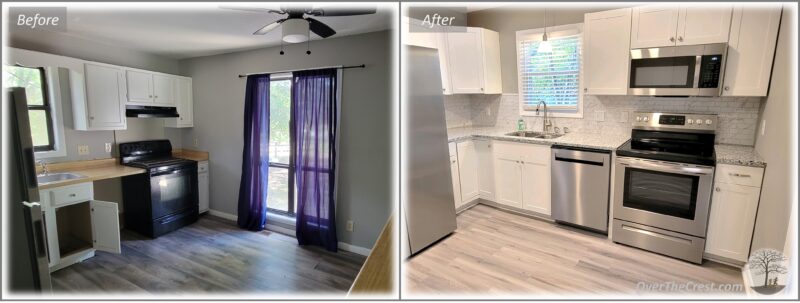
Kitchen: Everything in the original kitchen needed a good update, whether its the appliances, the cabinets, flooring, or paint. Naturally, we were up to the task. Additionally we added an over-the-range microwave, moved the refrigerator in order to create some much need cabinet space. We added a backsplash to tie it altogether.

Before and After
Kitchen

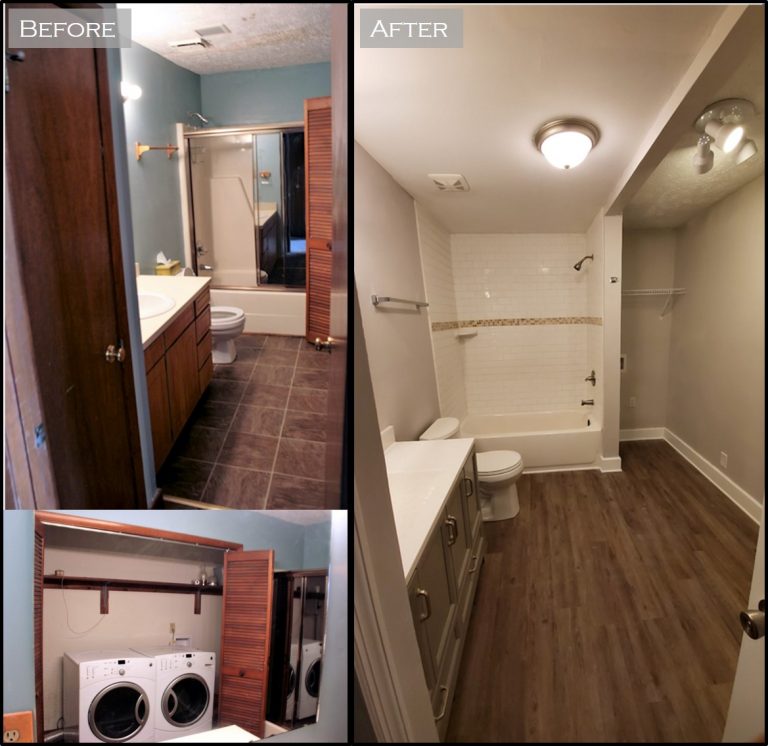
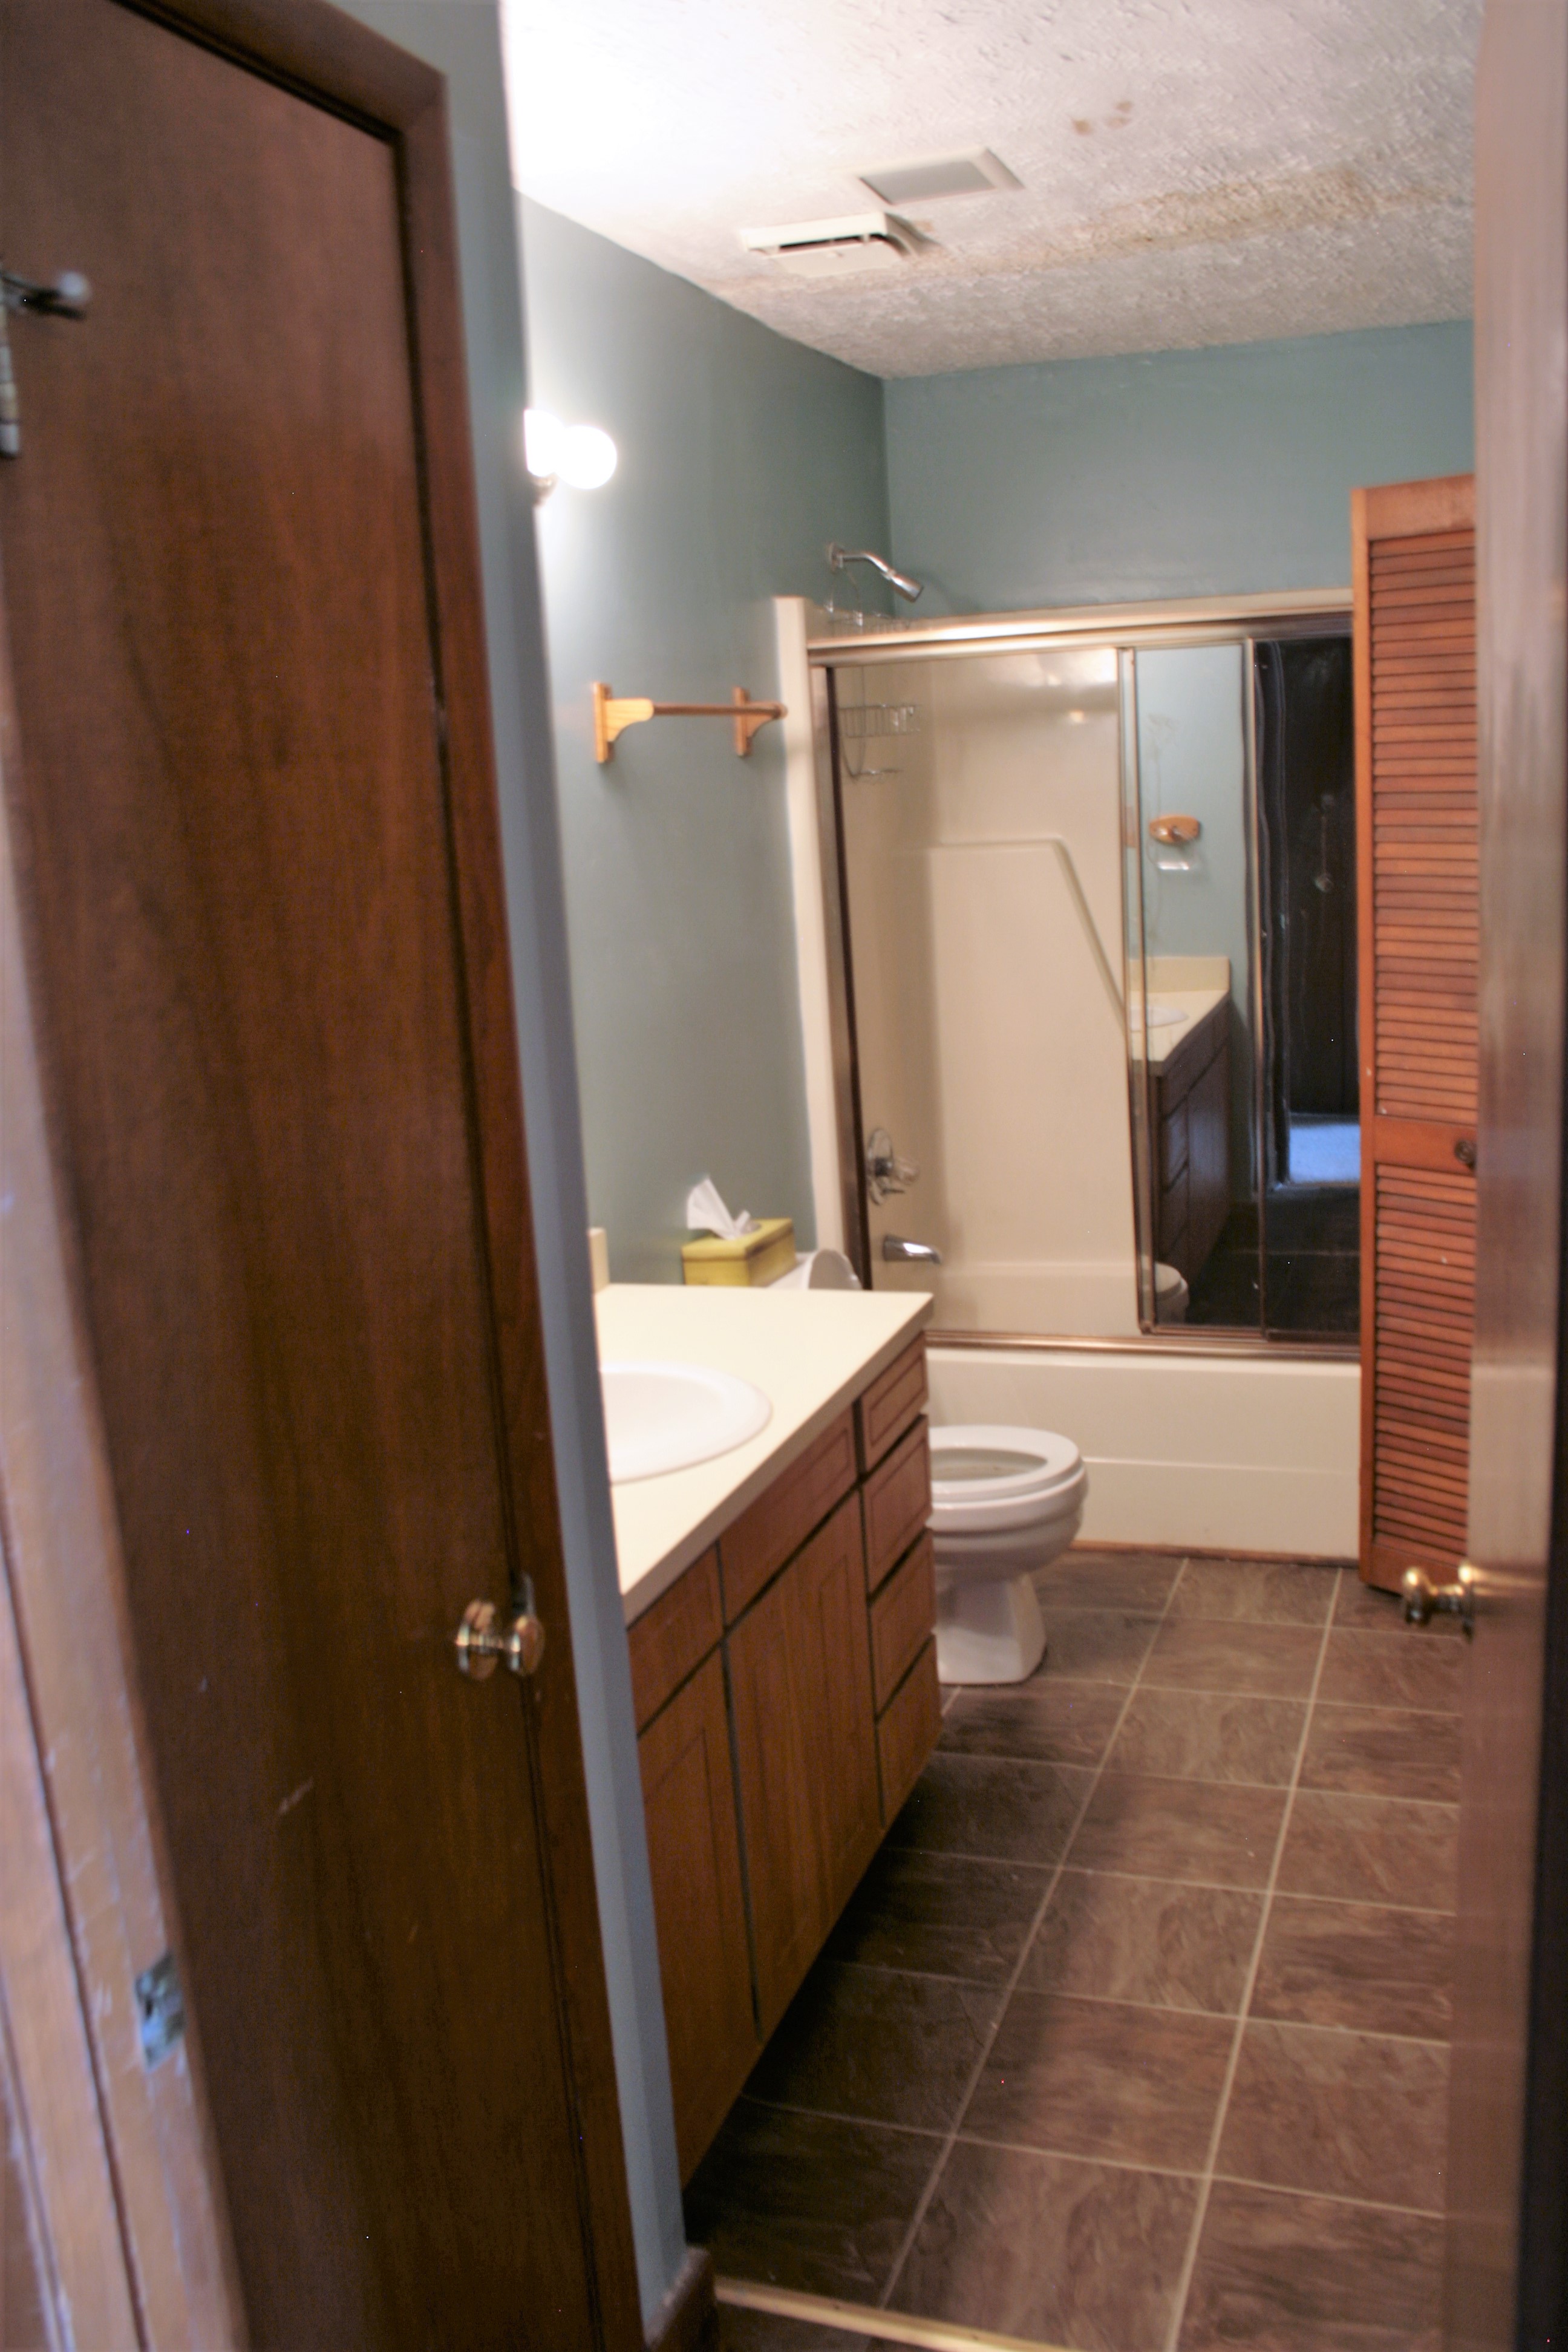
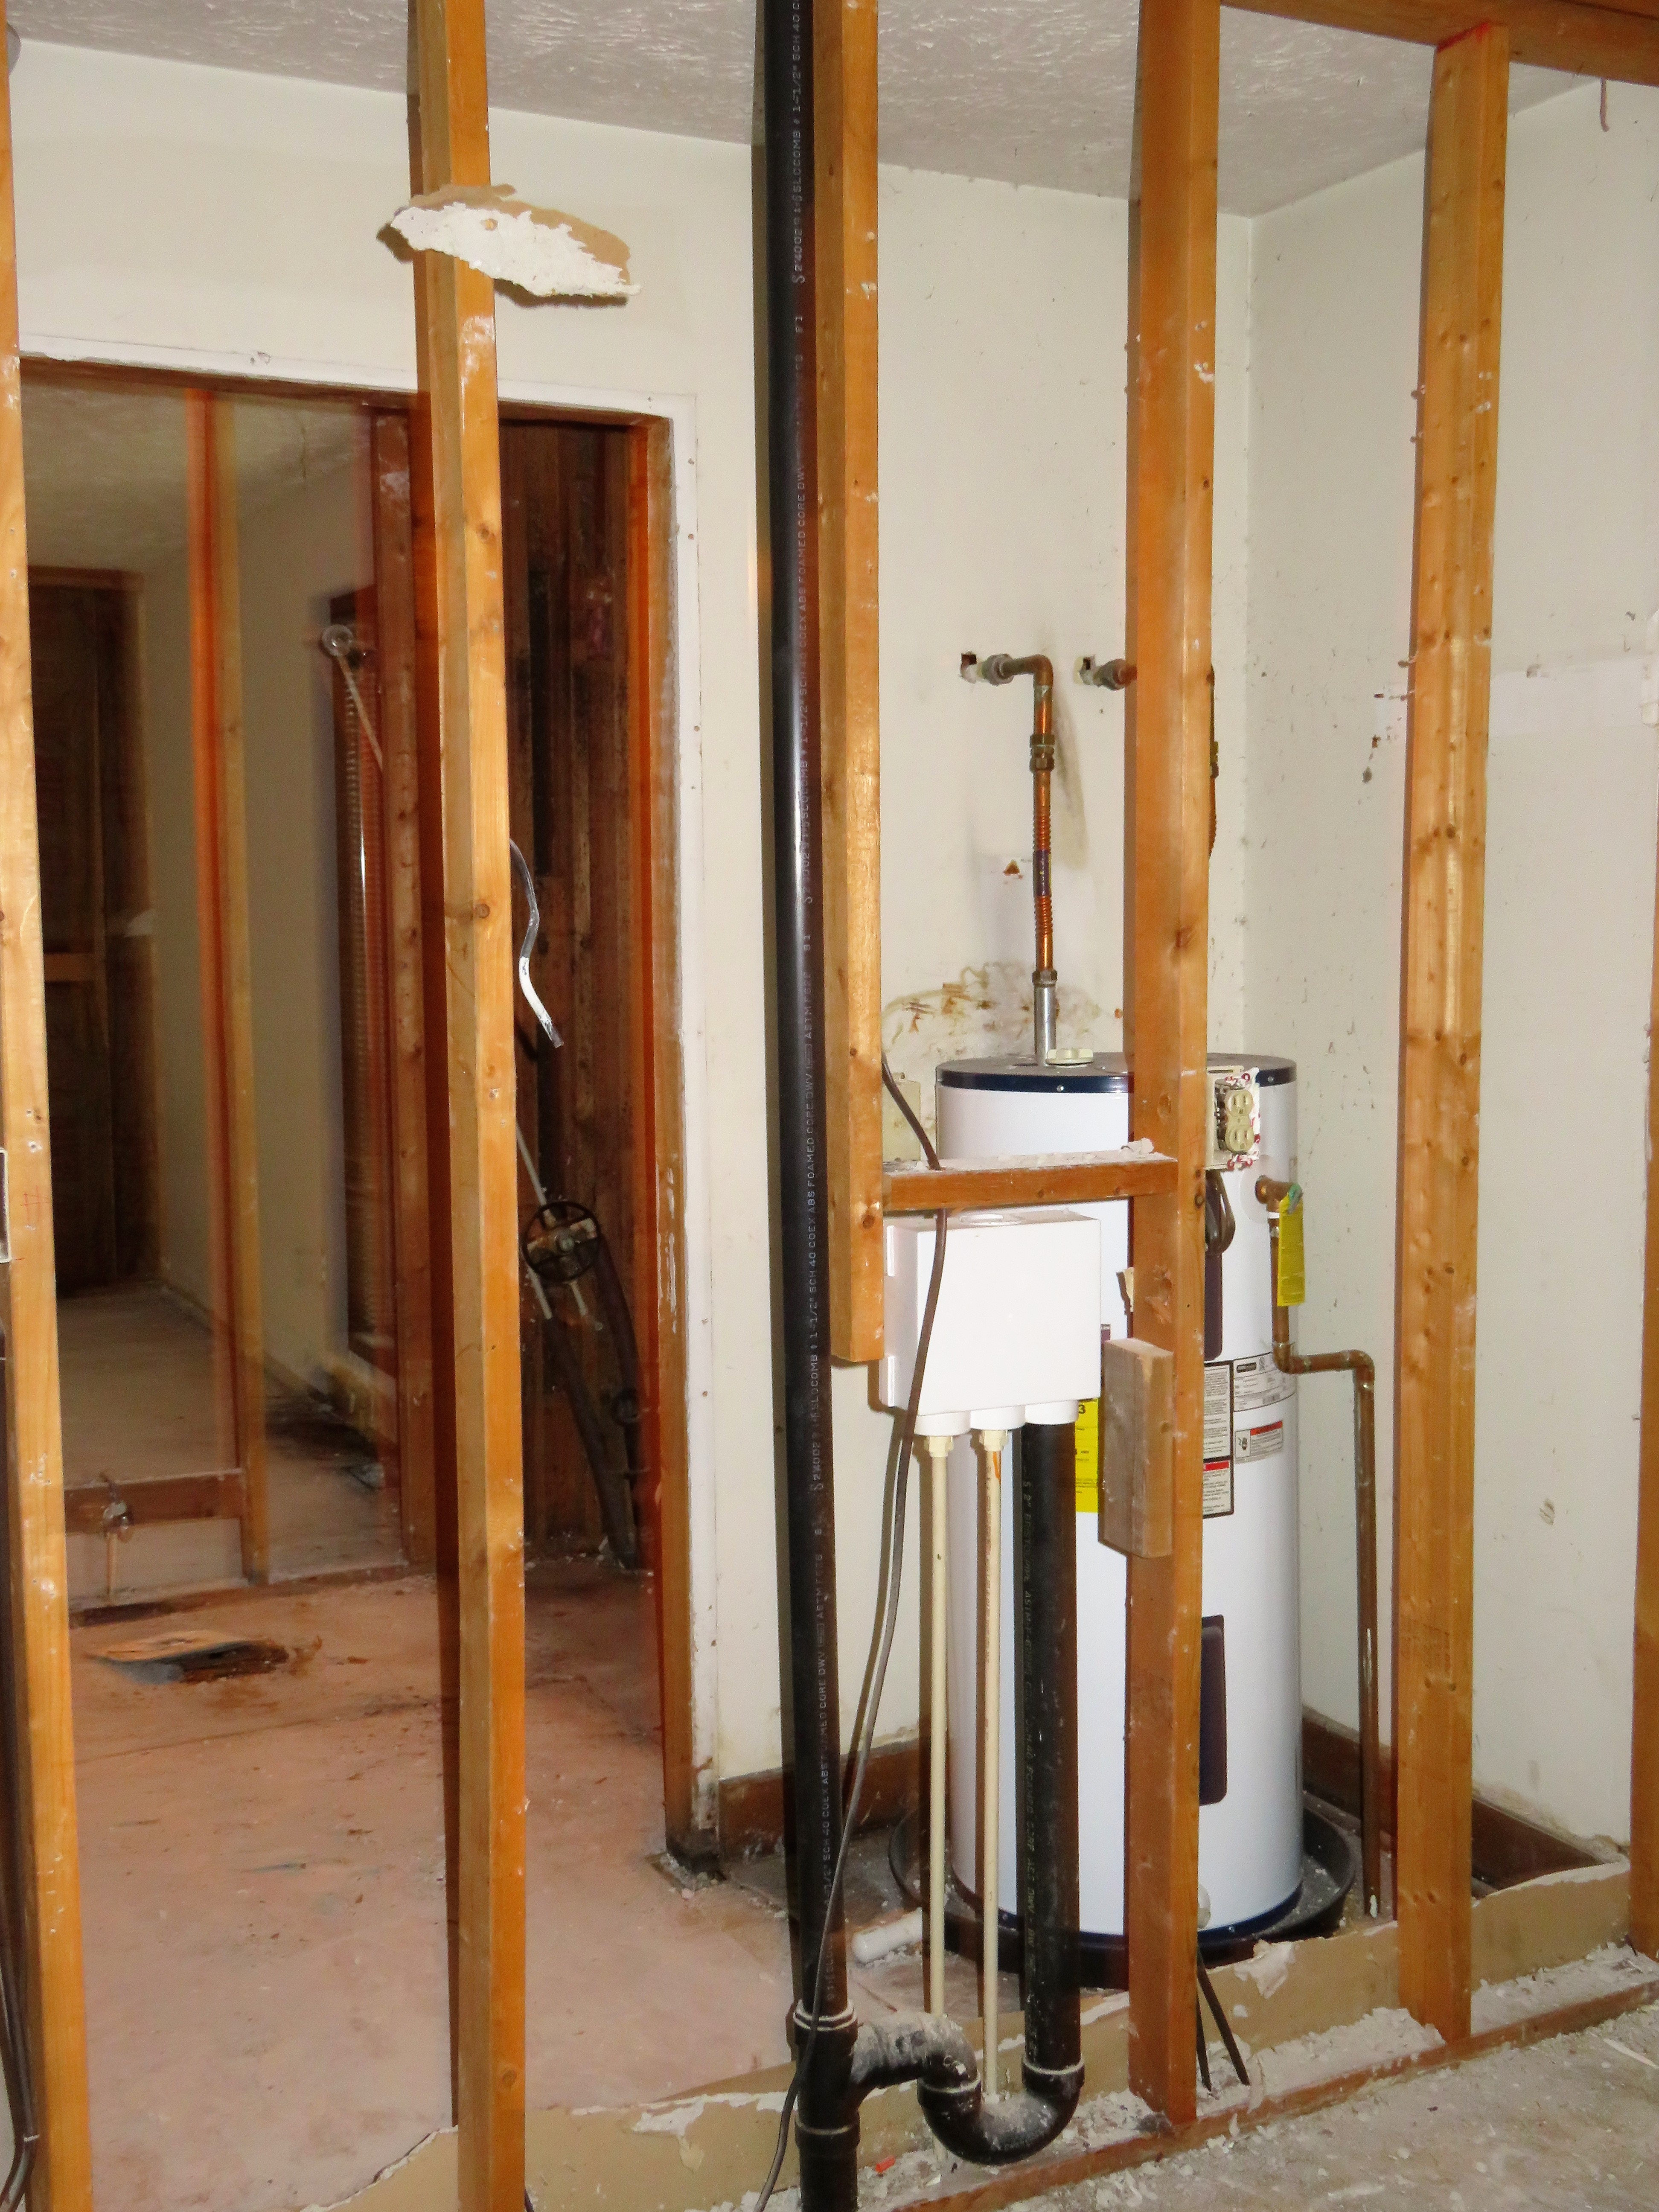
First Floor Bathroom: The downstairs bathroom proved to be the biggest challenge of this project. Due to significant water damage we gutted the bathroom, replaced floor joists as needed, replaced CPVC plumbing with PEX tubing, moved the electric Hot Water Tank to the garage, replaced sub-floor, and gave the heart of the house a much needed face lift. Now, the once outdated and impractical bathroom/laundry room is ready for a small family.

Before and After
Downstairs Bathroom

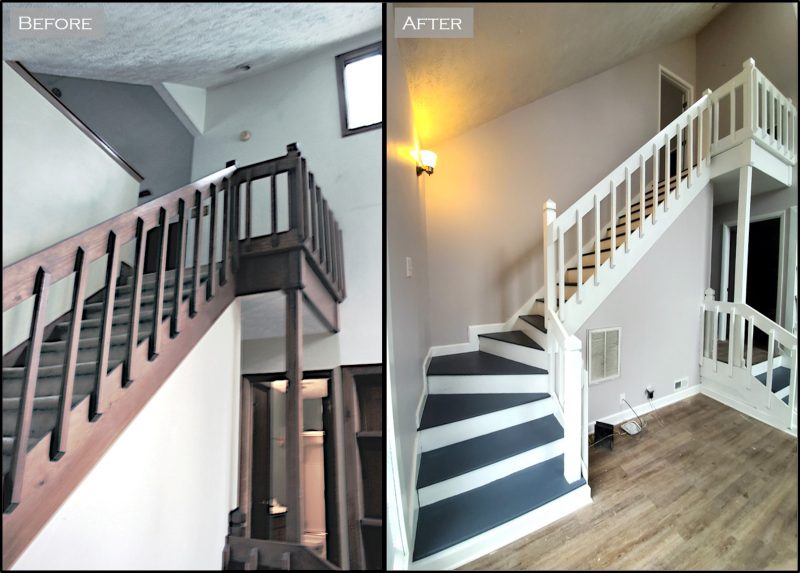
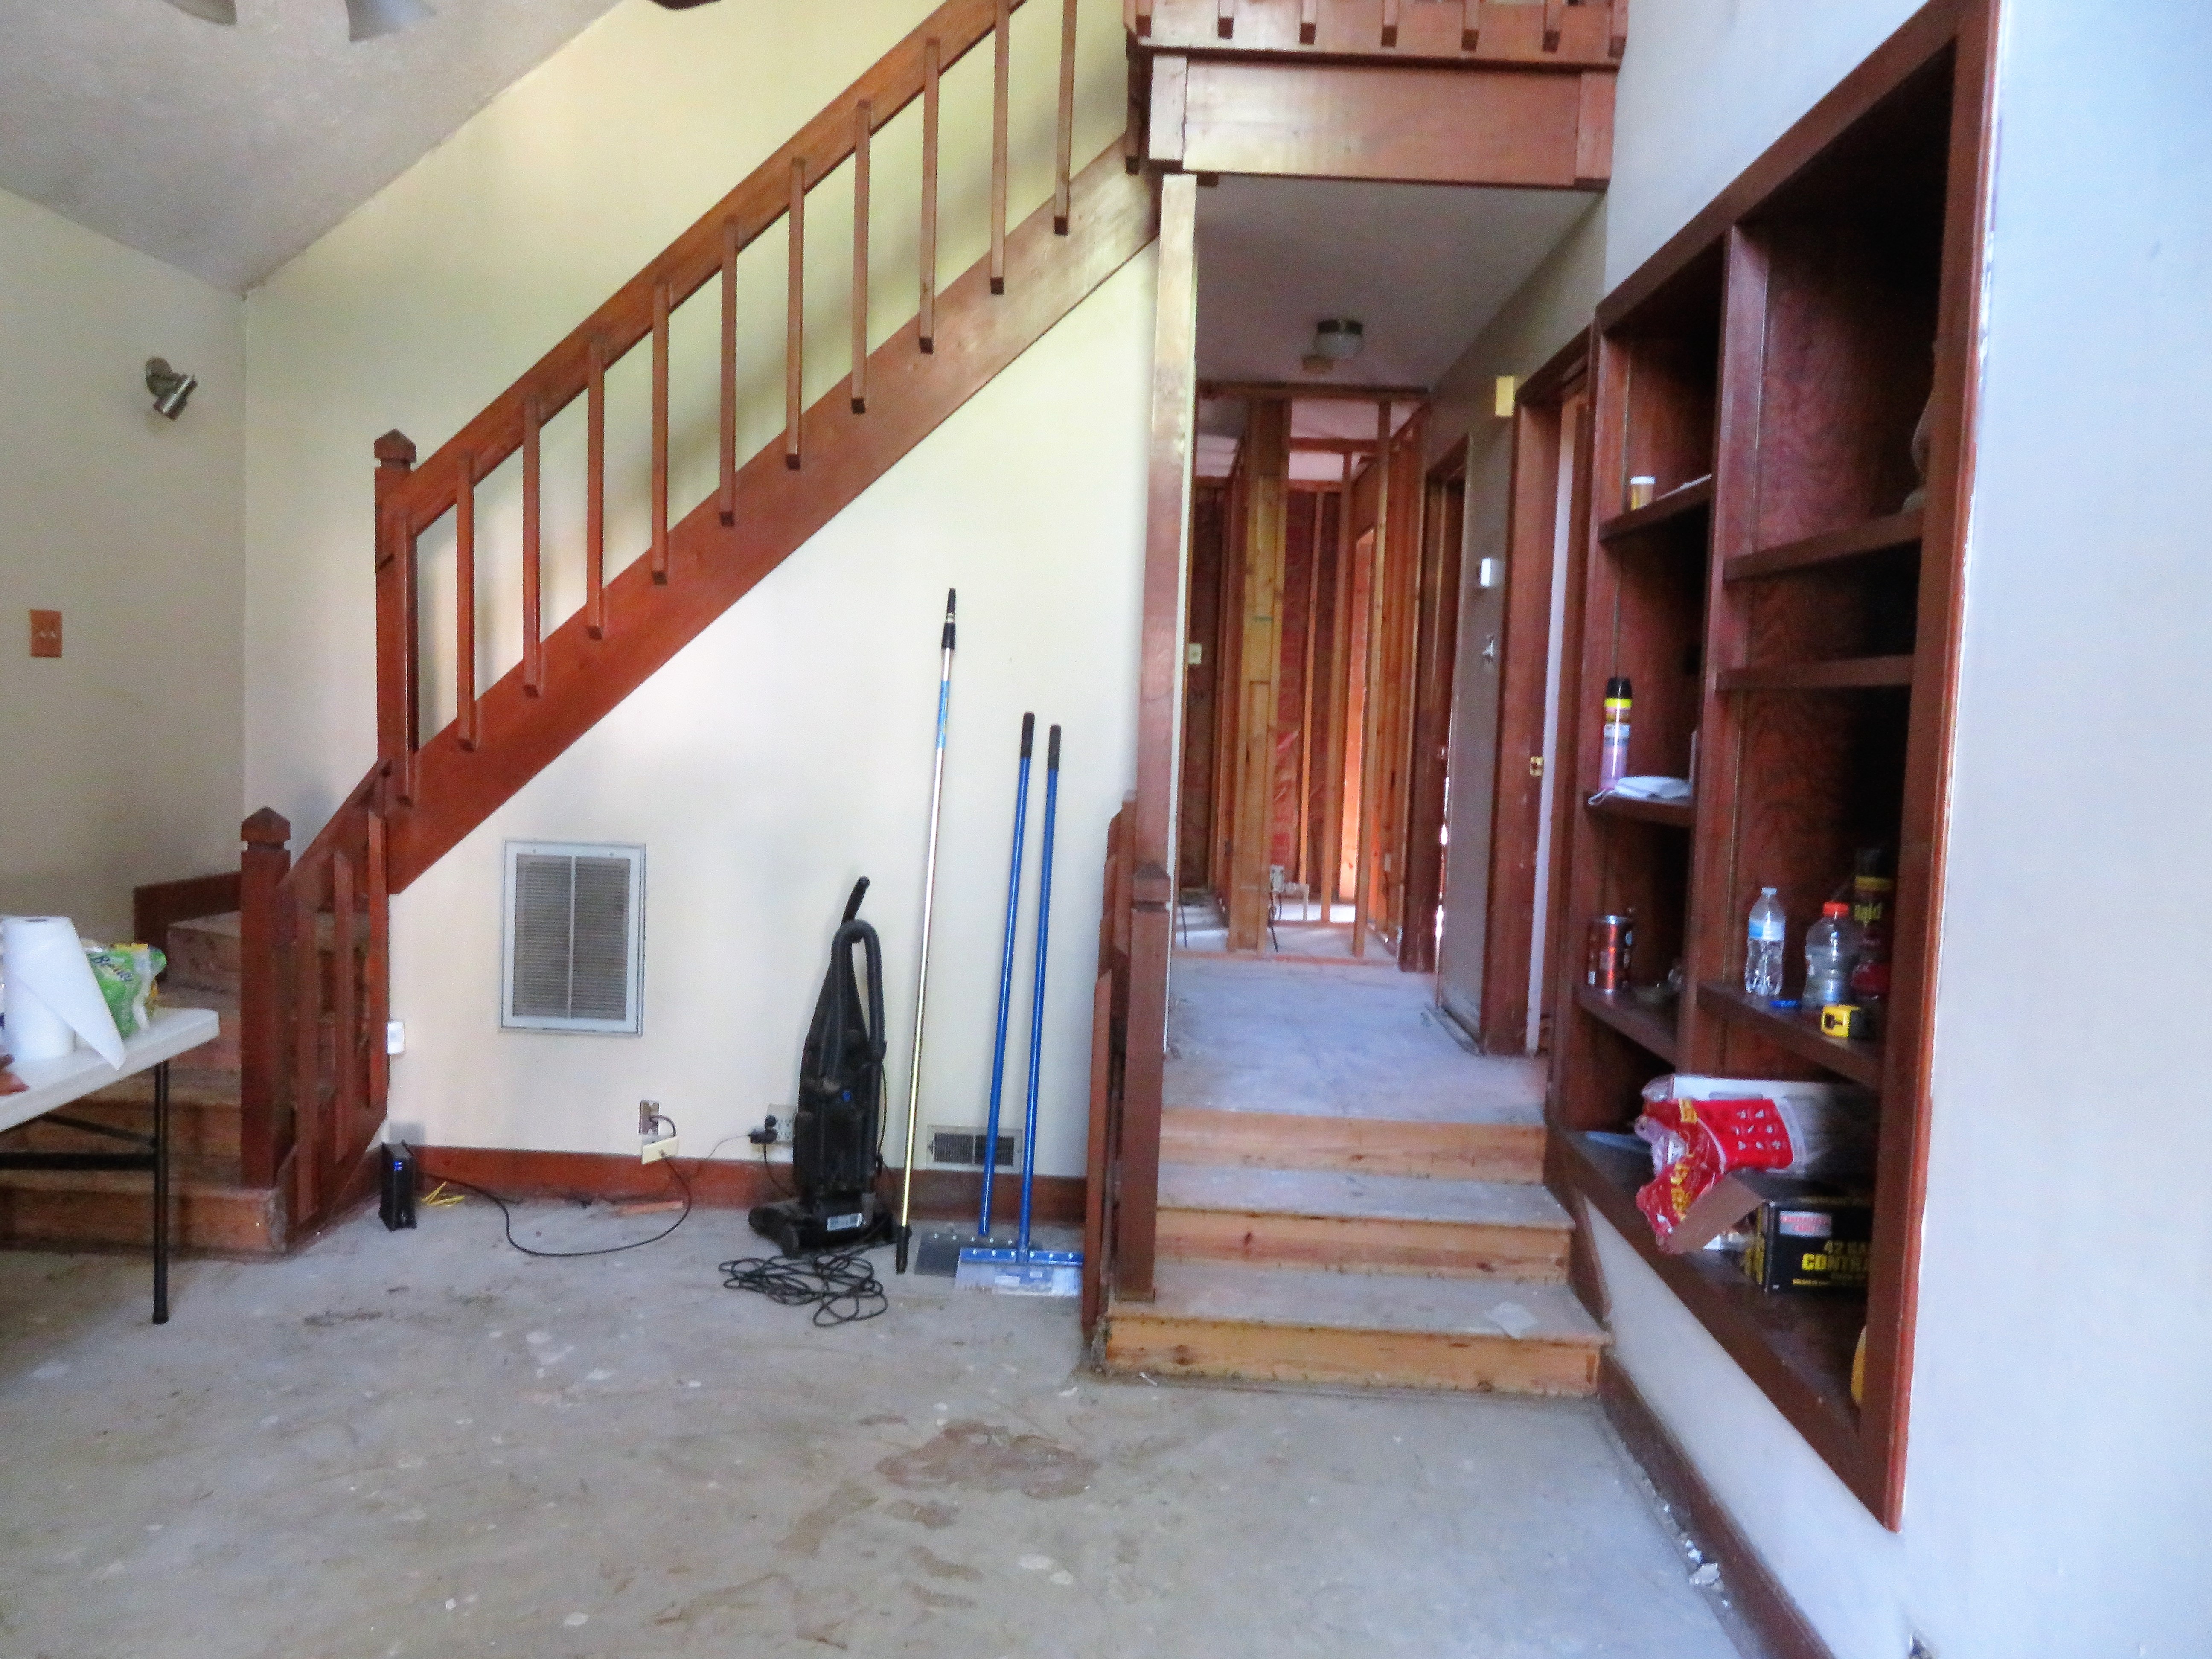
Staircase and Loft Improvements: The original master suite loft concept seemed outdated and lacked significant privacy for any prospective tenant. We closed off the room, removed the carpet on the stairs, and put a fresh coat of paint on the staircase.

Before and After
Staircase

Living Room: The very first room in the house and it was perhaps one of the more dismal and depressing rooms. With the enhancement of the hallway to the rear exterior, the overall flow of the house through the living room makes for an exciting and practical living space for any family. We focused on new flooring, paint, fixtures, and necessary repairs. Not pictured is the built-in shelving that shares a wall with the kitchen. The living room has two accent walls with an actual wood fireplace and the built-in shelving.

Before and After
Living Room

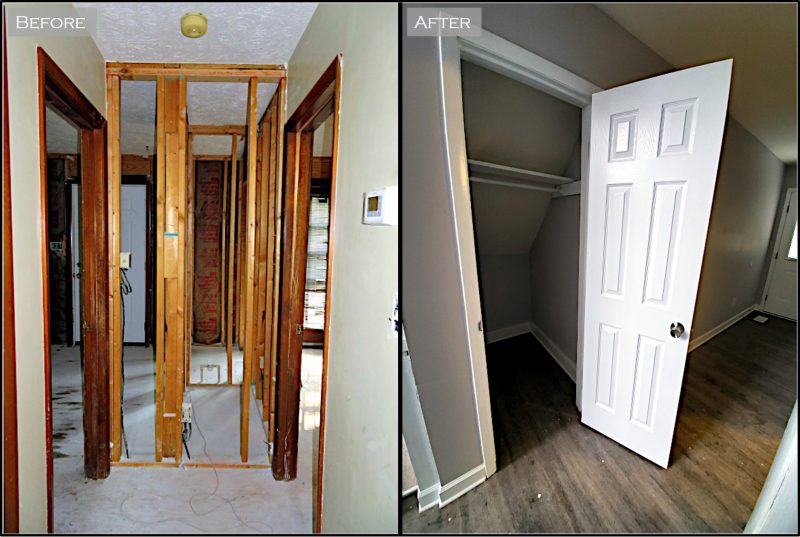
Hallway Addition: This house required you to walk through either of the two first floor bedrooms in order to access the backyard from the living room. We moved the main water shut off to a convenient spot along the wall and reframed a hallway with a single exit to the back yard. We later closed off the original exterior doors and insured both bedrooms had closets built. The location where the hallway is now was once utilized by two adjacent closets for the first floor bedrooms.

Before and After
Hallway

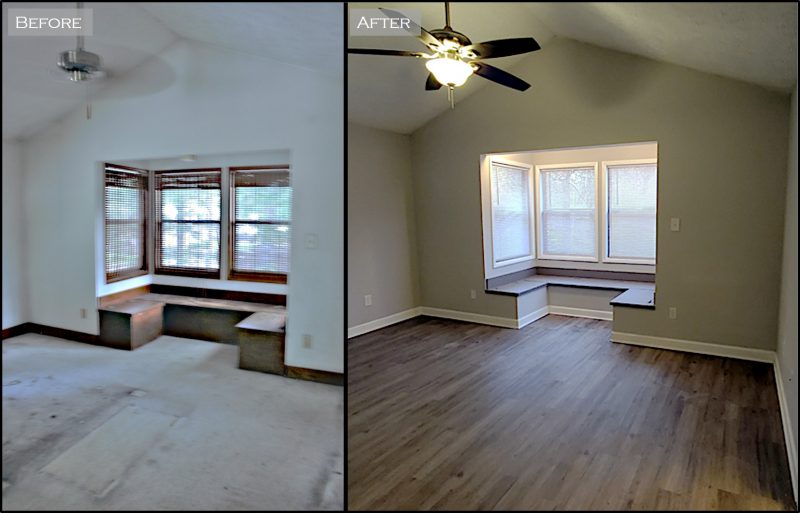
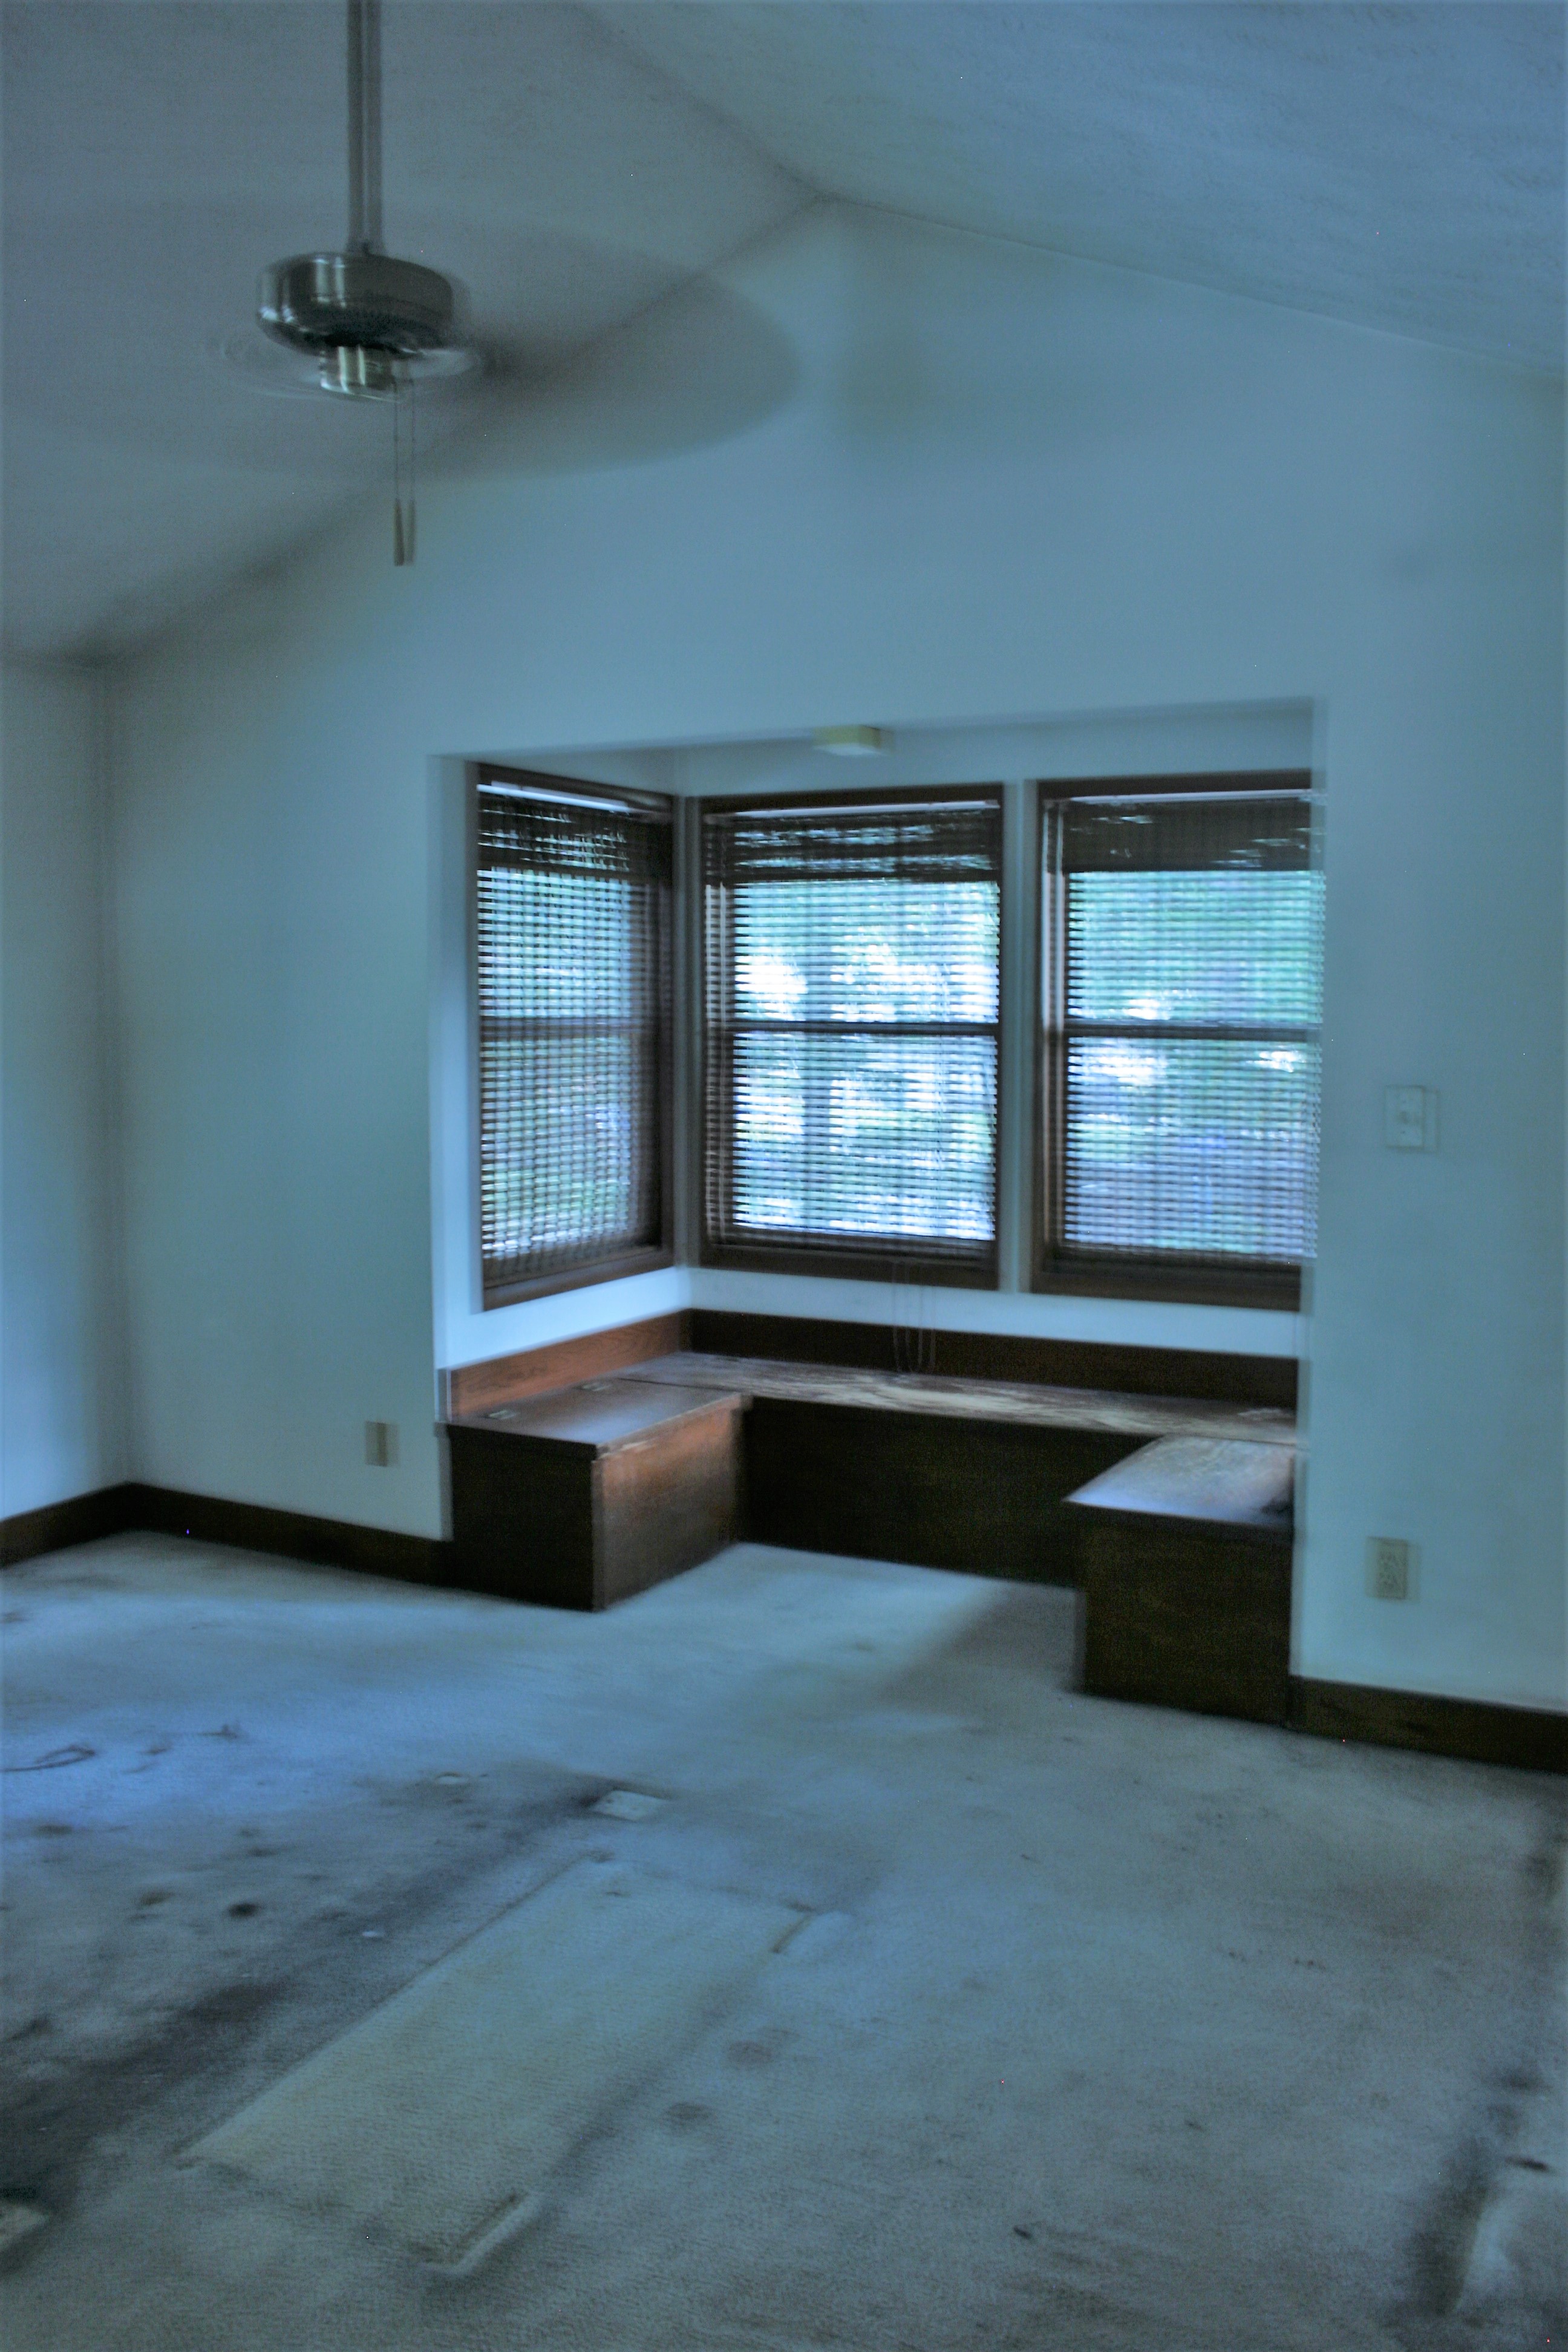
Master Suite: The Master Suite has ample space for bedroom with a nook area. Additionally there is a walk-in closet and a full bathroom. For the bedroom area we closed off the loft and gave the room a much needed makeover.

Before and After
Upstairs Master Suite

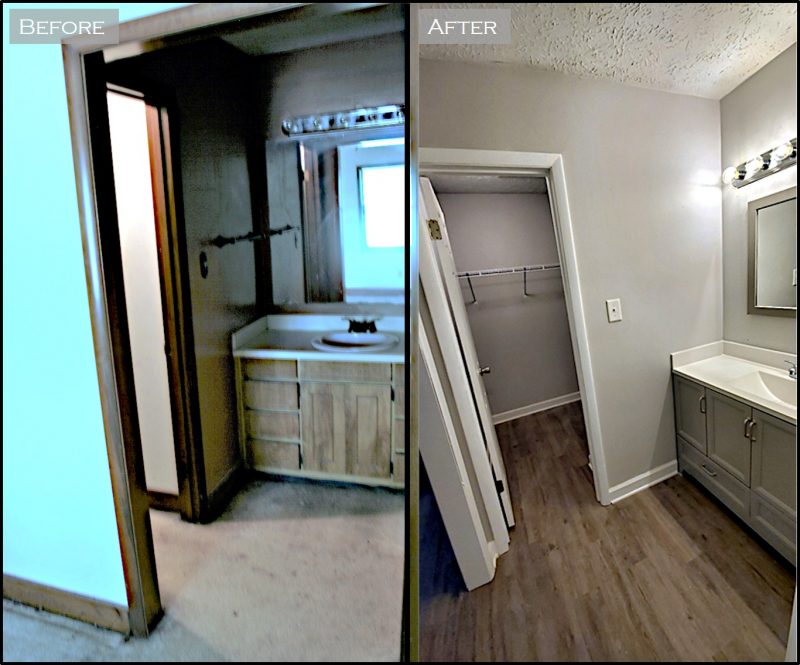
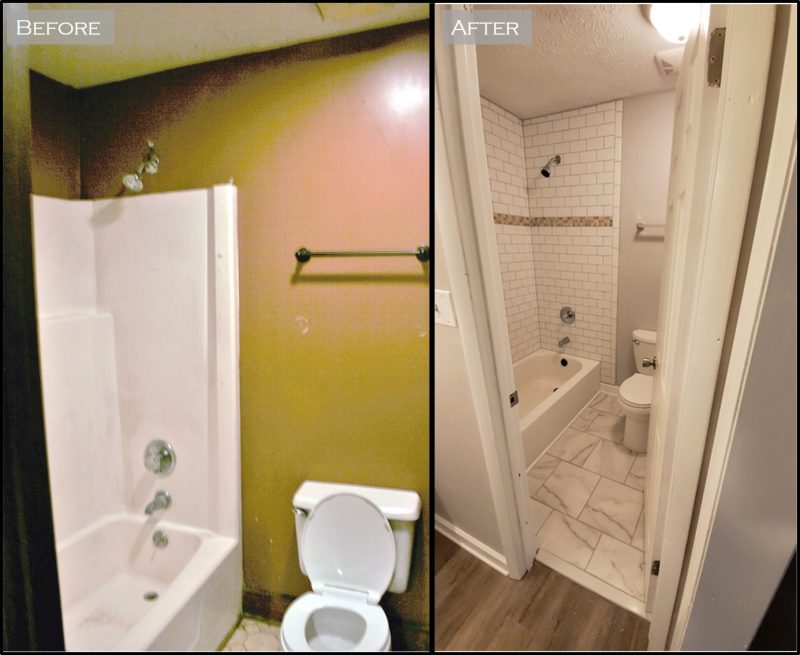
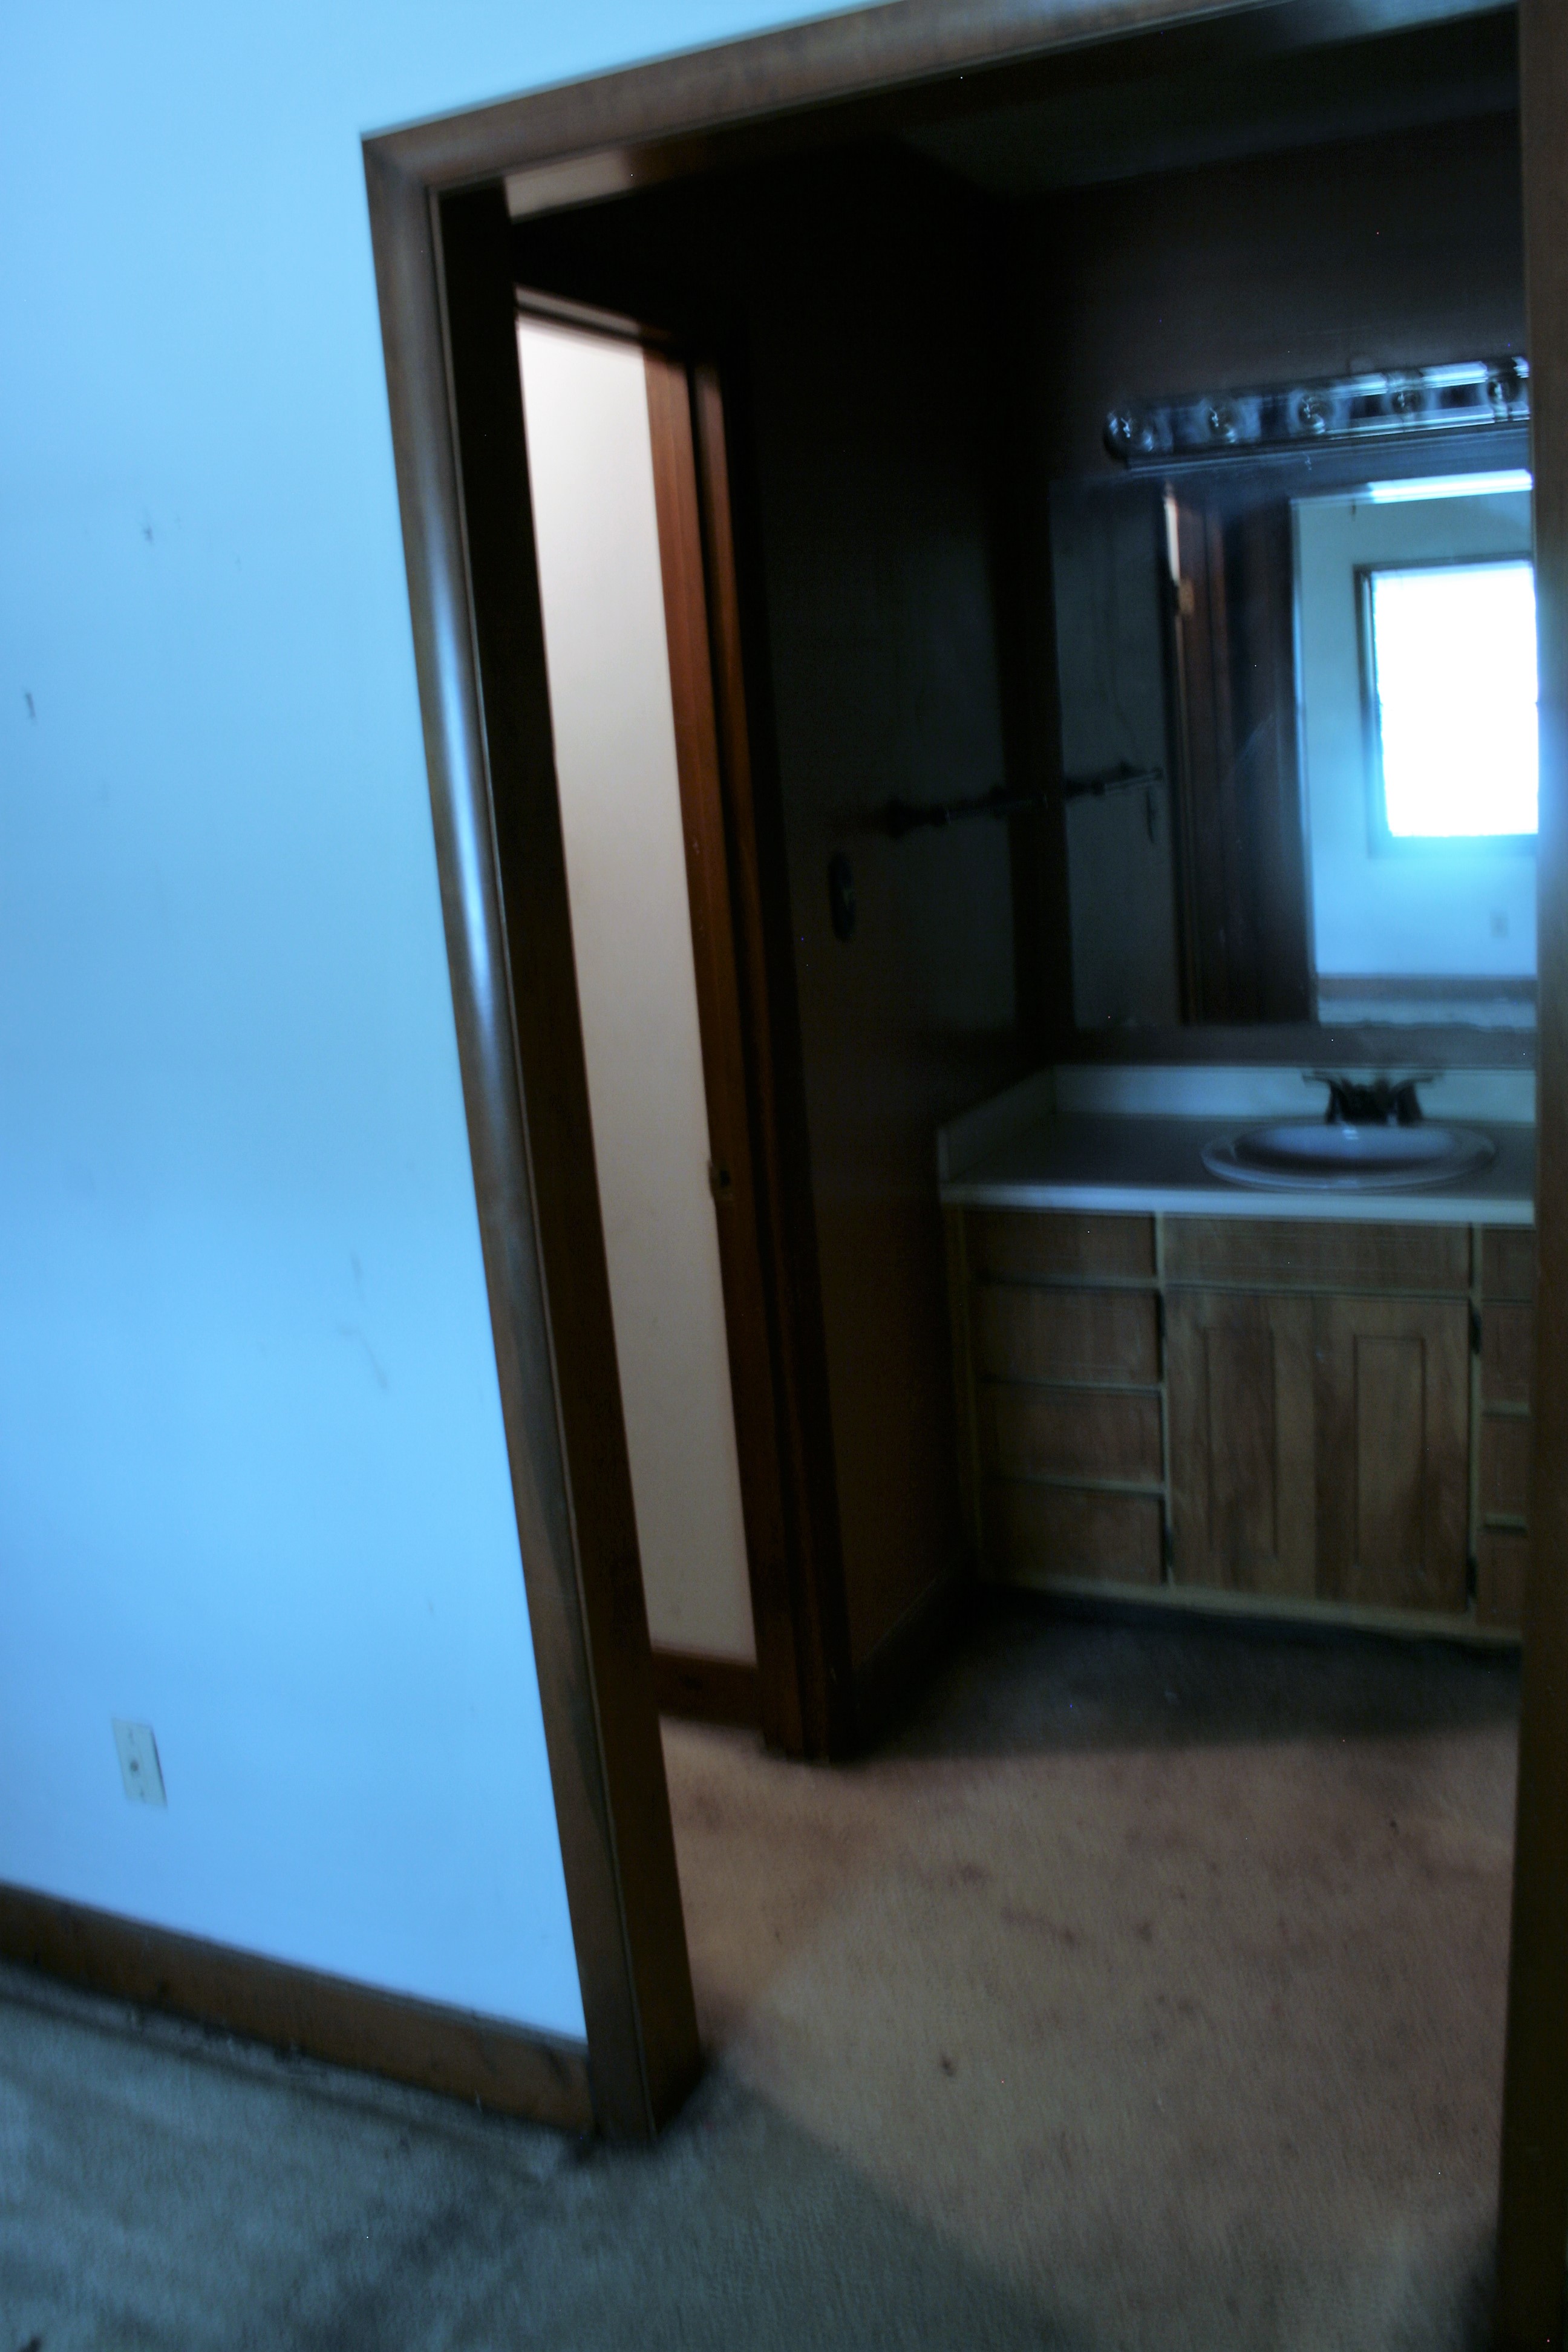
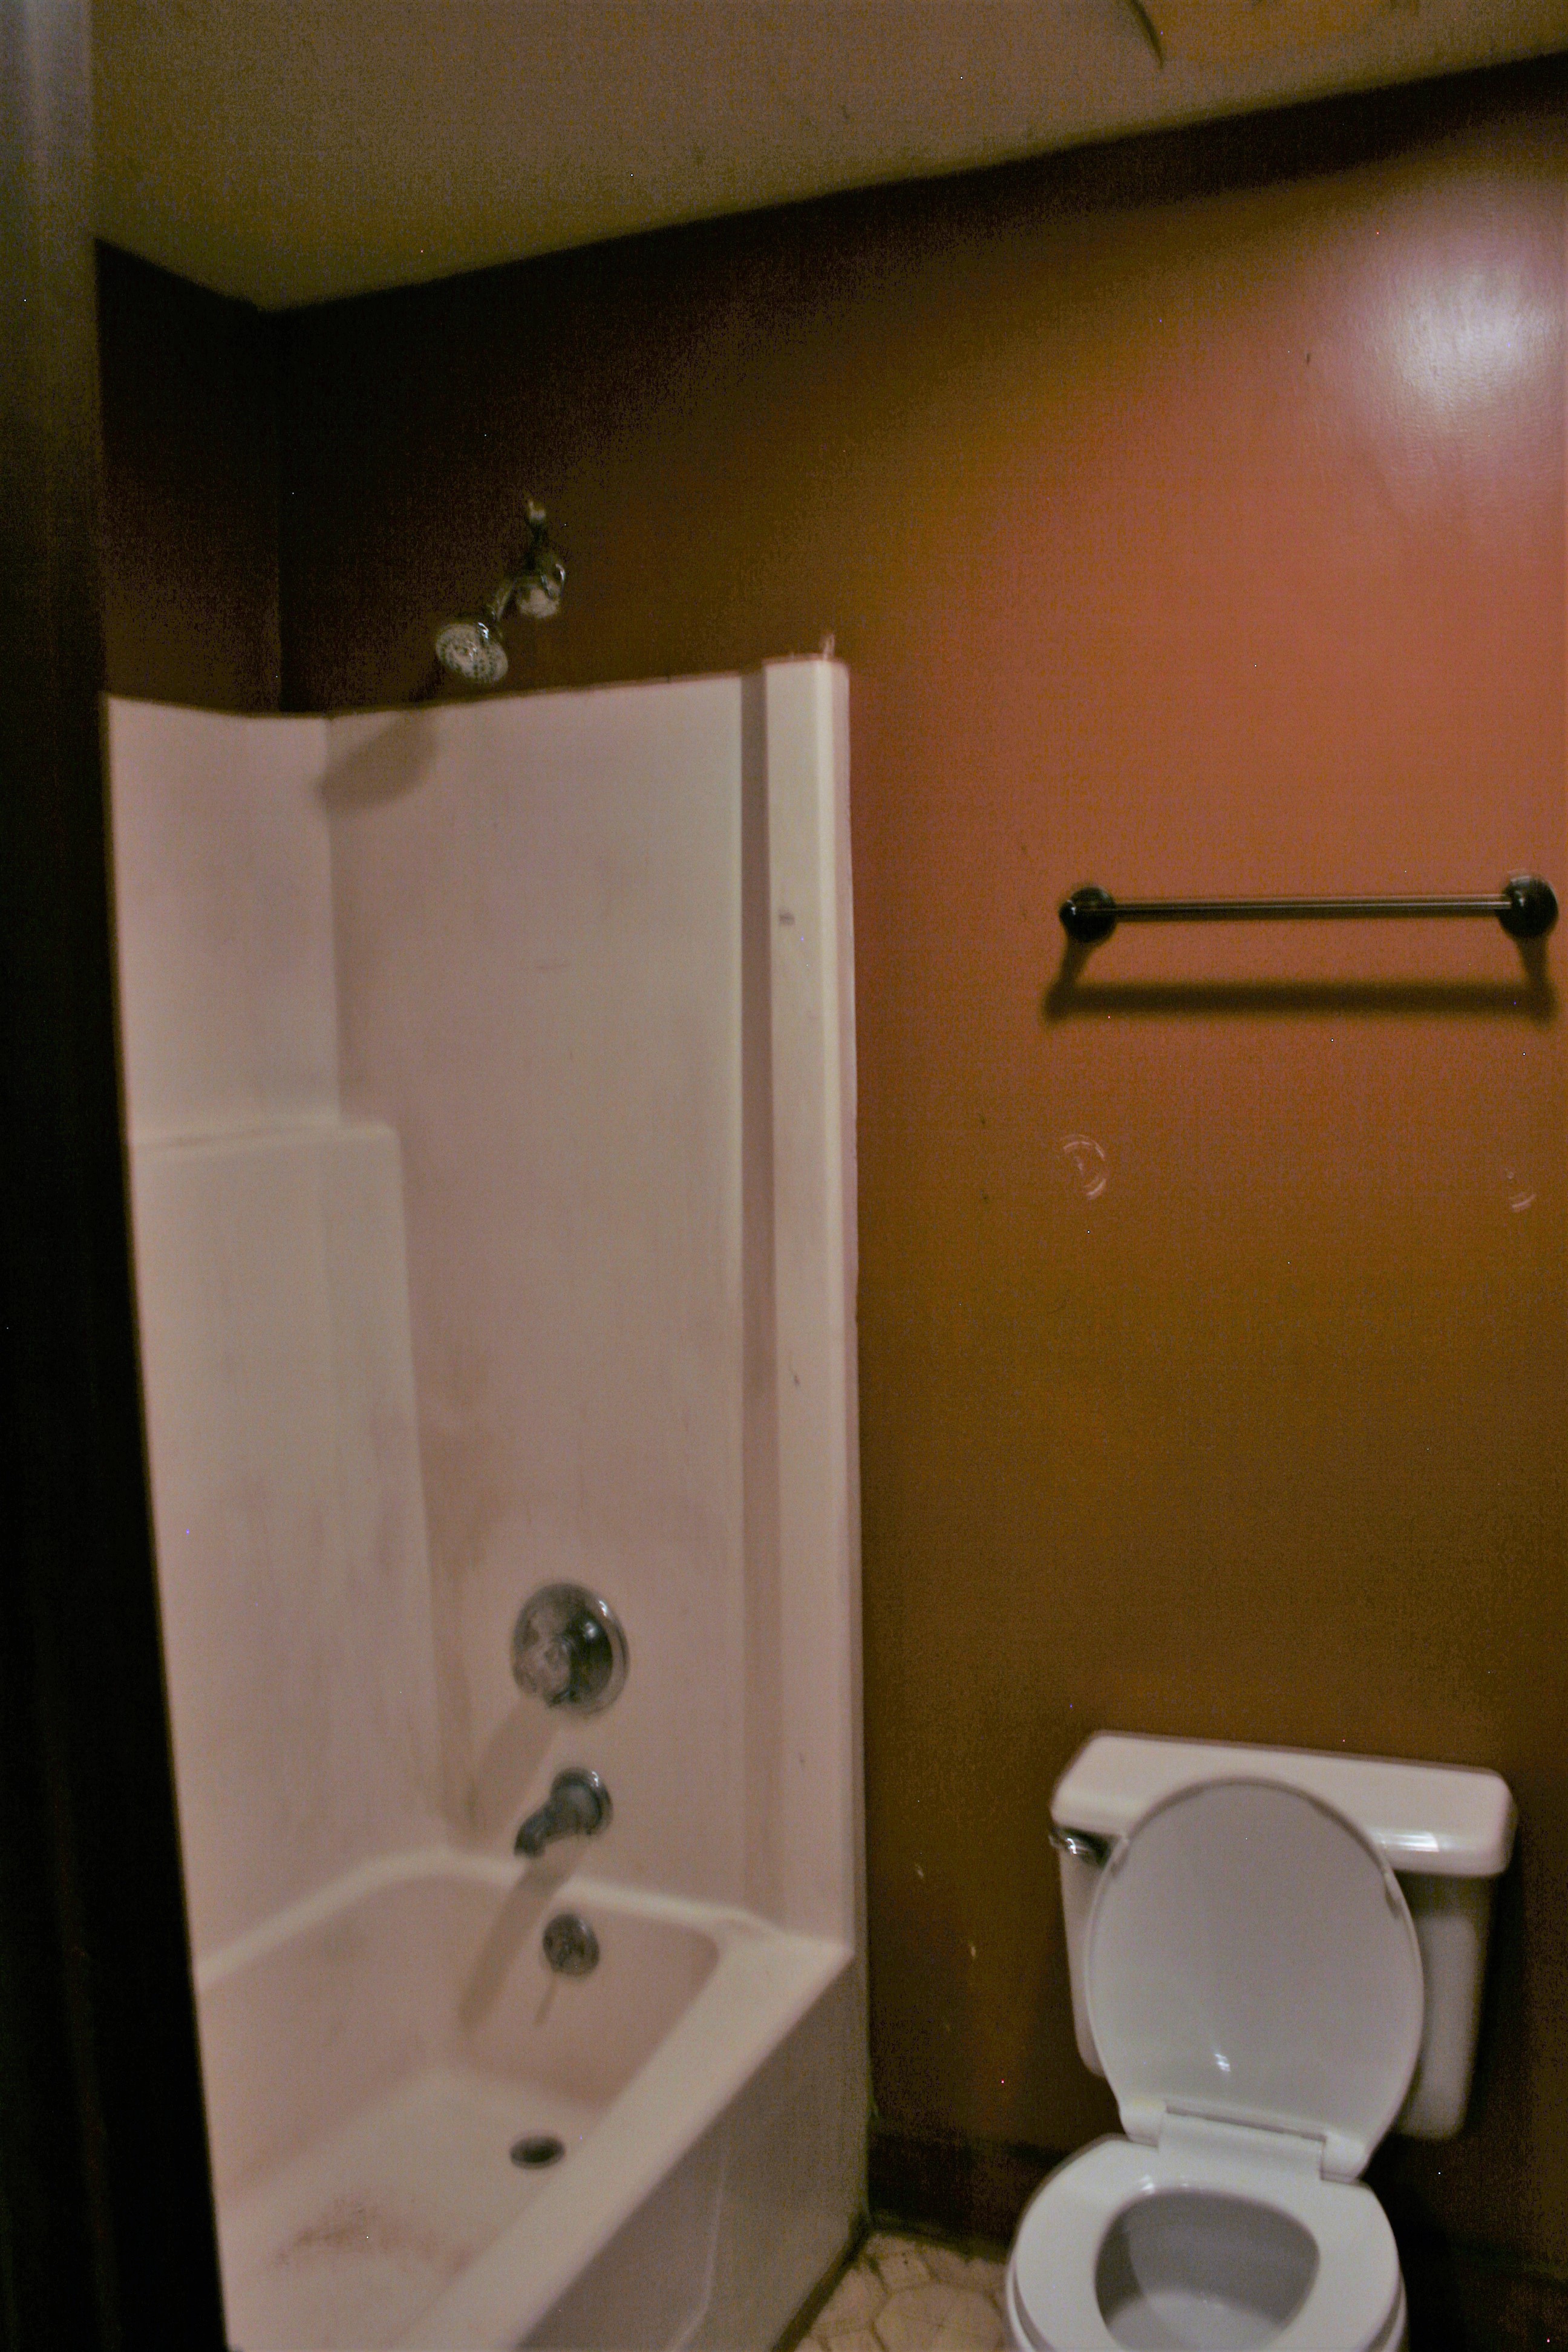
Master Bathroom: The Walk-In Closet and Vanity received much needed improvements. The original drab wooden shelf/wire shelf combination in the walk-in made the closet feel dark and cold. One would argue that is the case for the entire house and the master bathroom was no exception. In fact, the master bathroom was by far the most miserable room in the house. It suffered from water damage issues and required a full makeover. Now the entire space feels lighter and more inviting.

Before and After
Upstairs Bathroom
Before and After
Upstairs Bathroom

This project was our first true test in planning, purchasing, and executing the remodel of a single-family home. We spent long hours working the project, reaching out to various contractors for bids/quotes, and insuring we made the most out of our limited budget. In the end we experienced our share of ups and down, whether it was the unforeseen issues or expenses or the fact our timeline was not what we originally planned.

We enjoyed the journey. We encourage others to do the same. We wanted to test ourselves and gain some experience. I would say we certainly accomplished just that. This project is a wrap minus a fresh exterior paint job in the spring time. Now it’s just waiting for someone to call it home!

Demo on Candlewood

The house is bought.  The ideas are brewing, but before a single wall can be painted or a cabinet can be hung all of the unwanted must go. 
 
For demo day, we utilized a 15 yard dumpster which turned out to be too small.  We ordered a second 15 yard dumpster and filled up just as fast as the first. 
 
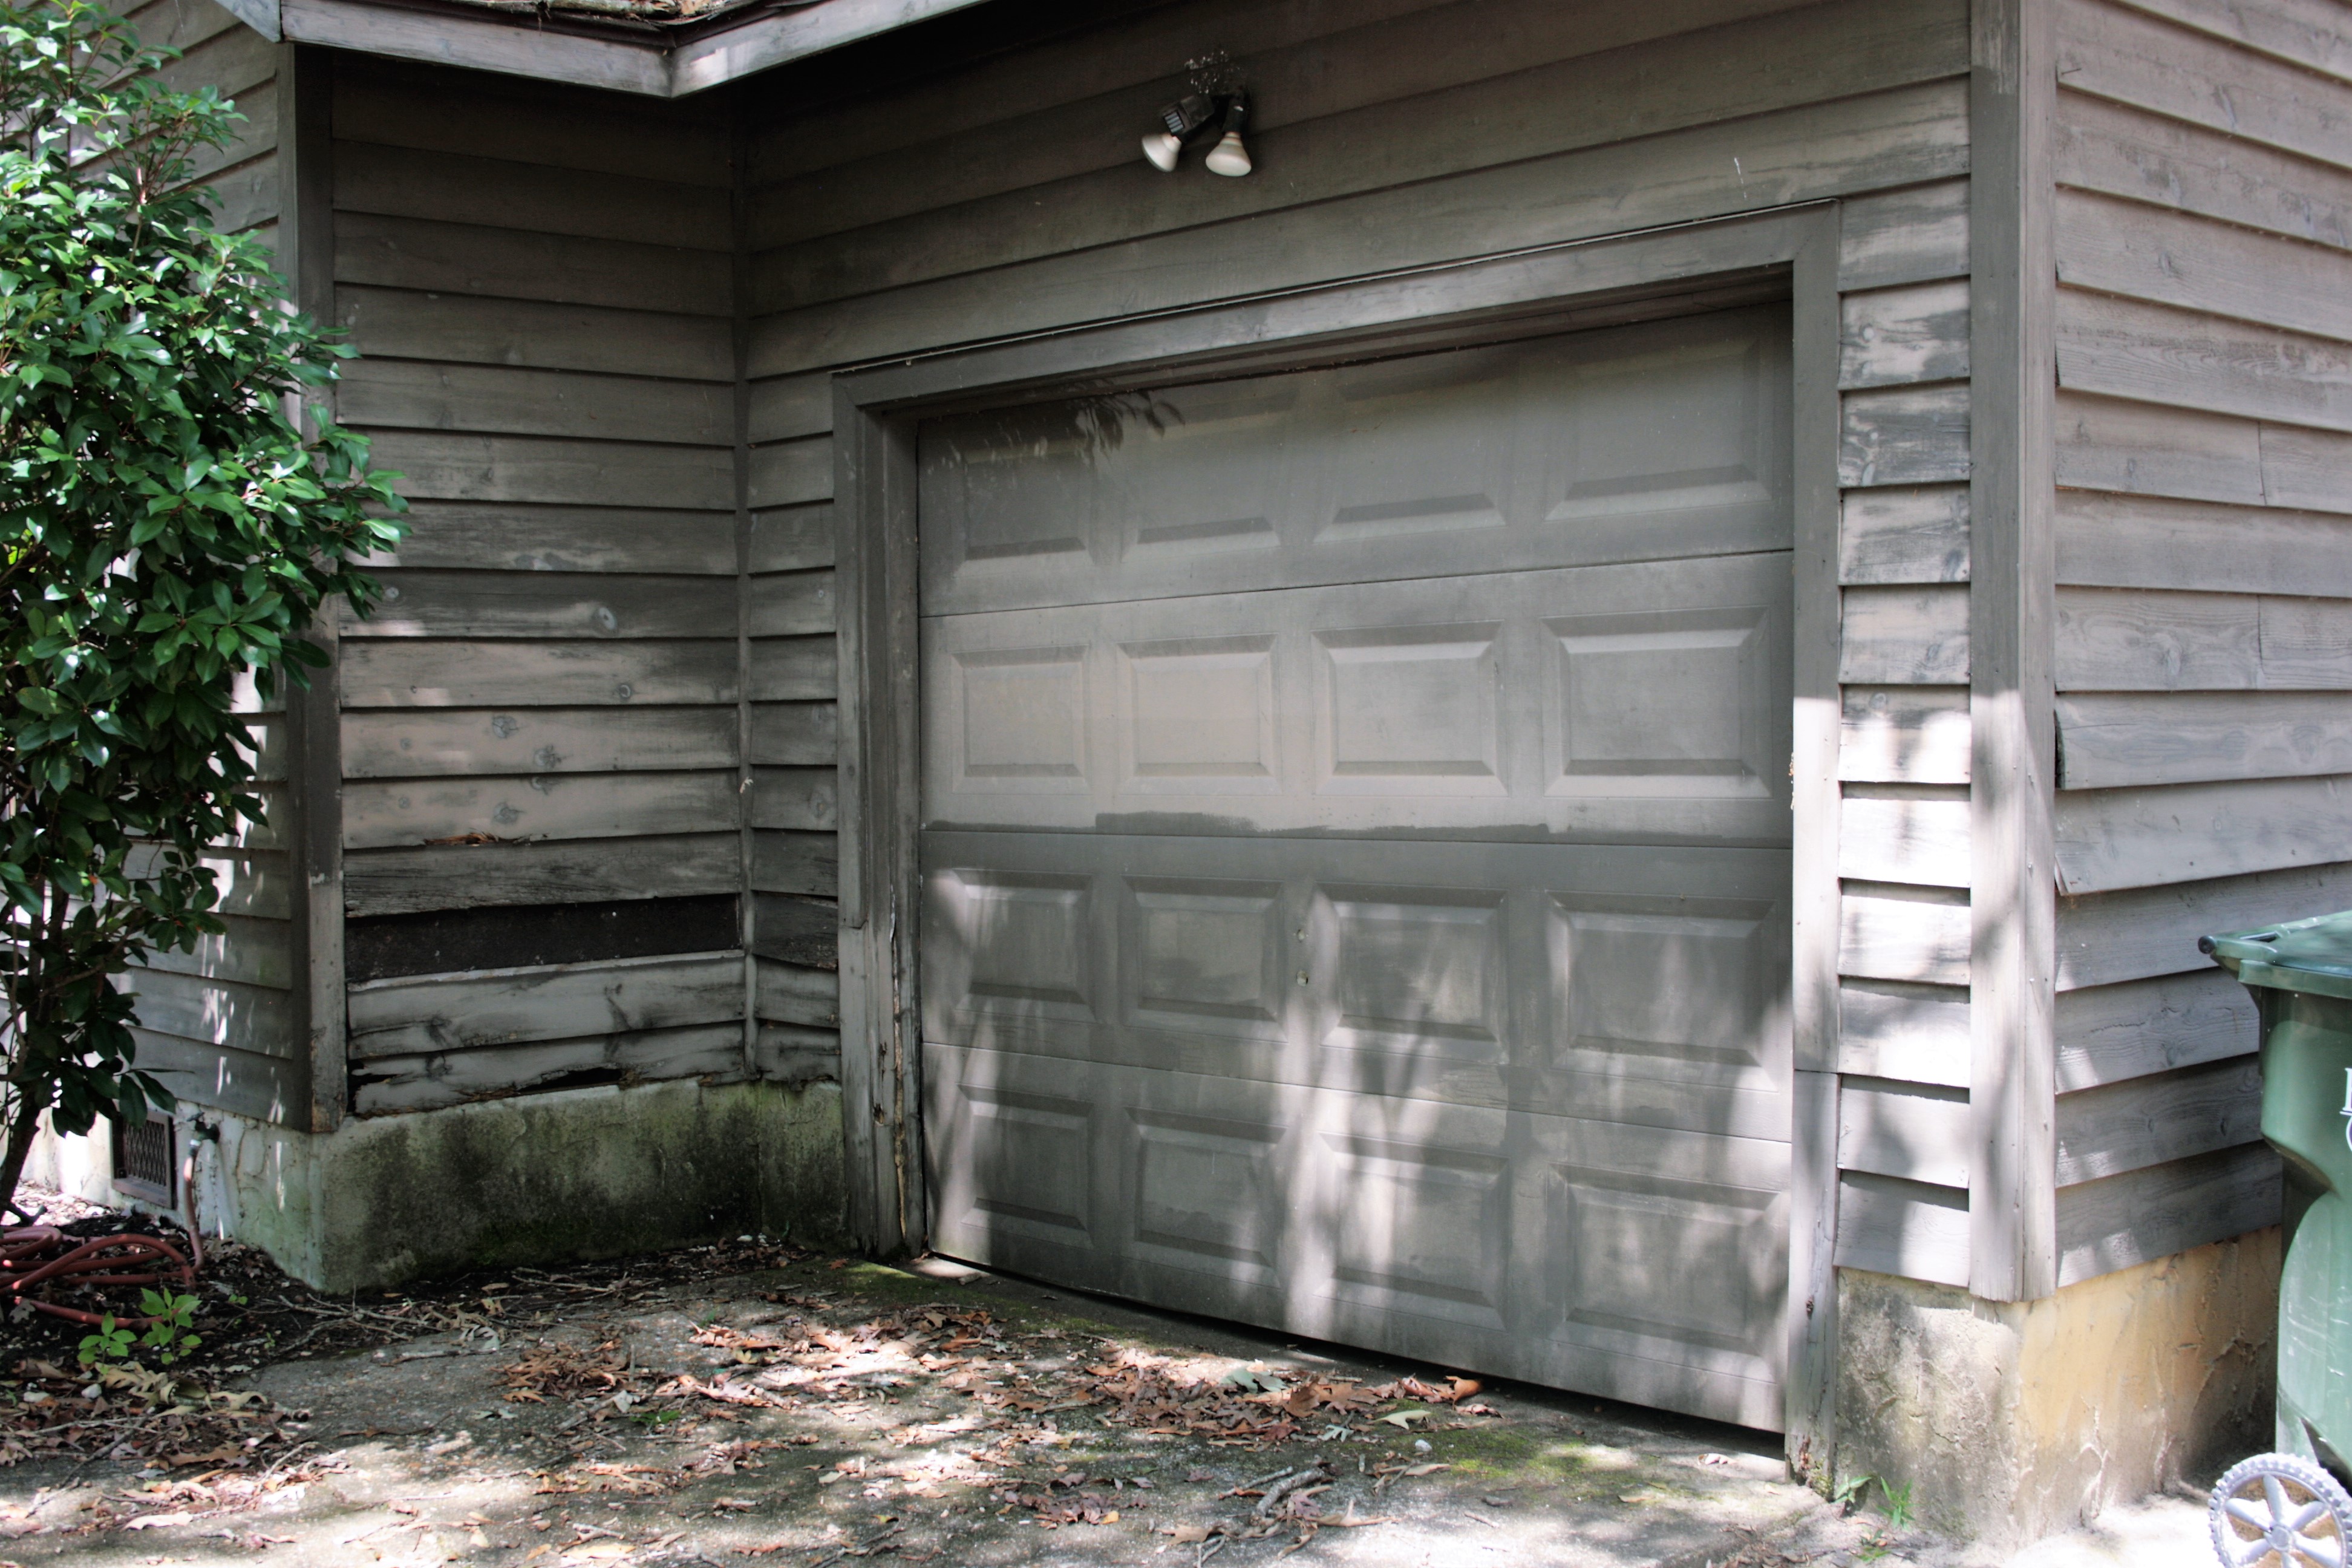
This particular house came with many “bonuses”:  a couch, sofa, all of the appliances, and a garage full of more unwanted items.  We demolished both bathrooms and the kitchen due to obvious moisture issues.  Not to mention an overwhelming need of an upgrade. 
 
Here is a slide deck of before and after demo photos.

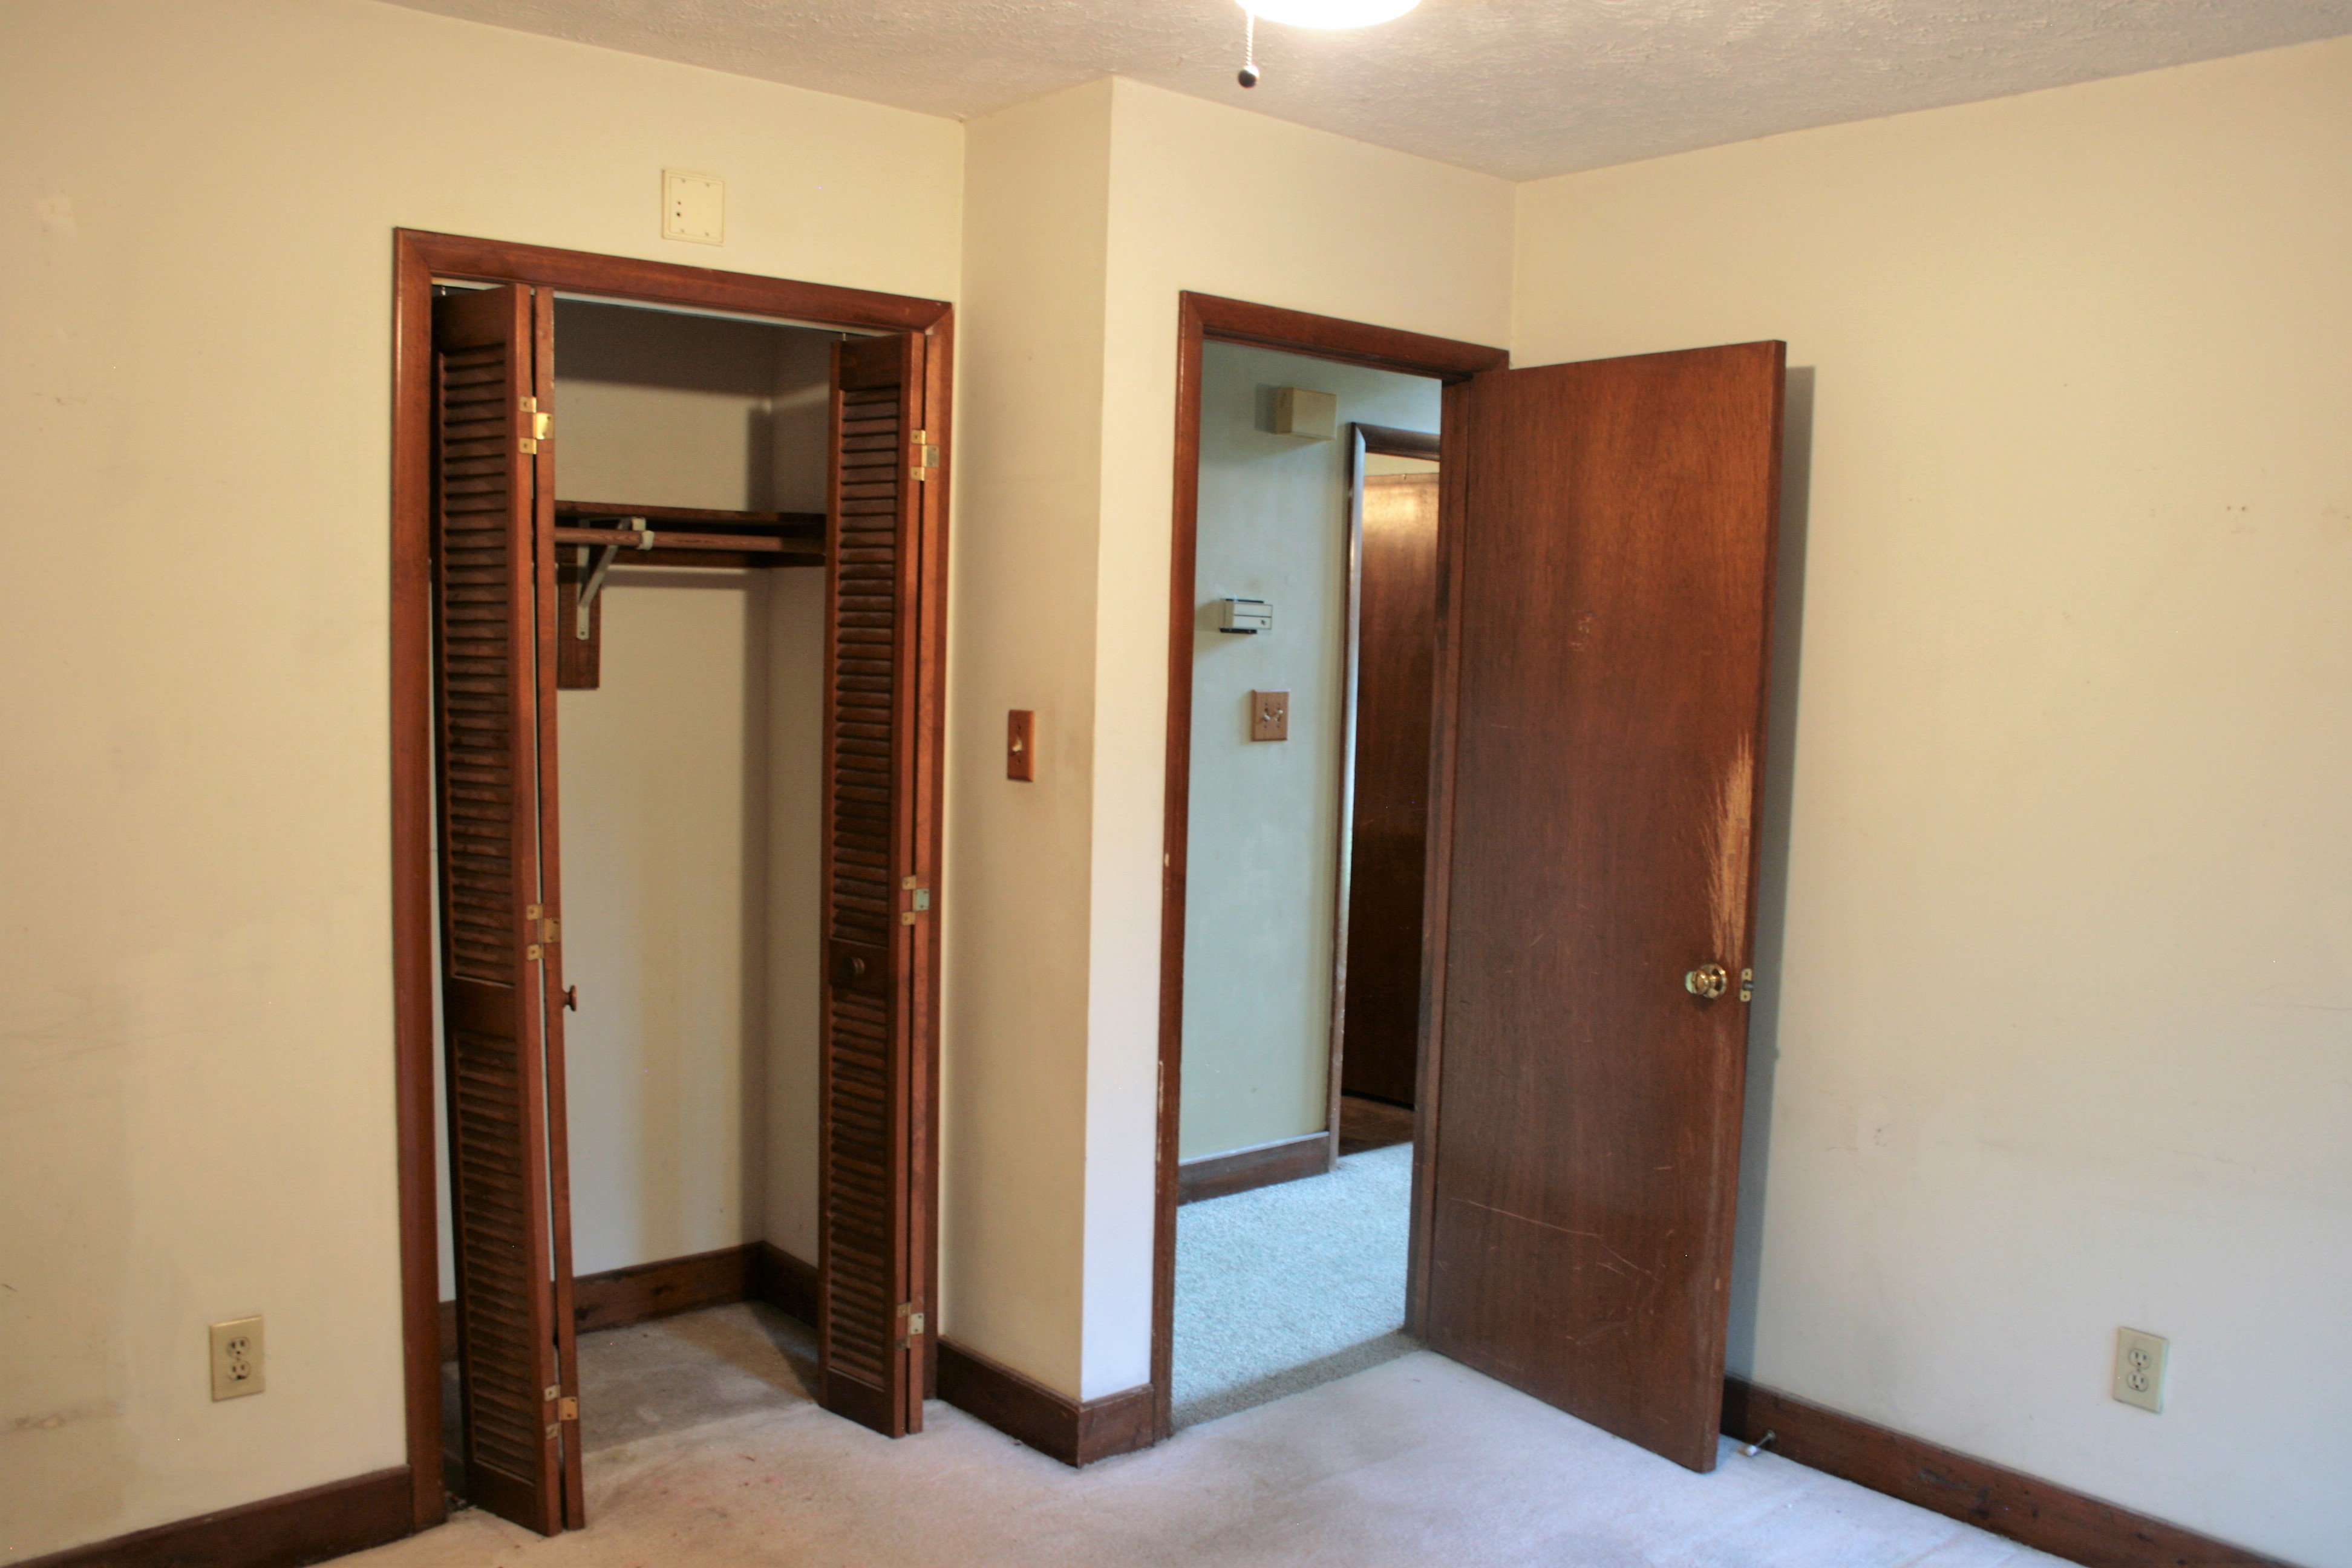
  • Before Reno Kitchen
  • Before Reno
  • Before Reno Living Room
  • Demo Living Room
  • Before Reno Bathroom
  • Before Reno Bedroom
  • Before Reno Master
  • Before Reno Master Bath
  • Before Reno Master Bath


The inside was cluttered as well as the outside.  The outside of the house was surrounded by 5 tall Oak trees that grew within 5 feet of the house.  The proximity created concerns with roots invading the foundation, abundance of moisture from all of the shade and even moss growth on the roof.  We gathered estimates for tree removal as early as the due diligence period knowing the trees had to go.  As an added bonus, our tree service is milling the oak logs into board for future projects.

  • Before Reno Front
  • Before Reno Side
  • Before Reno
  • Before Reno
  • Tree Removal
  • Tree Removal
  • Tree Removal
  • Tree Removal